Welcome to the guide on using Gamma for fitness coaching. Follow these engaging steps to create a personalized fitness and diet plan presentation for your clients, tailored to their needs and goals.
Go to gamma.app
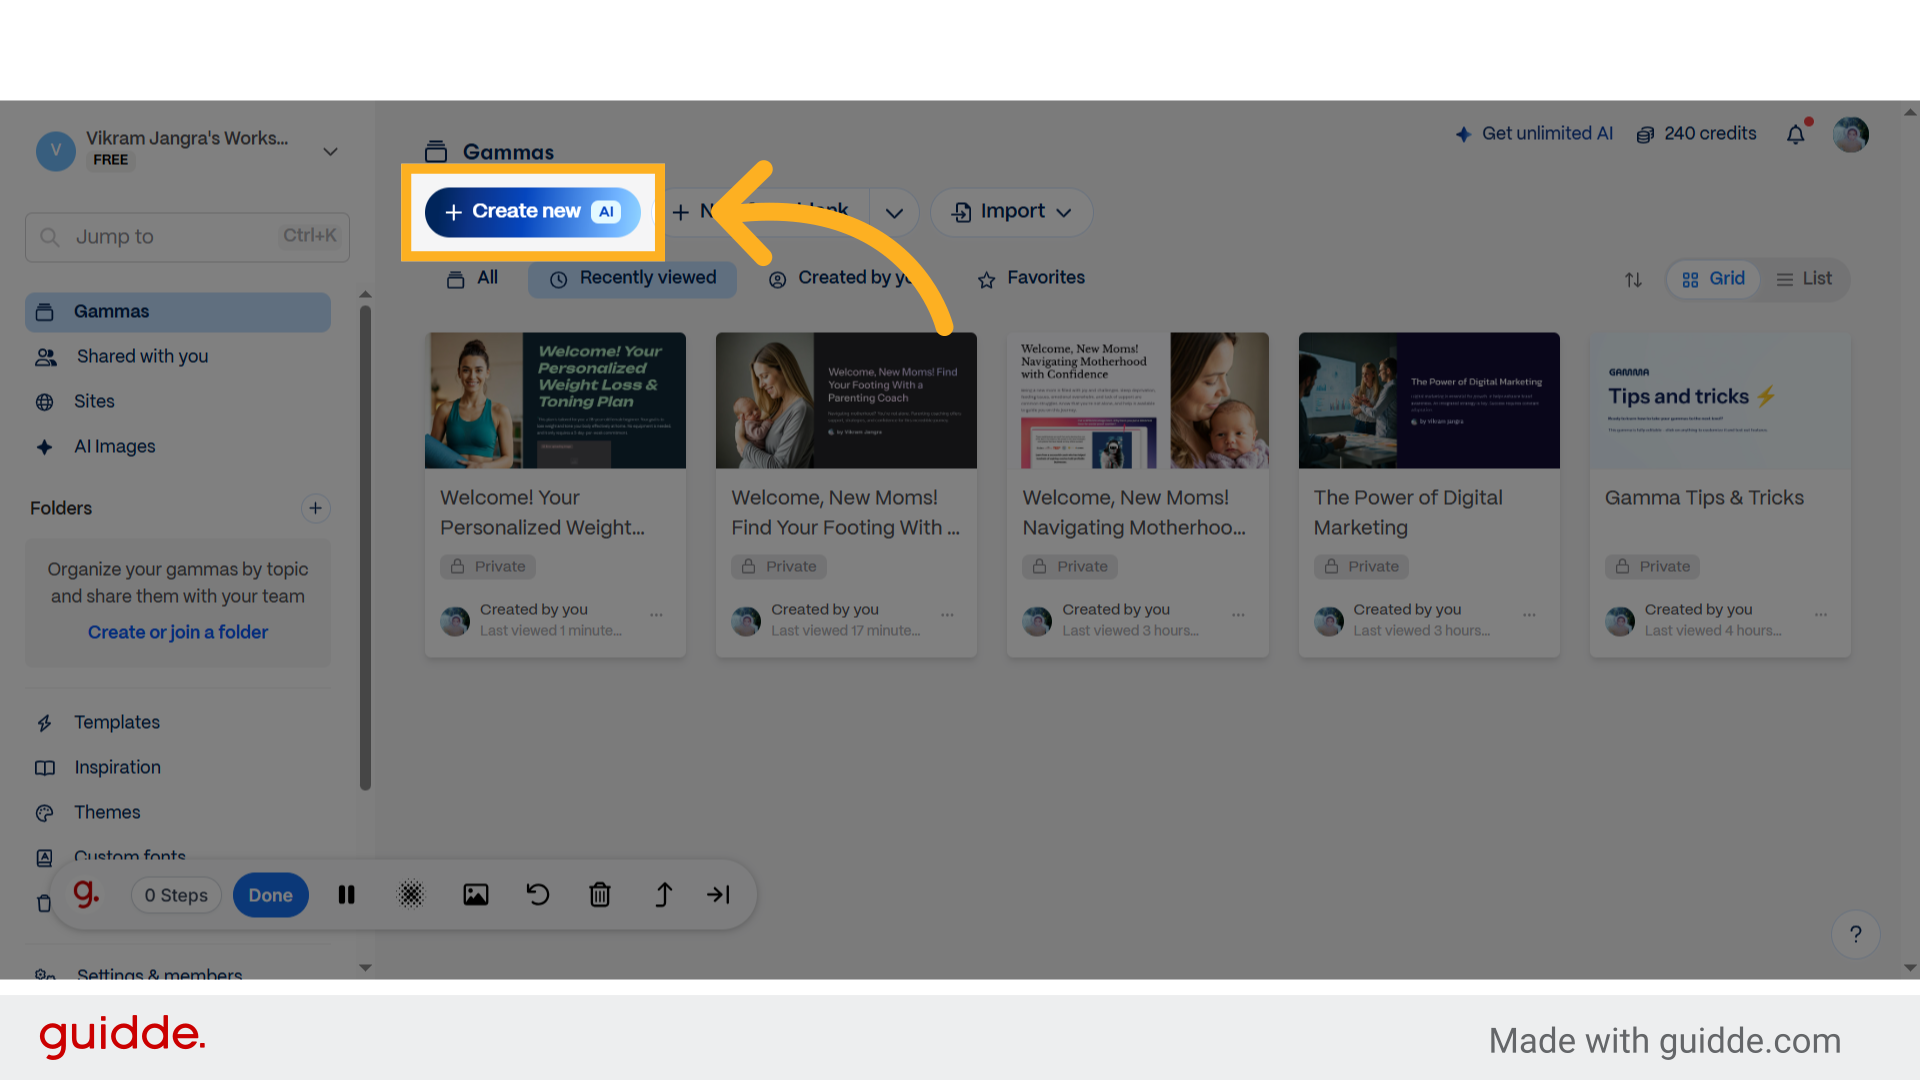
1. Click "Create newAI"
Initiate the creation of a new AI project.
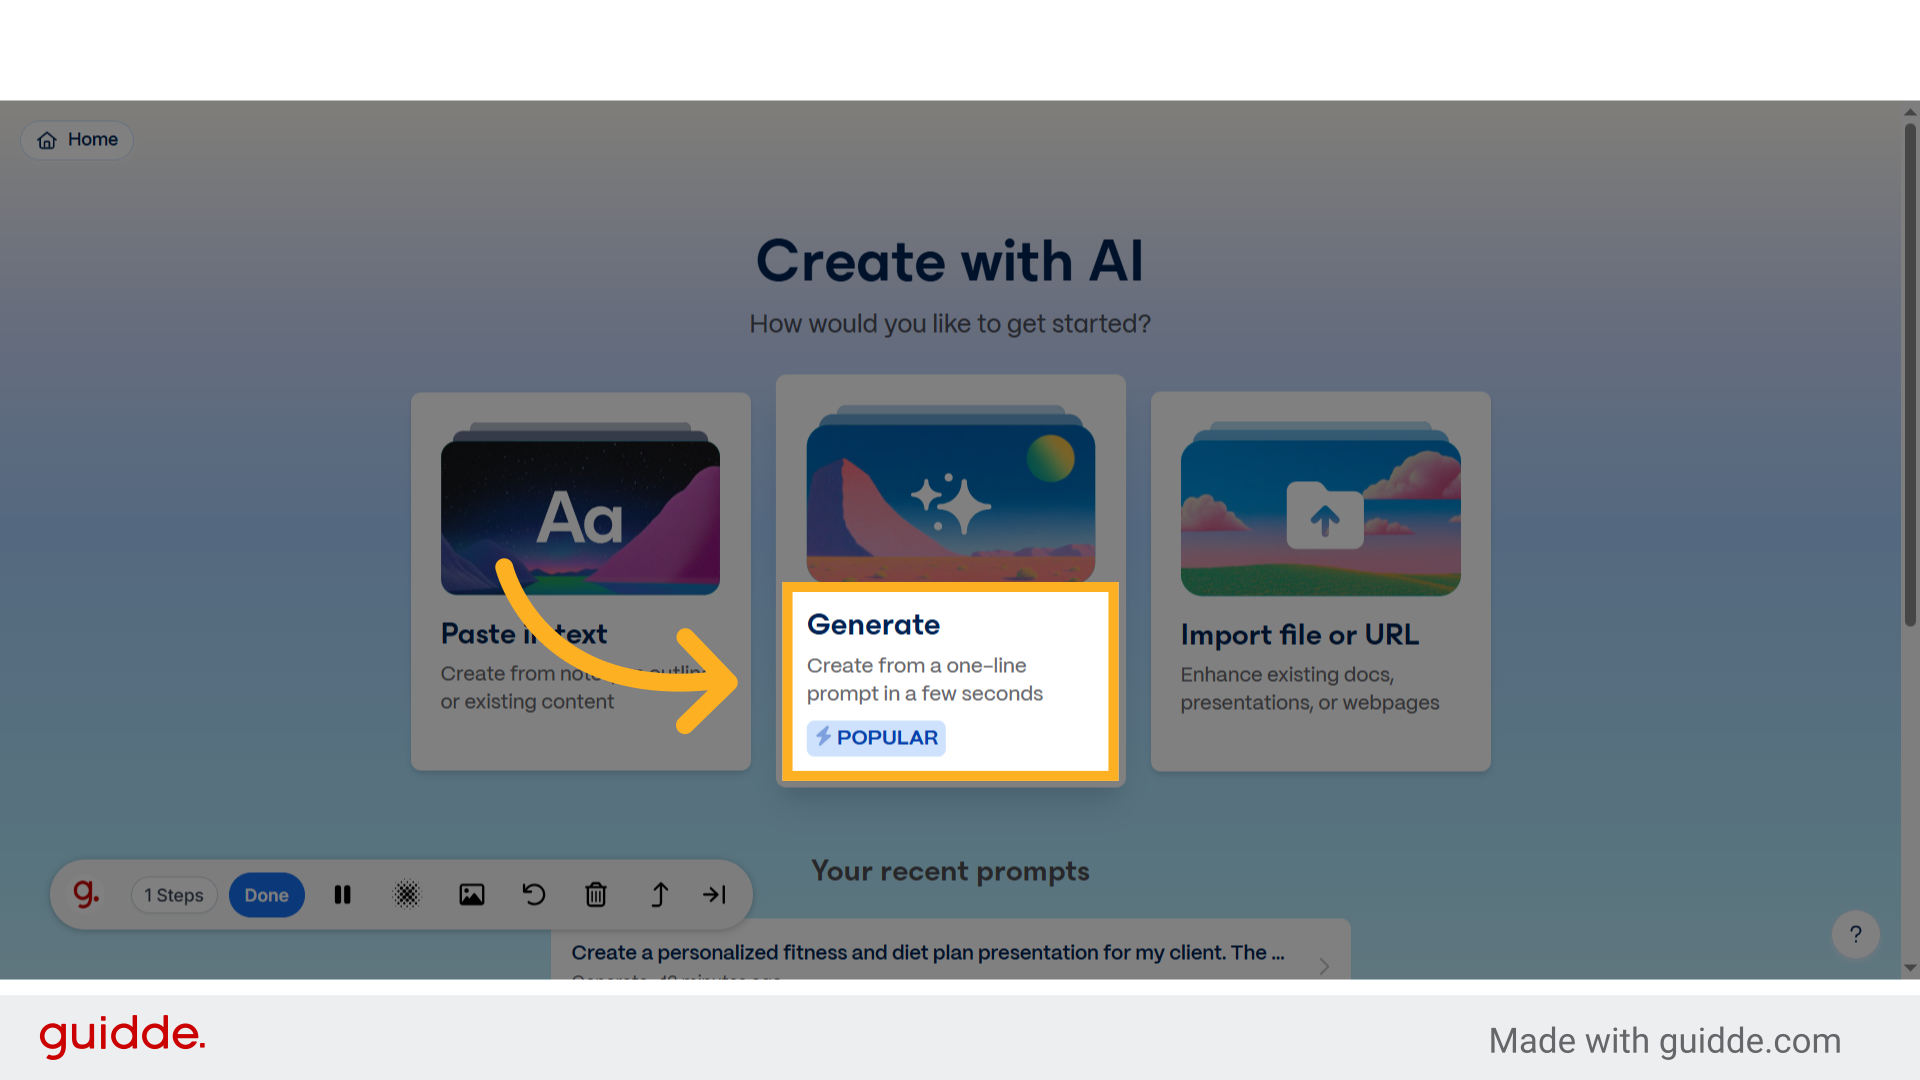
2. Click "GenerateCreate from a one-line prompt in a few seconds Popular"
Generate content from a simple prompt.
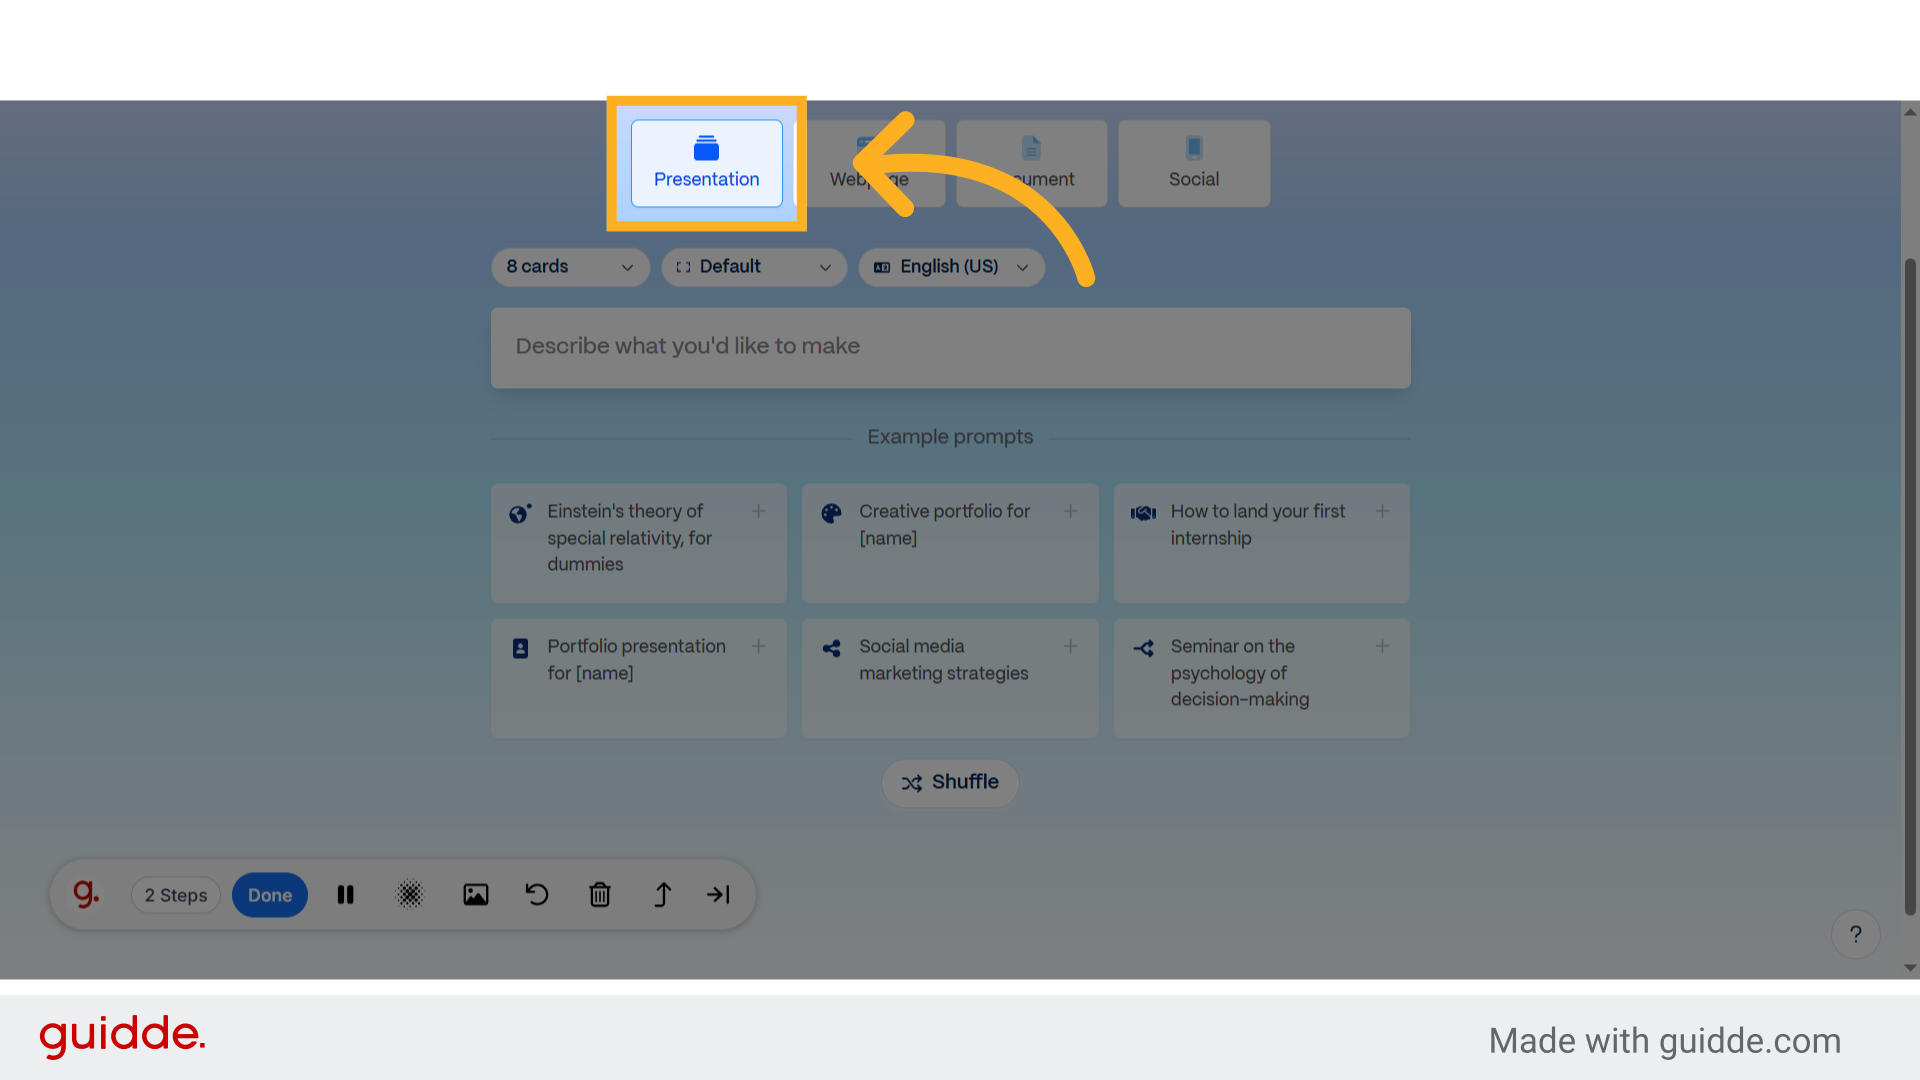
3. Click "Presentation"
Access the presentation feature.
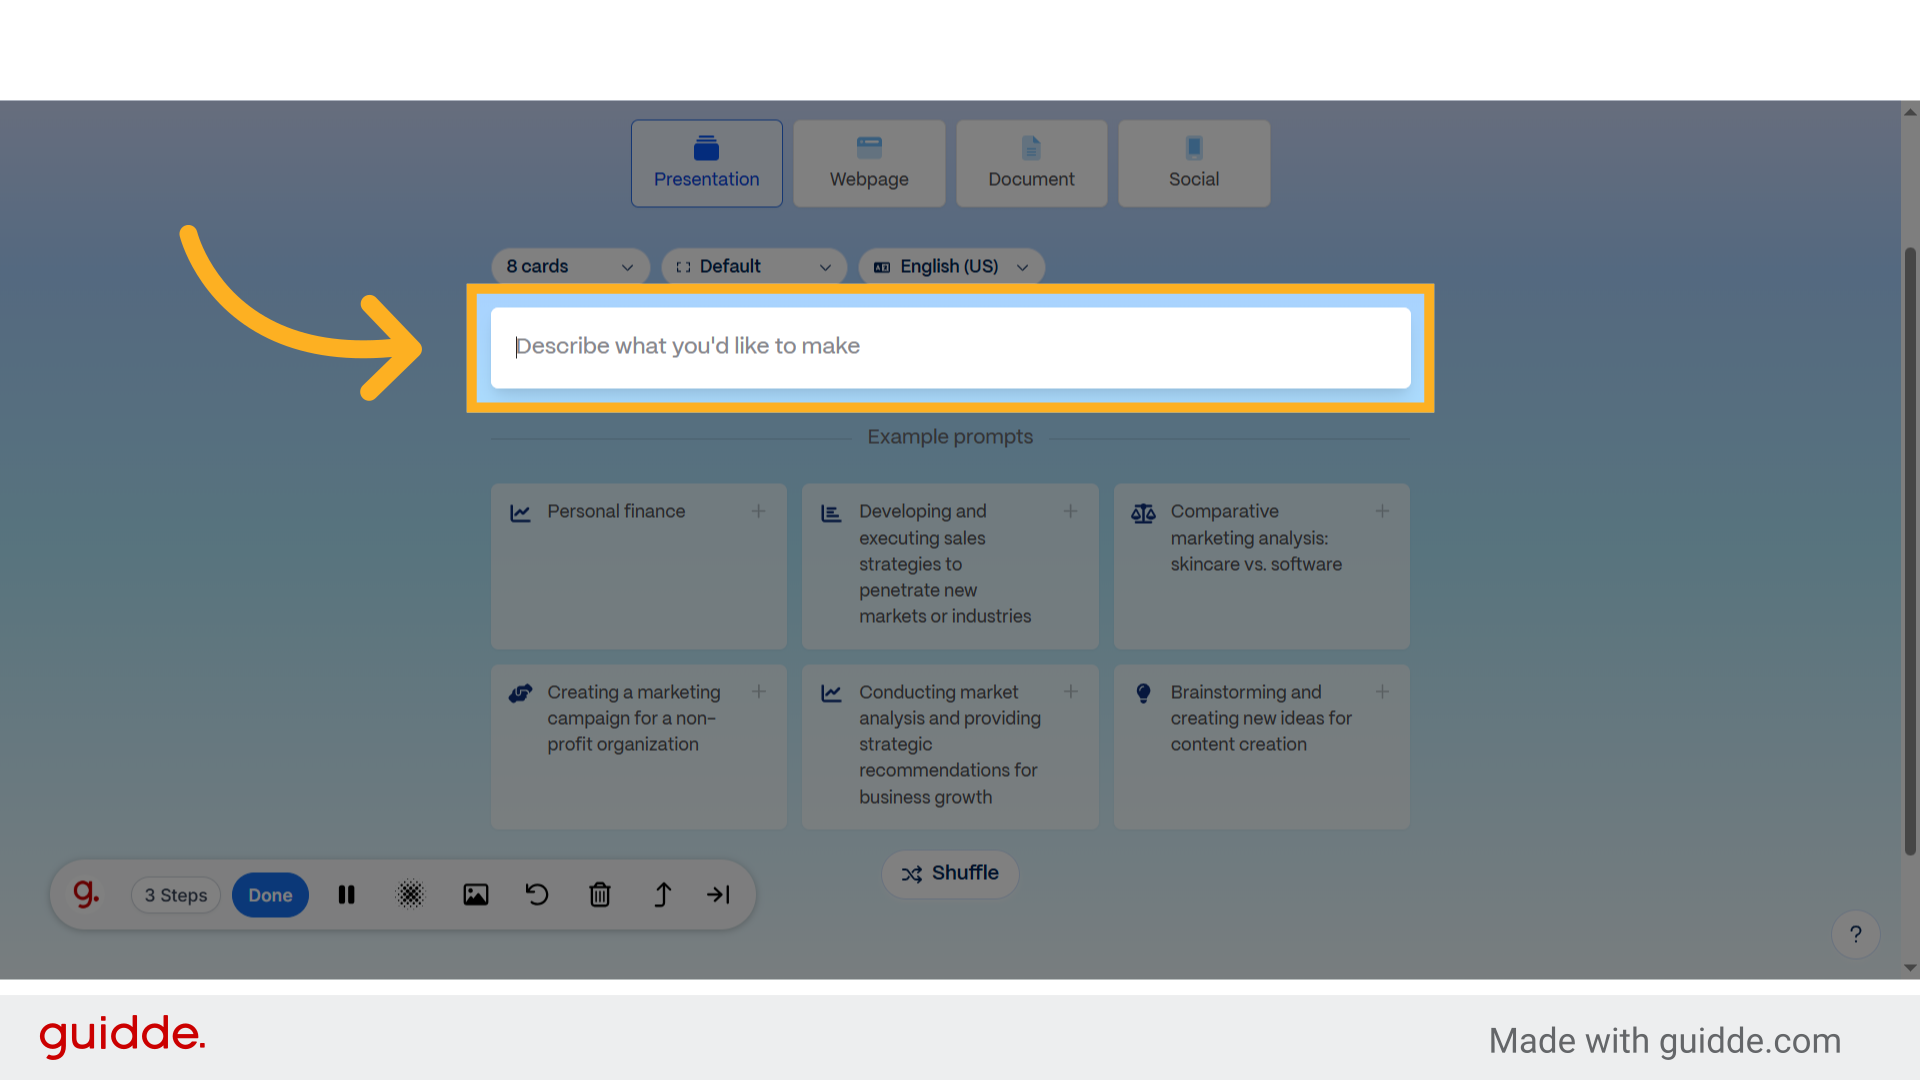
4. Click "Describe what you'd like to make"
Provide a description of the desired project.
5. Fill "Create a personalized fitness and diet plan presentation for my client. The client is a 28-year-old female, beginner level, whose goal is to lose weight and tone her body. She can work out 5 days..."
Input detailed client information for a personalized fitness plan.
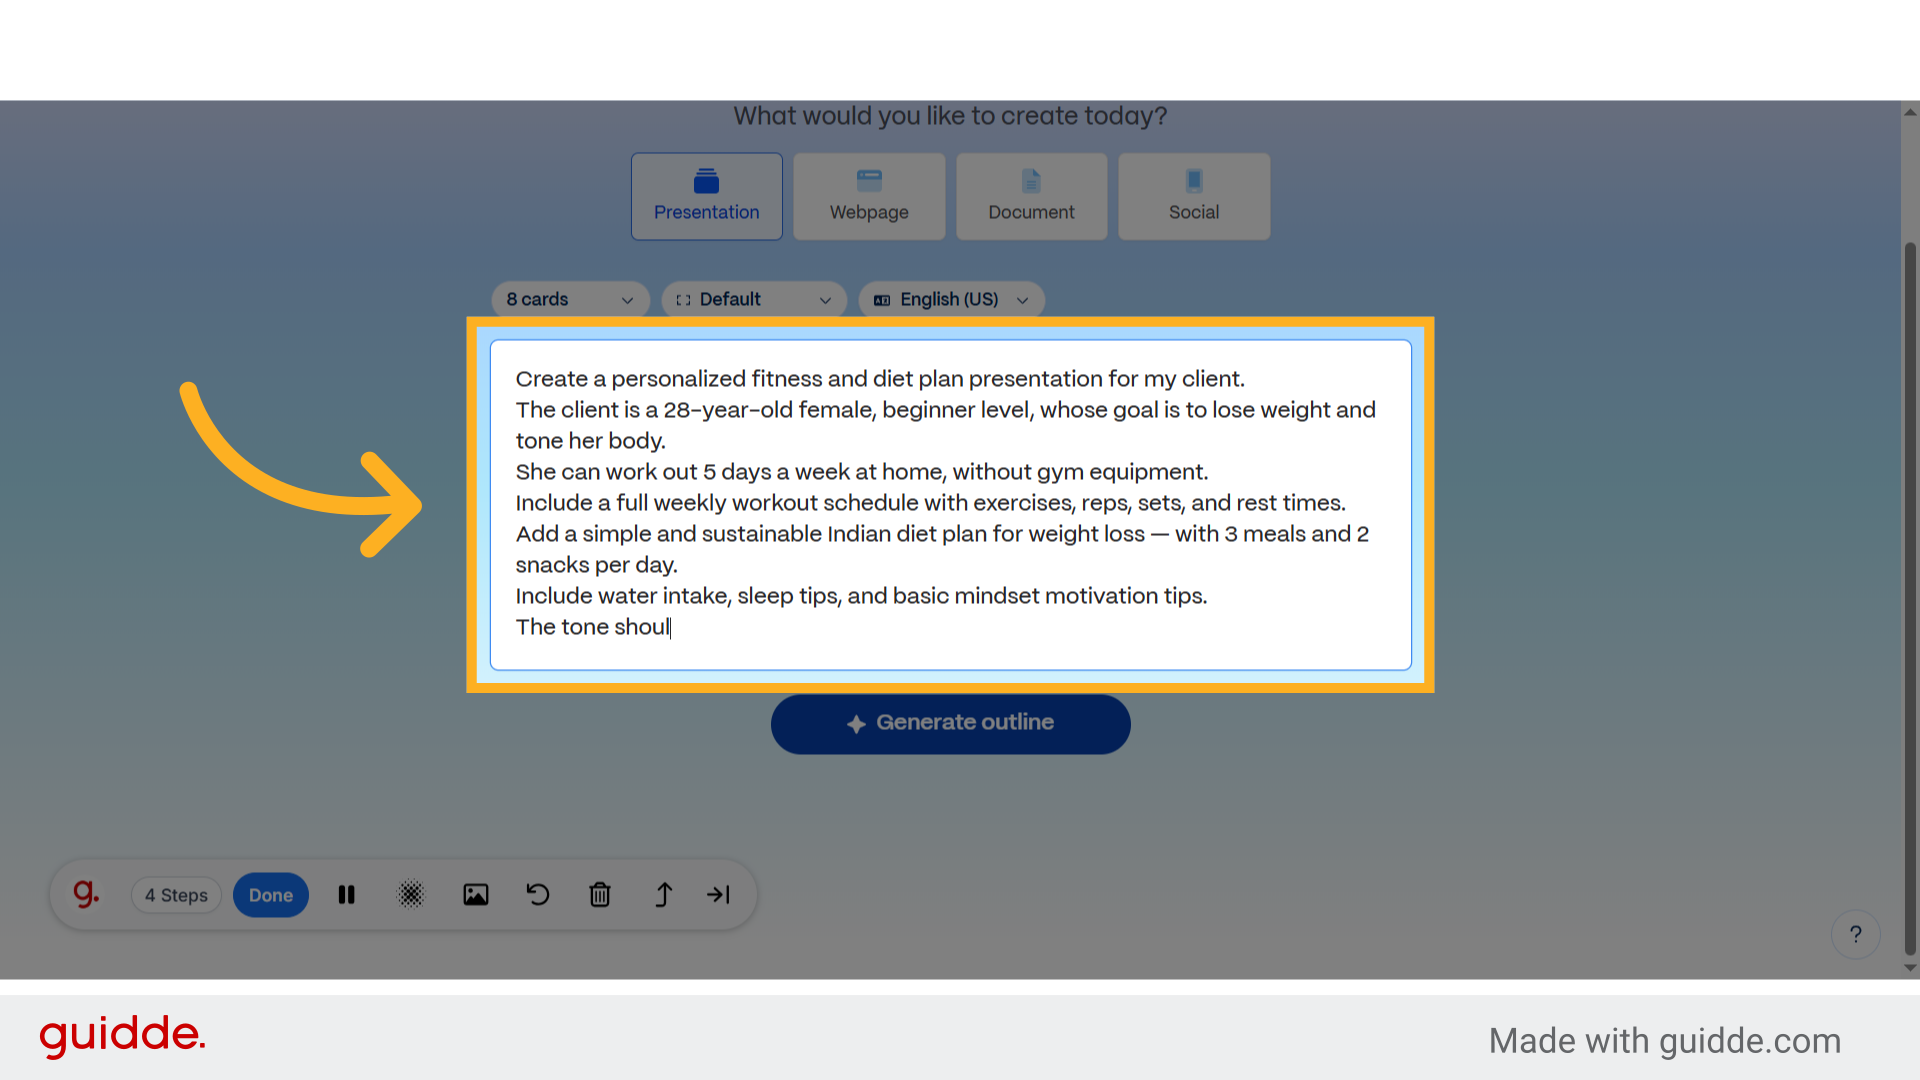
6. Click "Generate outline"
Generate an outline for the fitness plan.
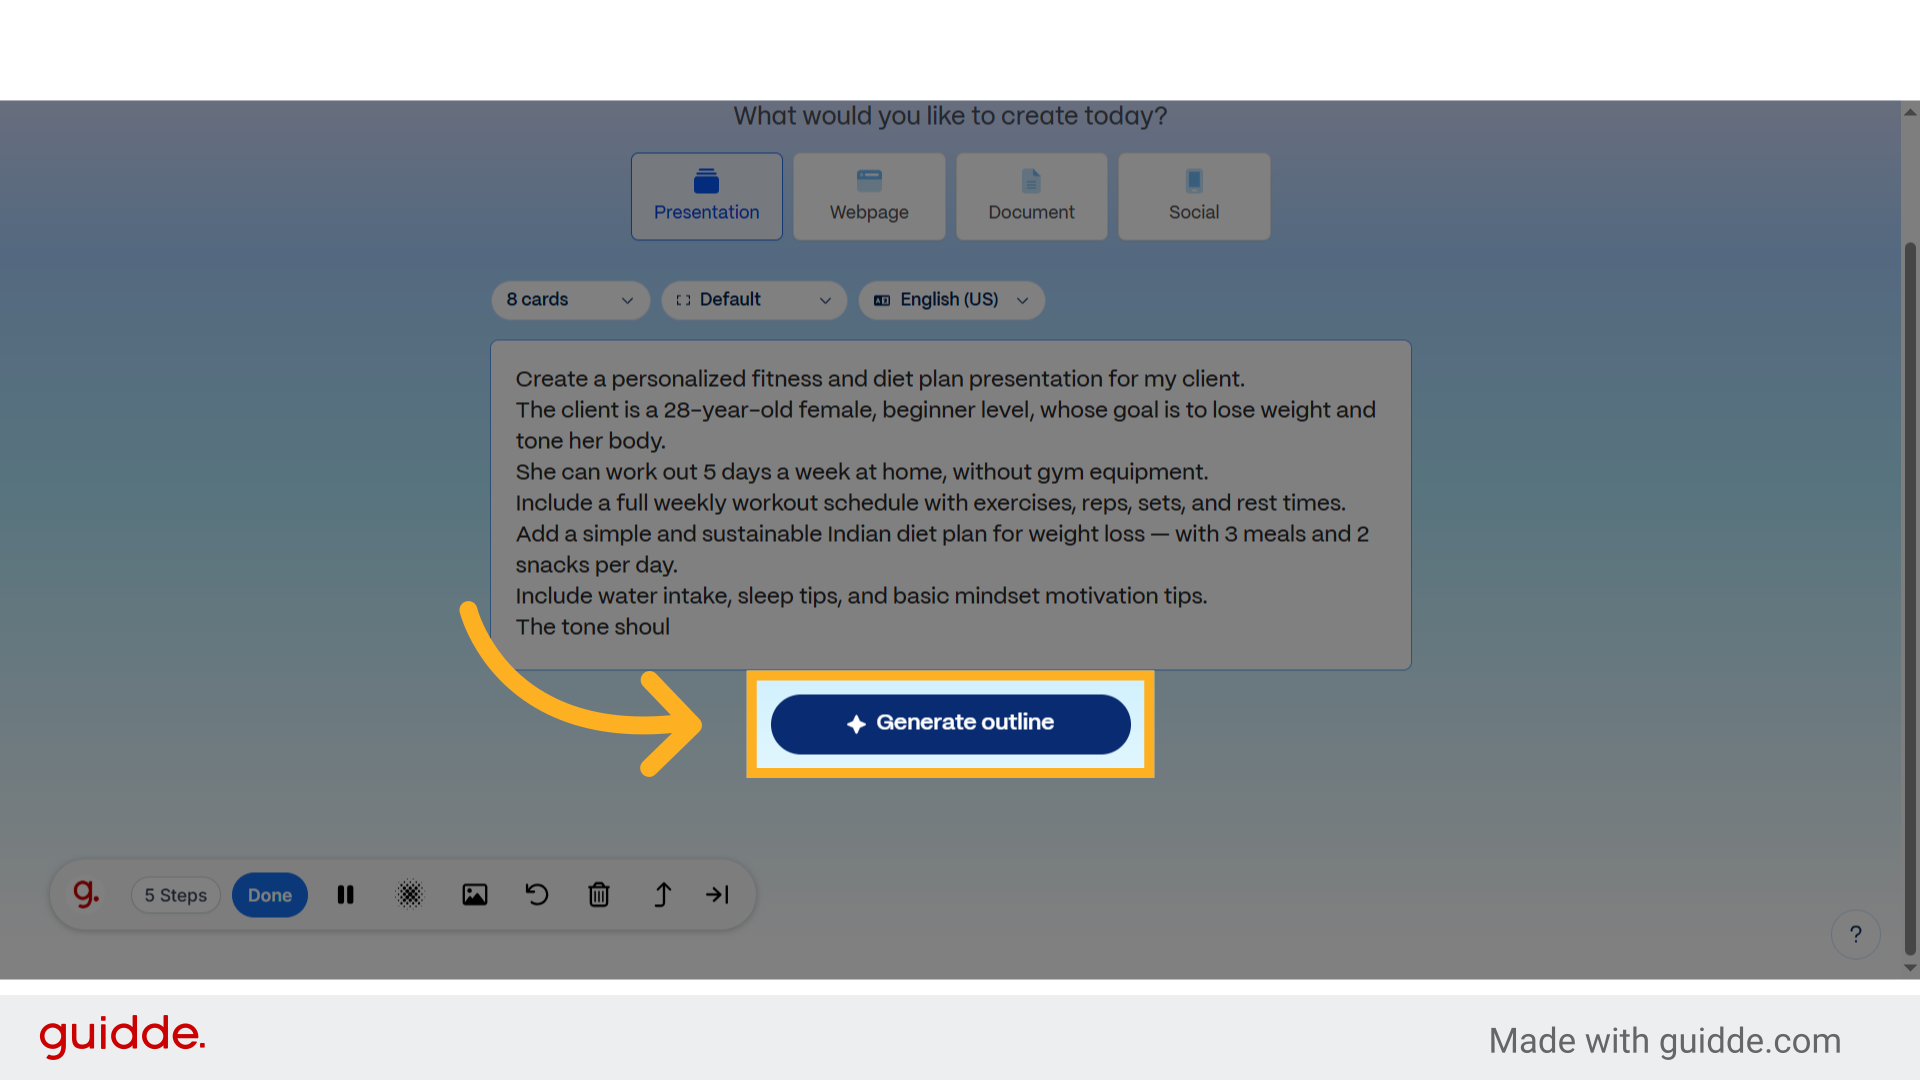
7. Click "2"
Select the second option.
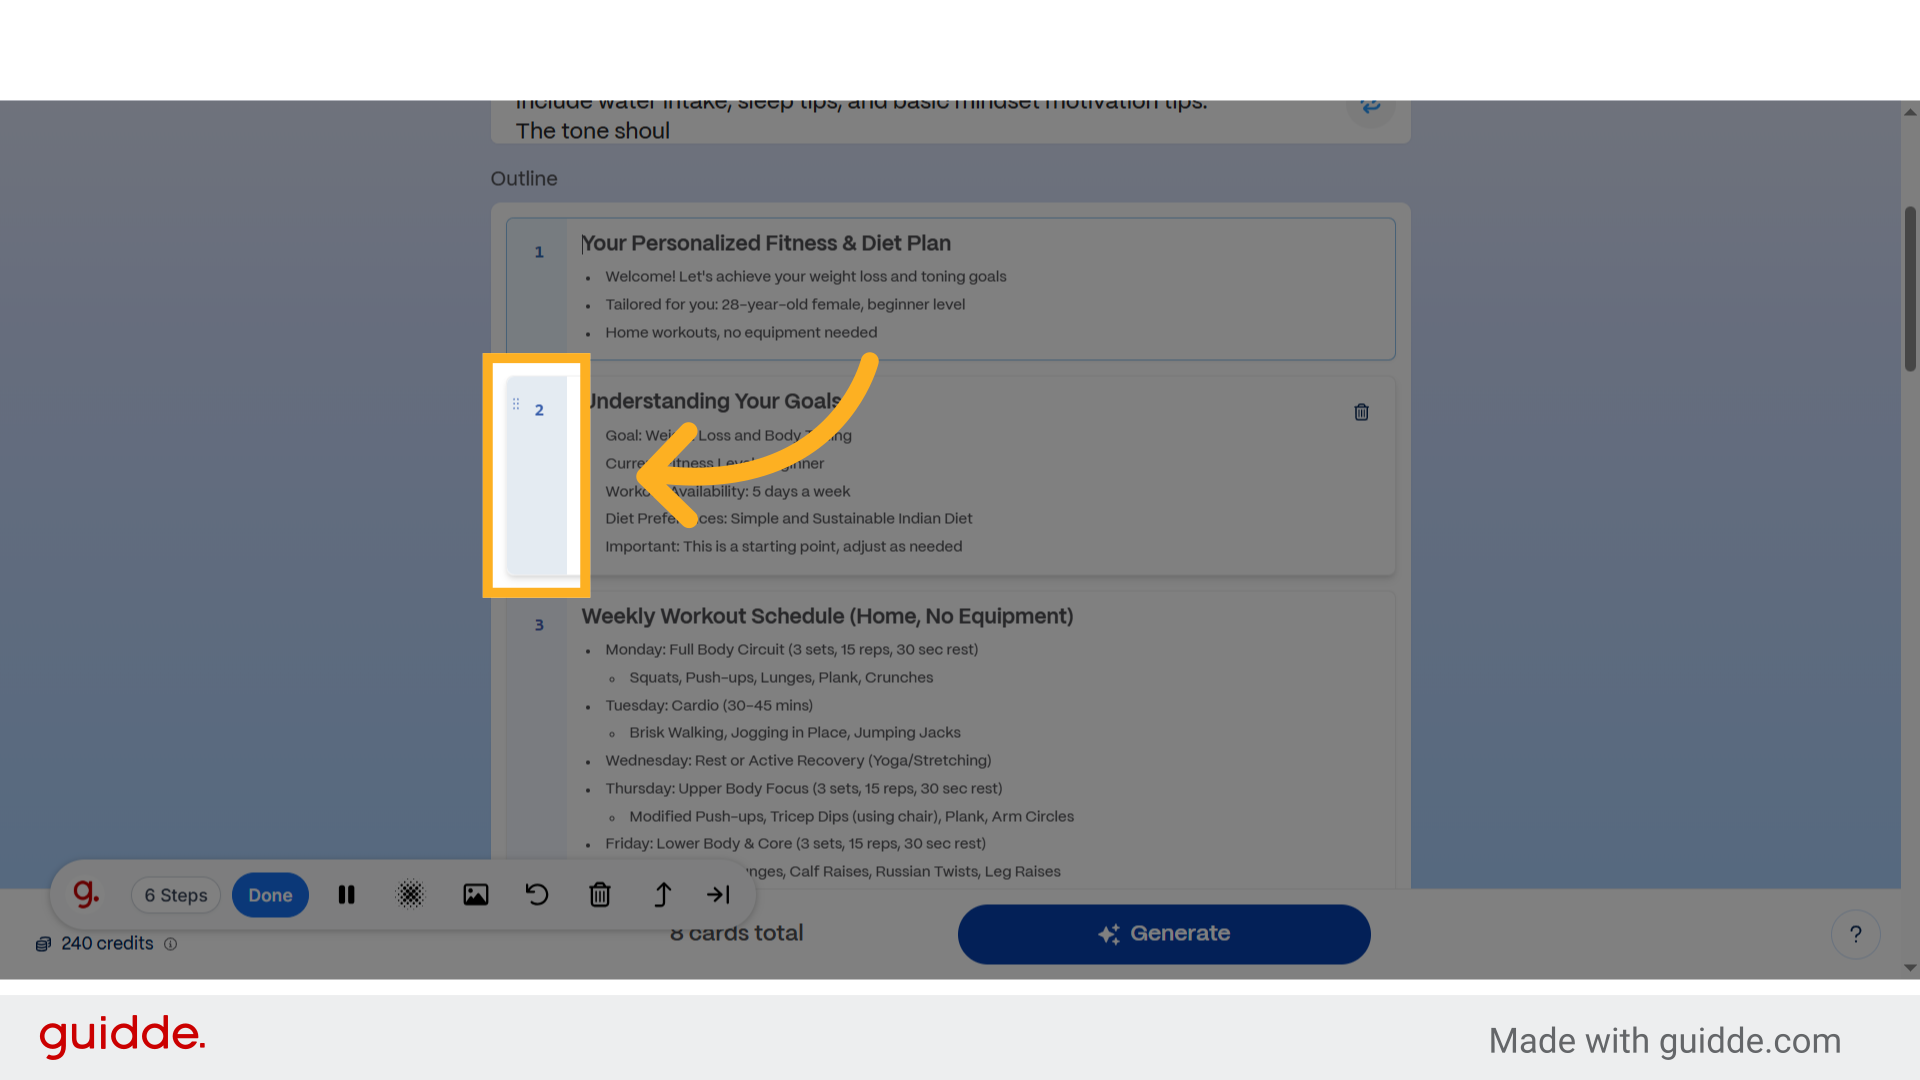
8. Click here
Navigate to the specified location.
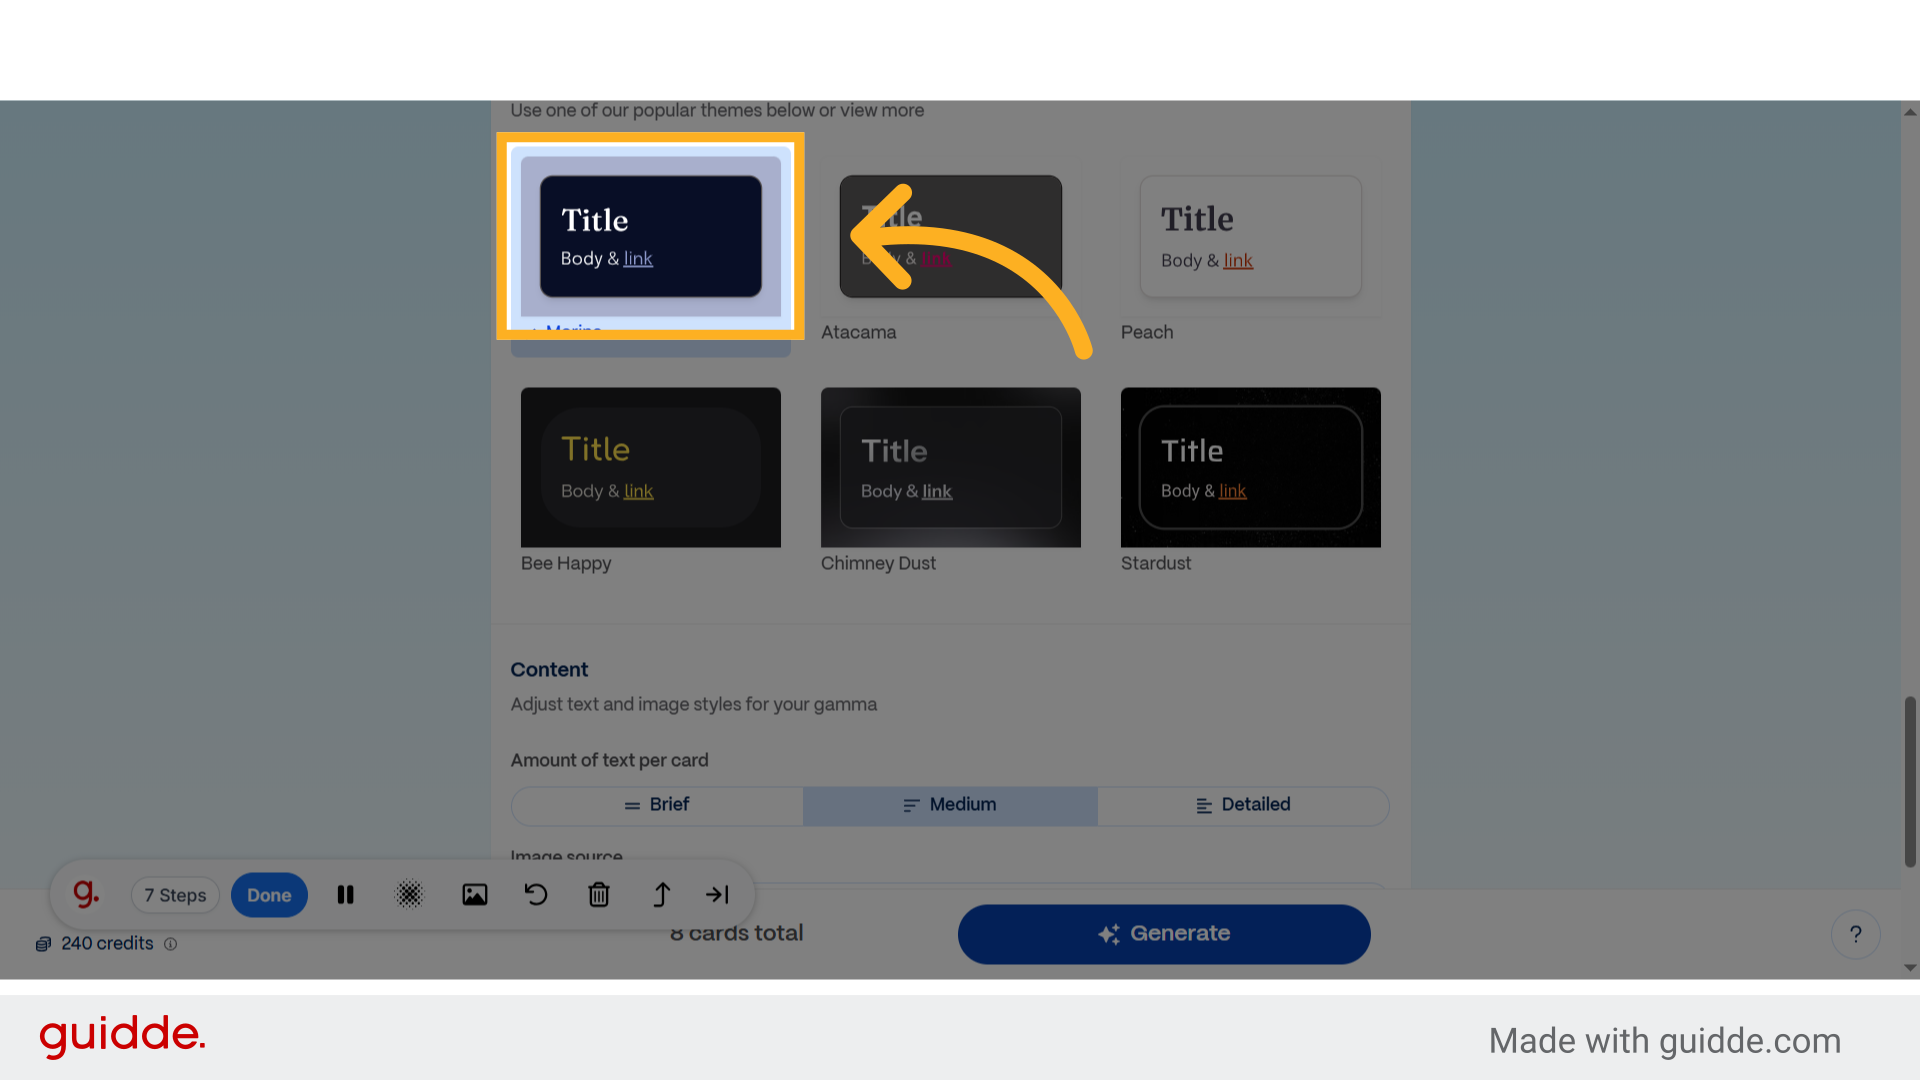
9. Click "AI images"
Access the AI images section.
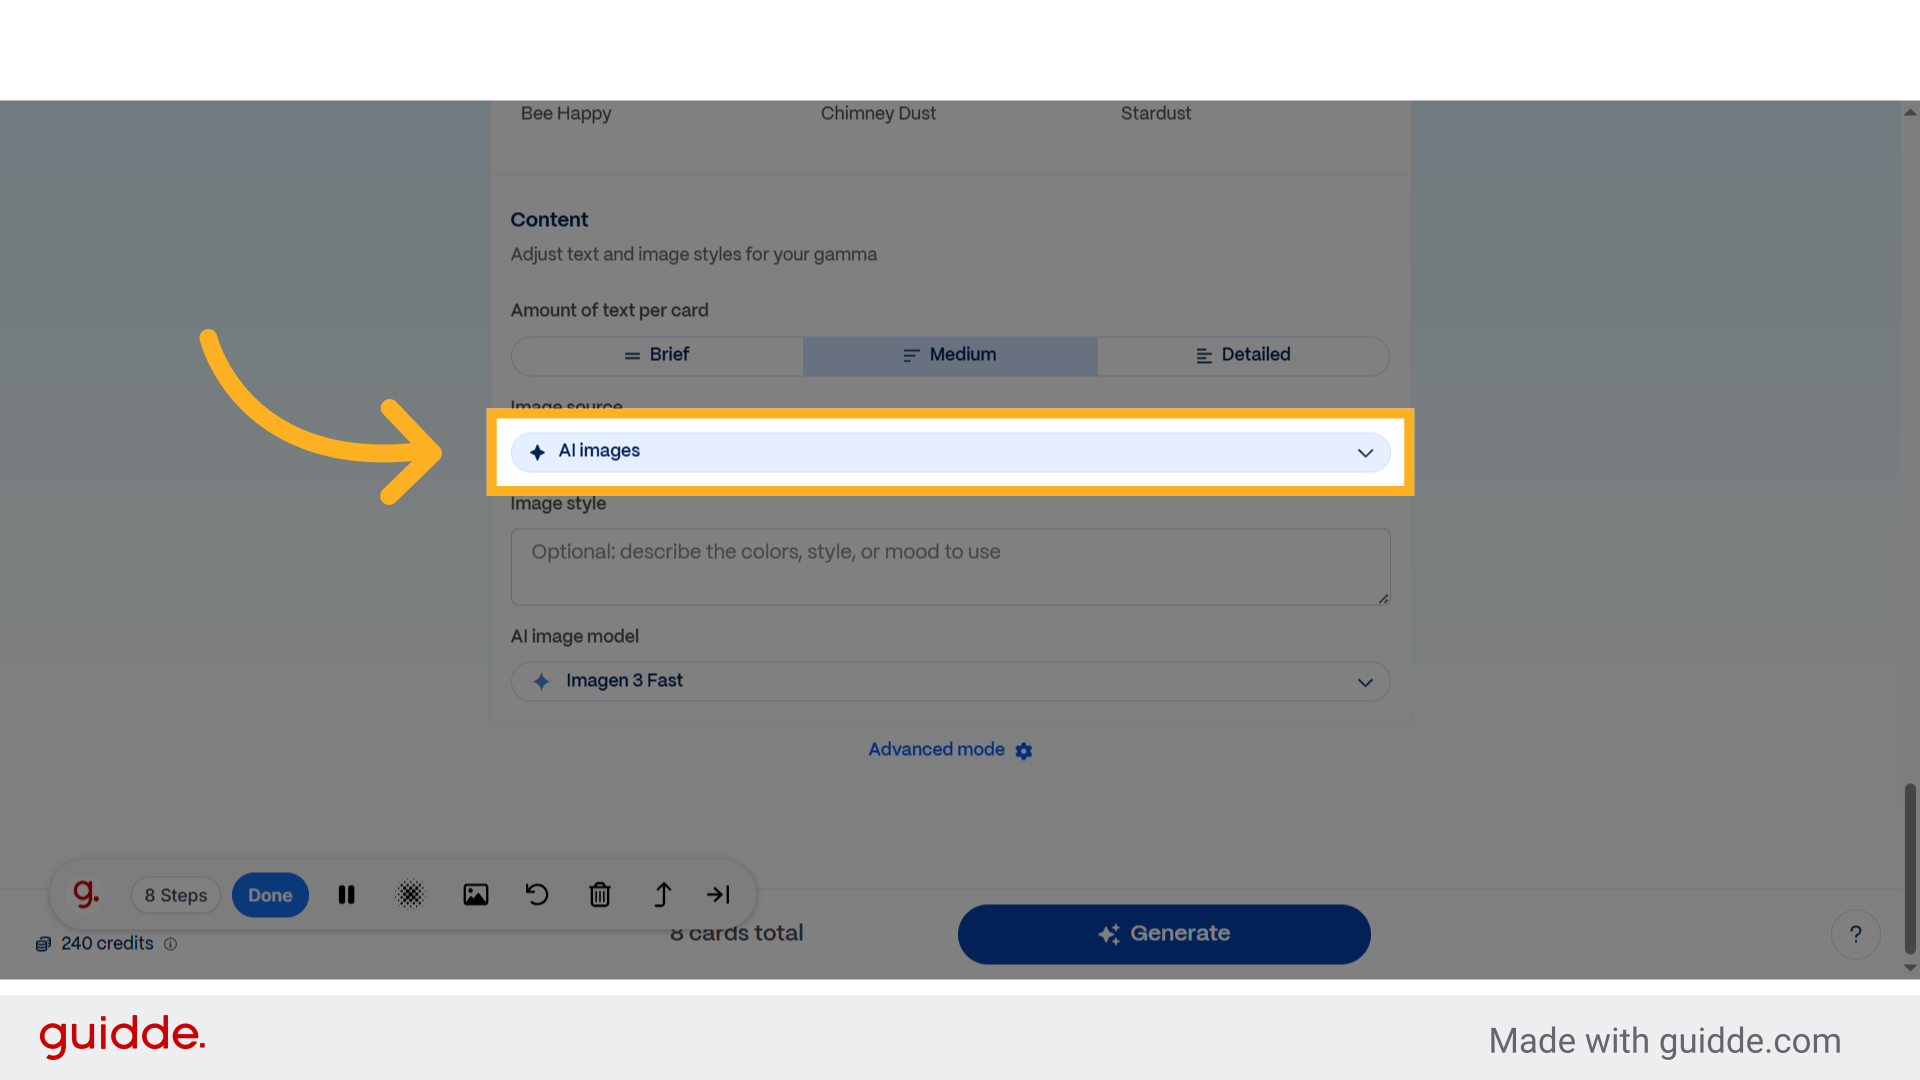
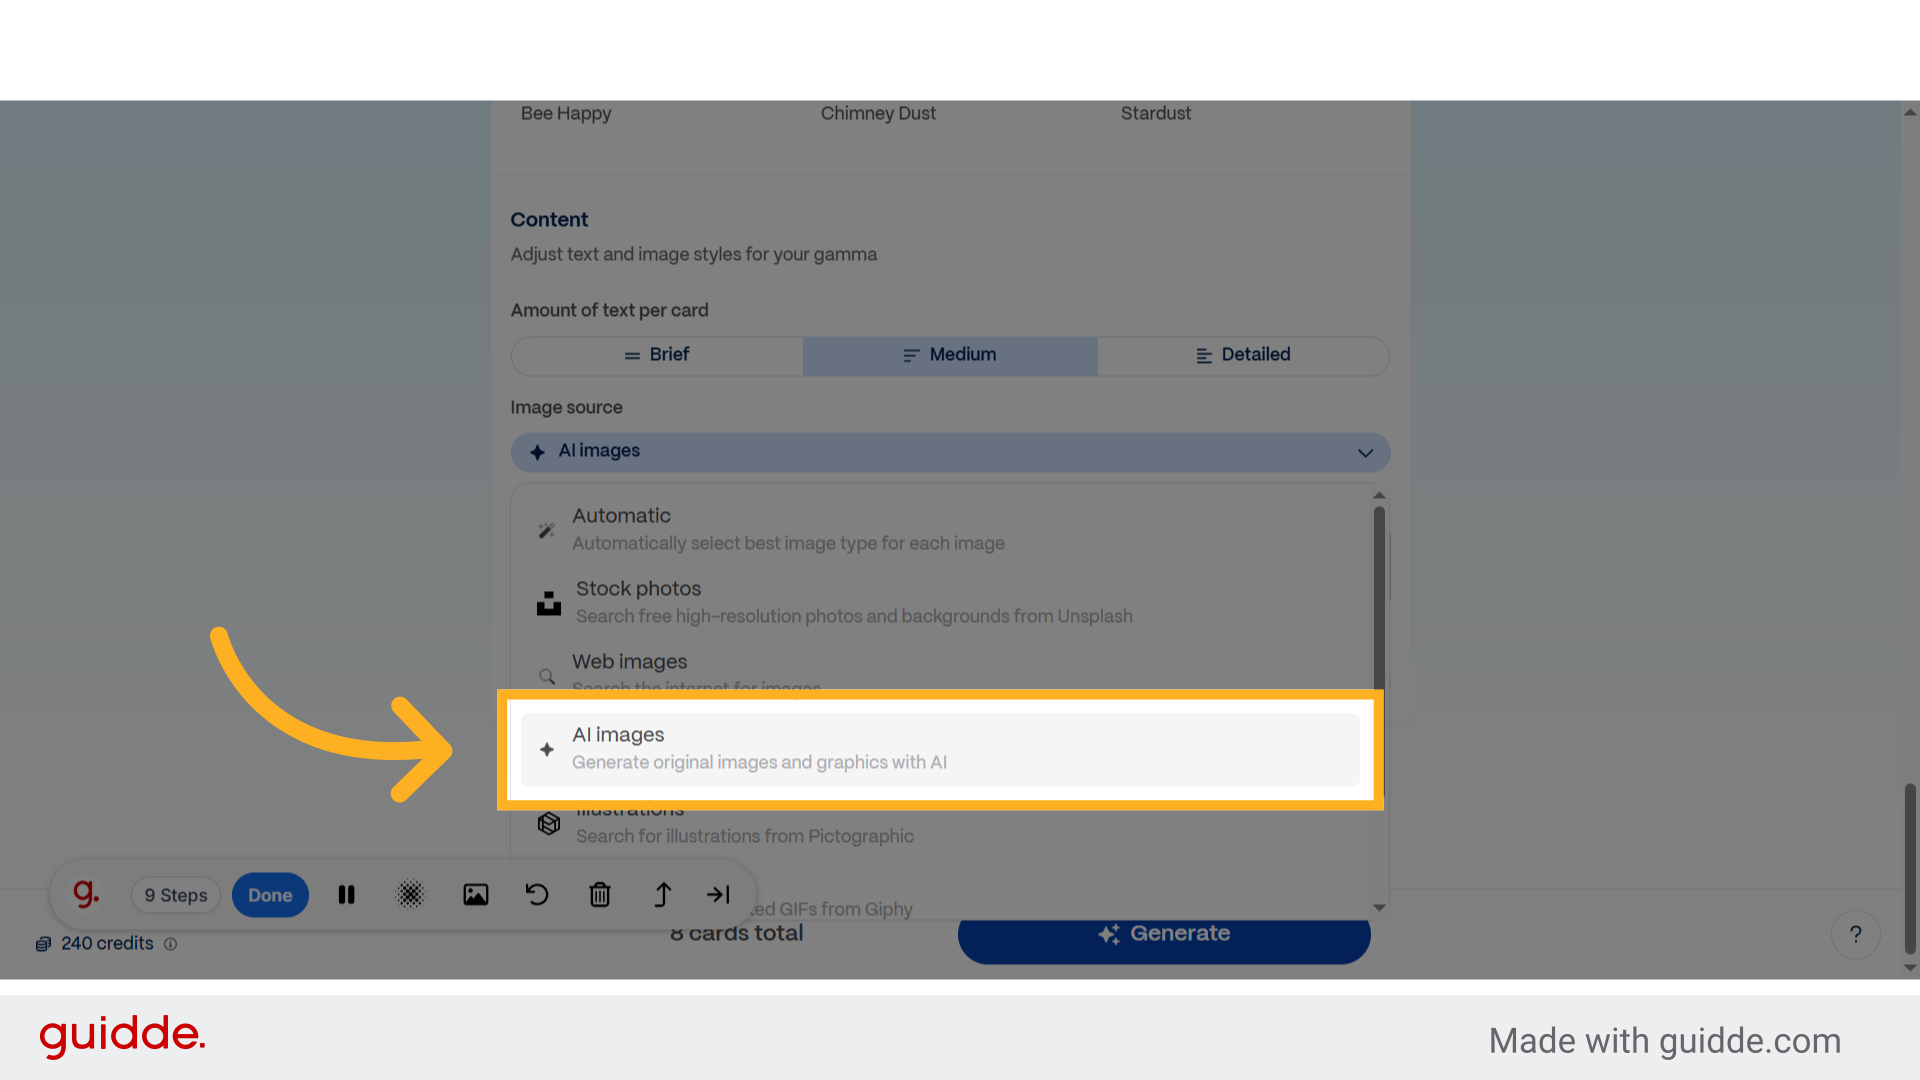
10. Click "AI imagesGenerate original images and graphics with AI"
Utilize AI to create original images and graphics.
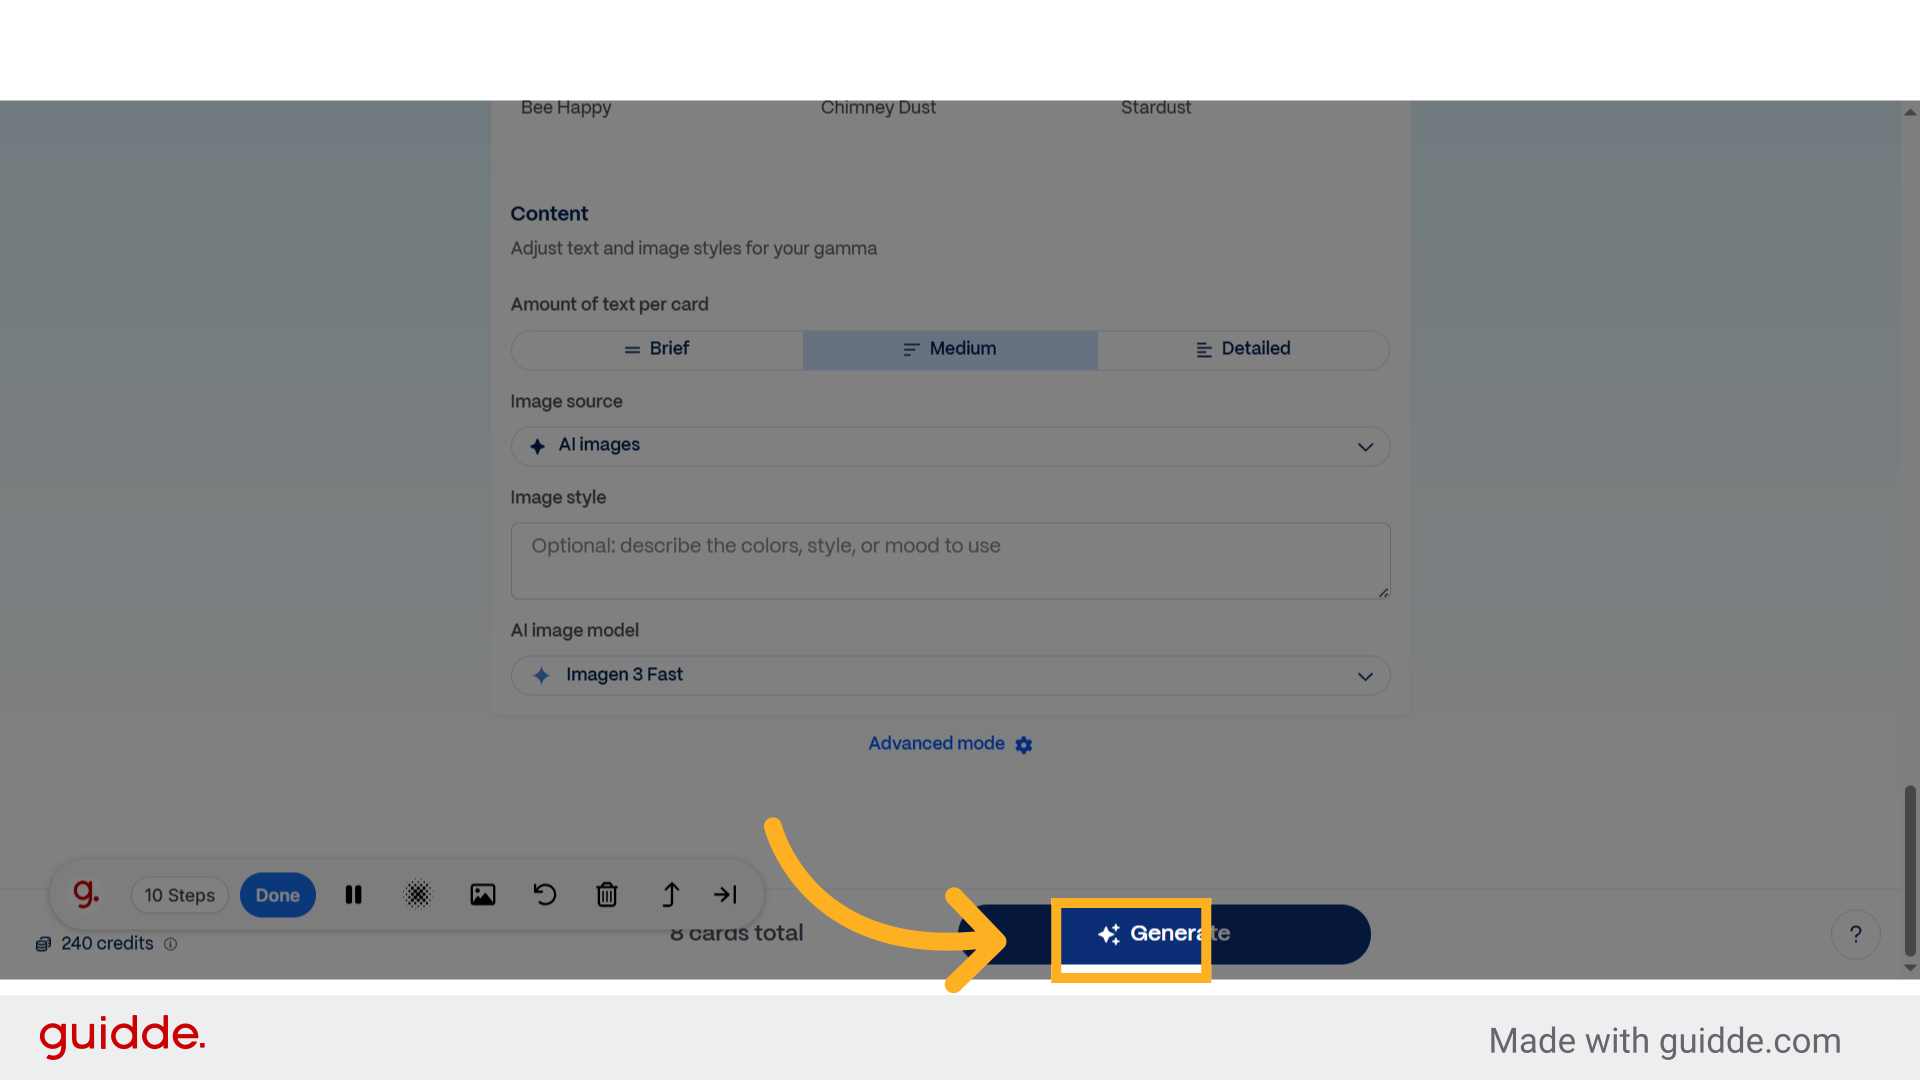
11. Click "Generate"
Initiate the generation process.
12. Click "Your Personalized Fitness Journey"
Access the personalized fitness journey section.
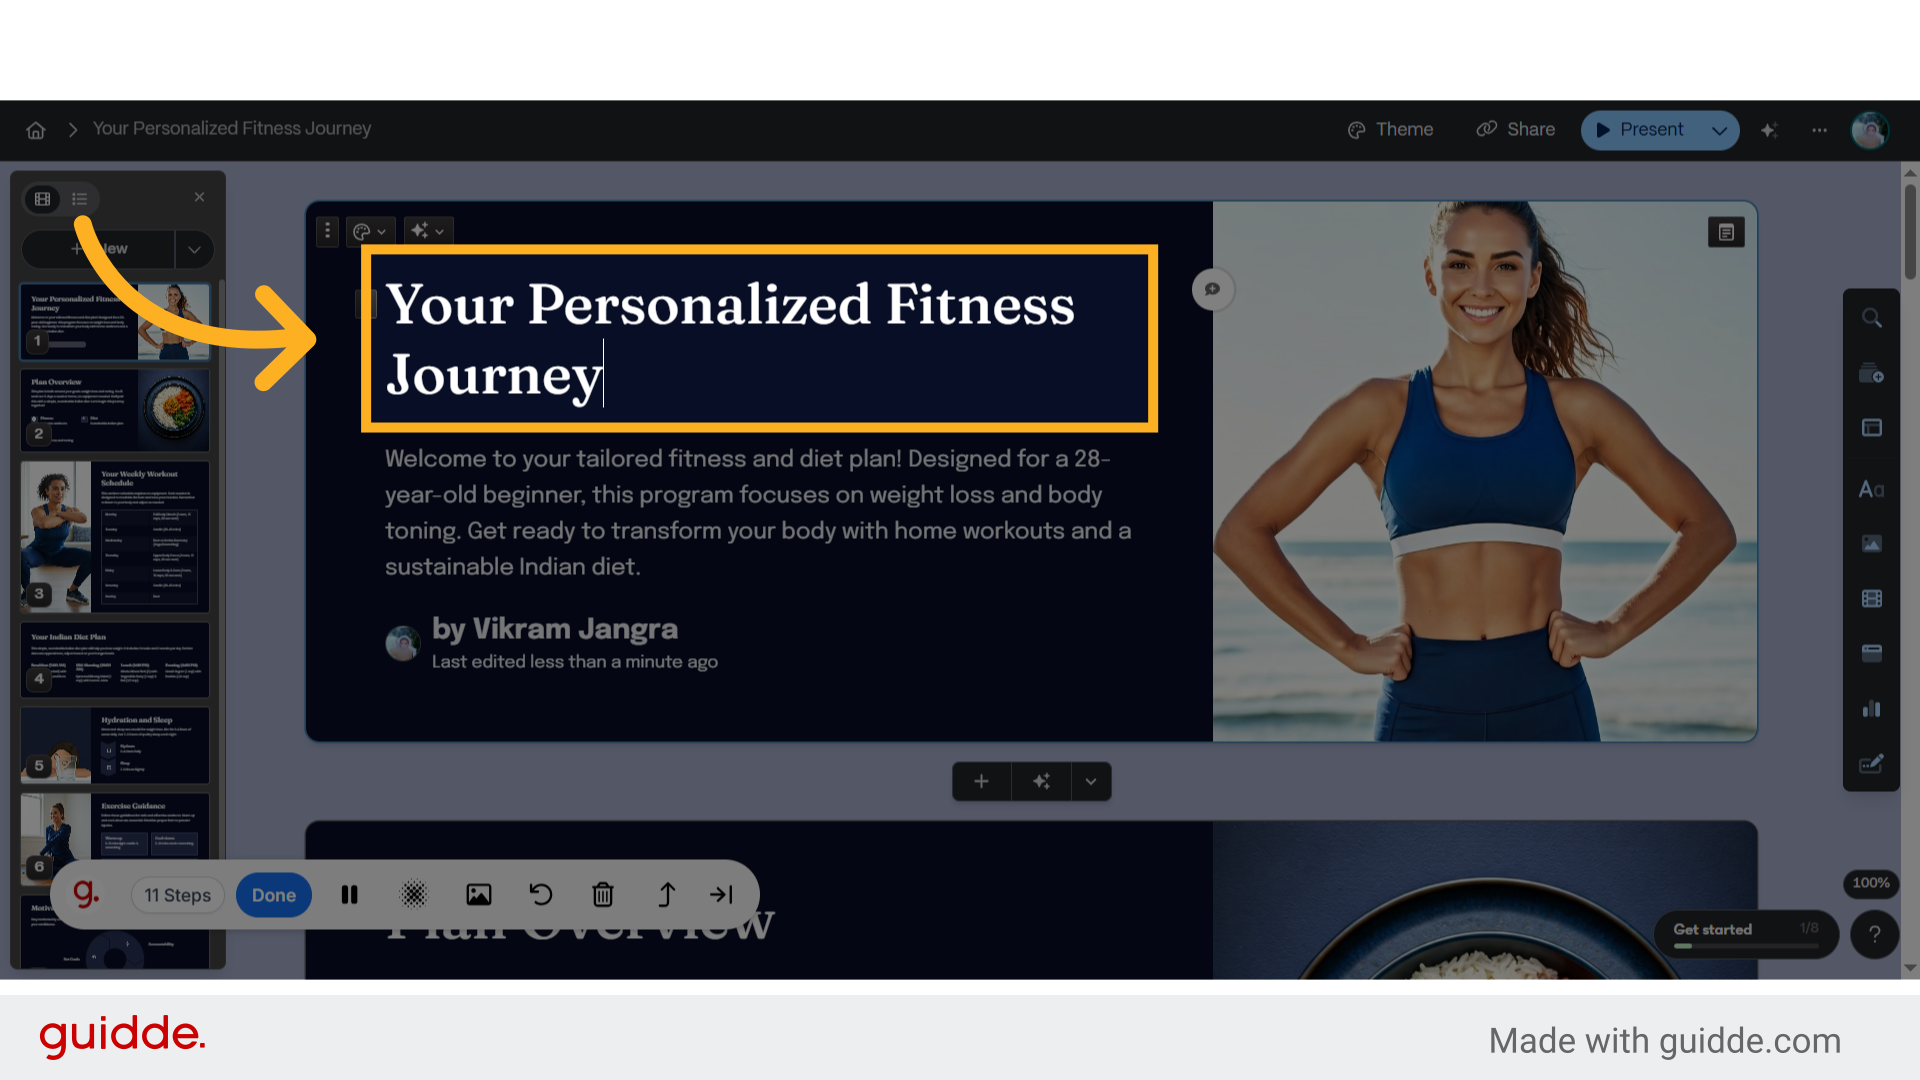
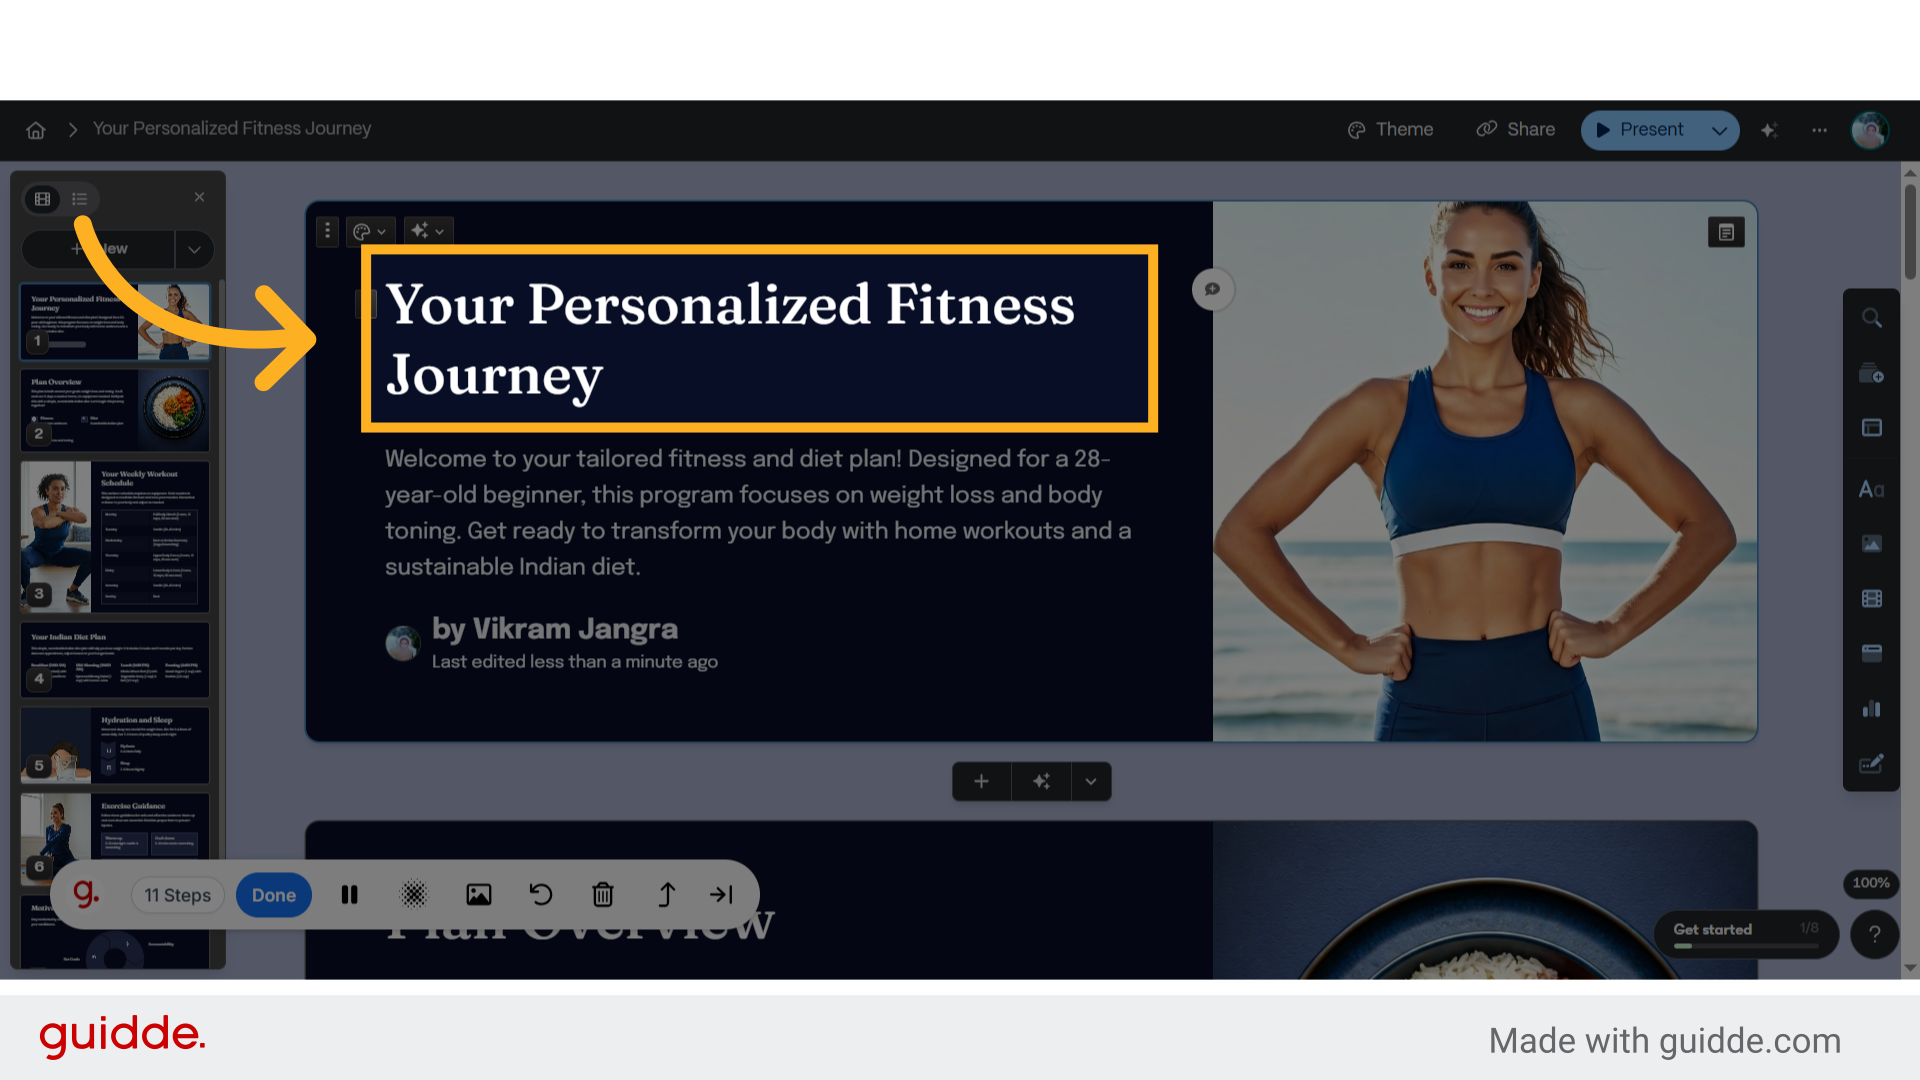
13. Click "Your Personalized Fitness Journey"
Access the personalized fitness journey section.
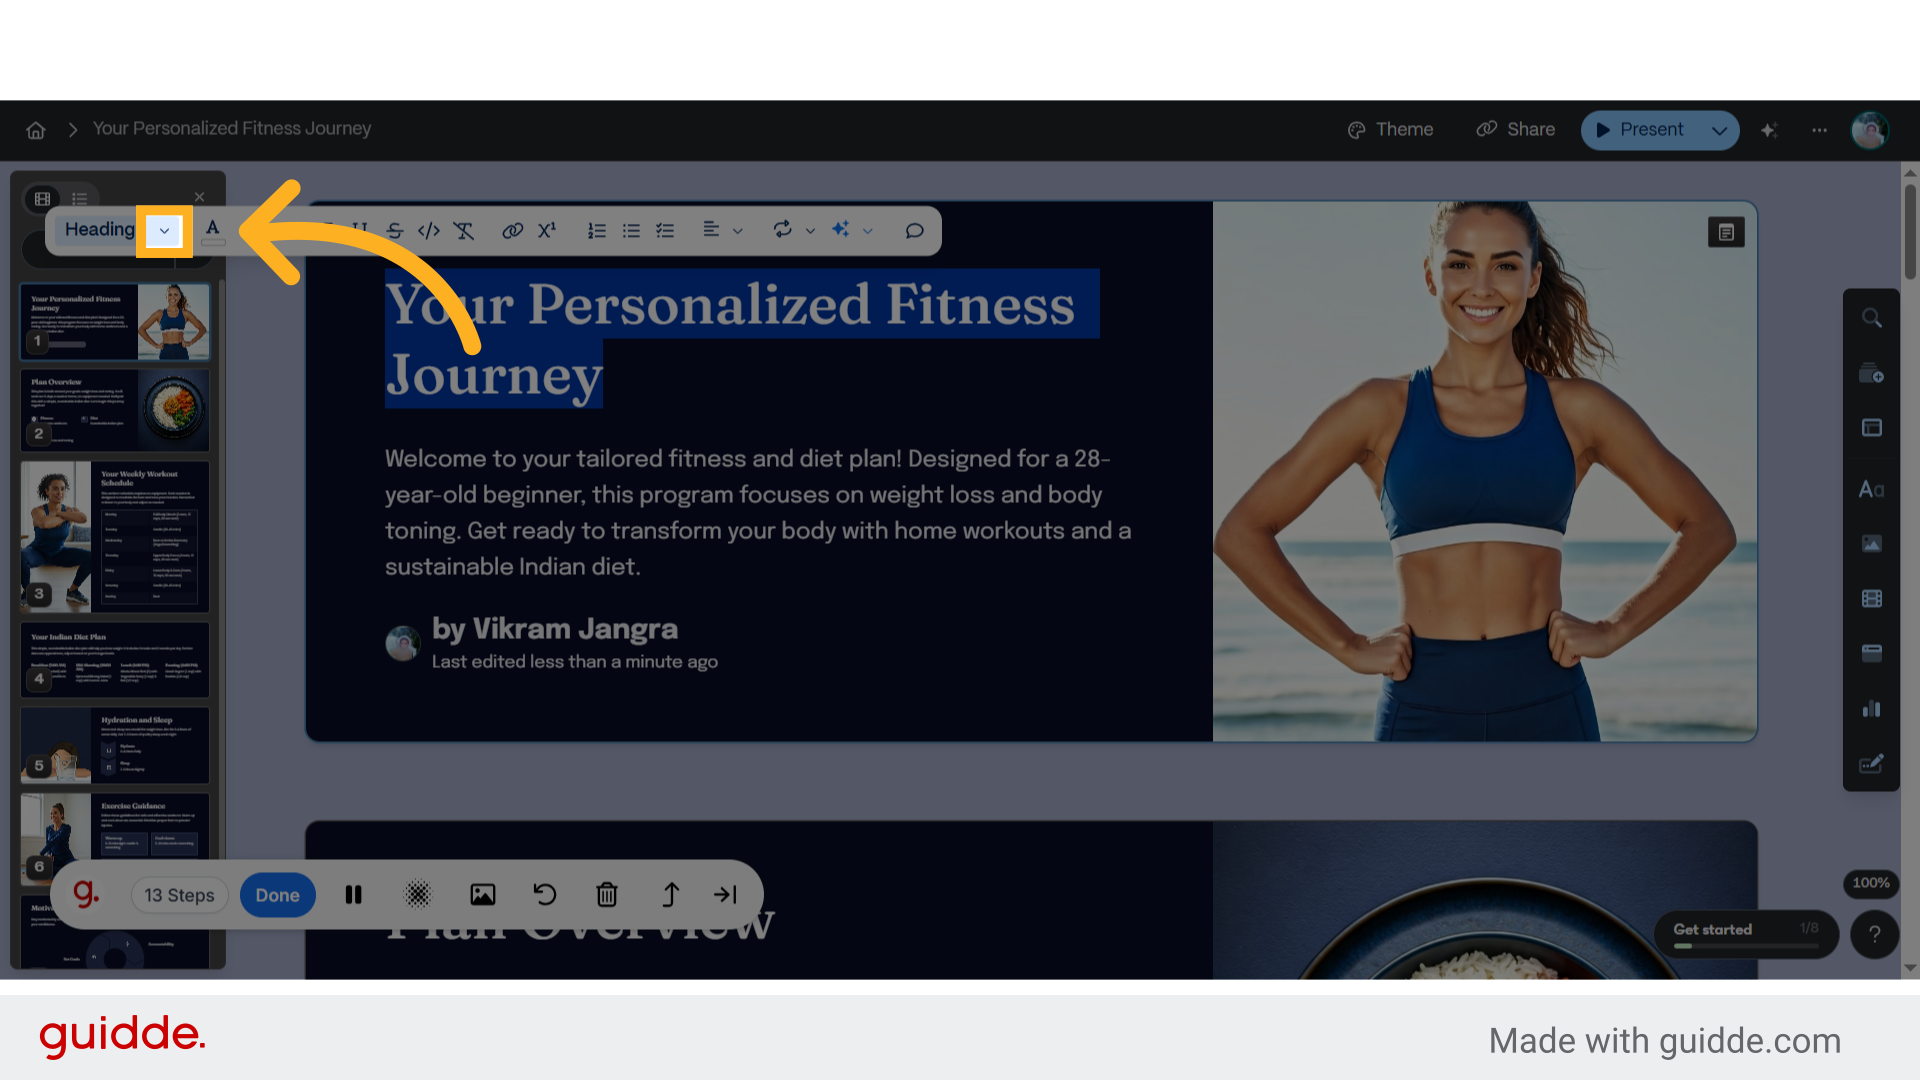
14. Click here
Navigate to the specified location.
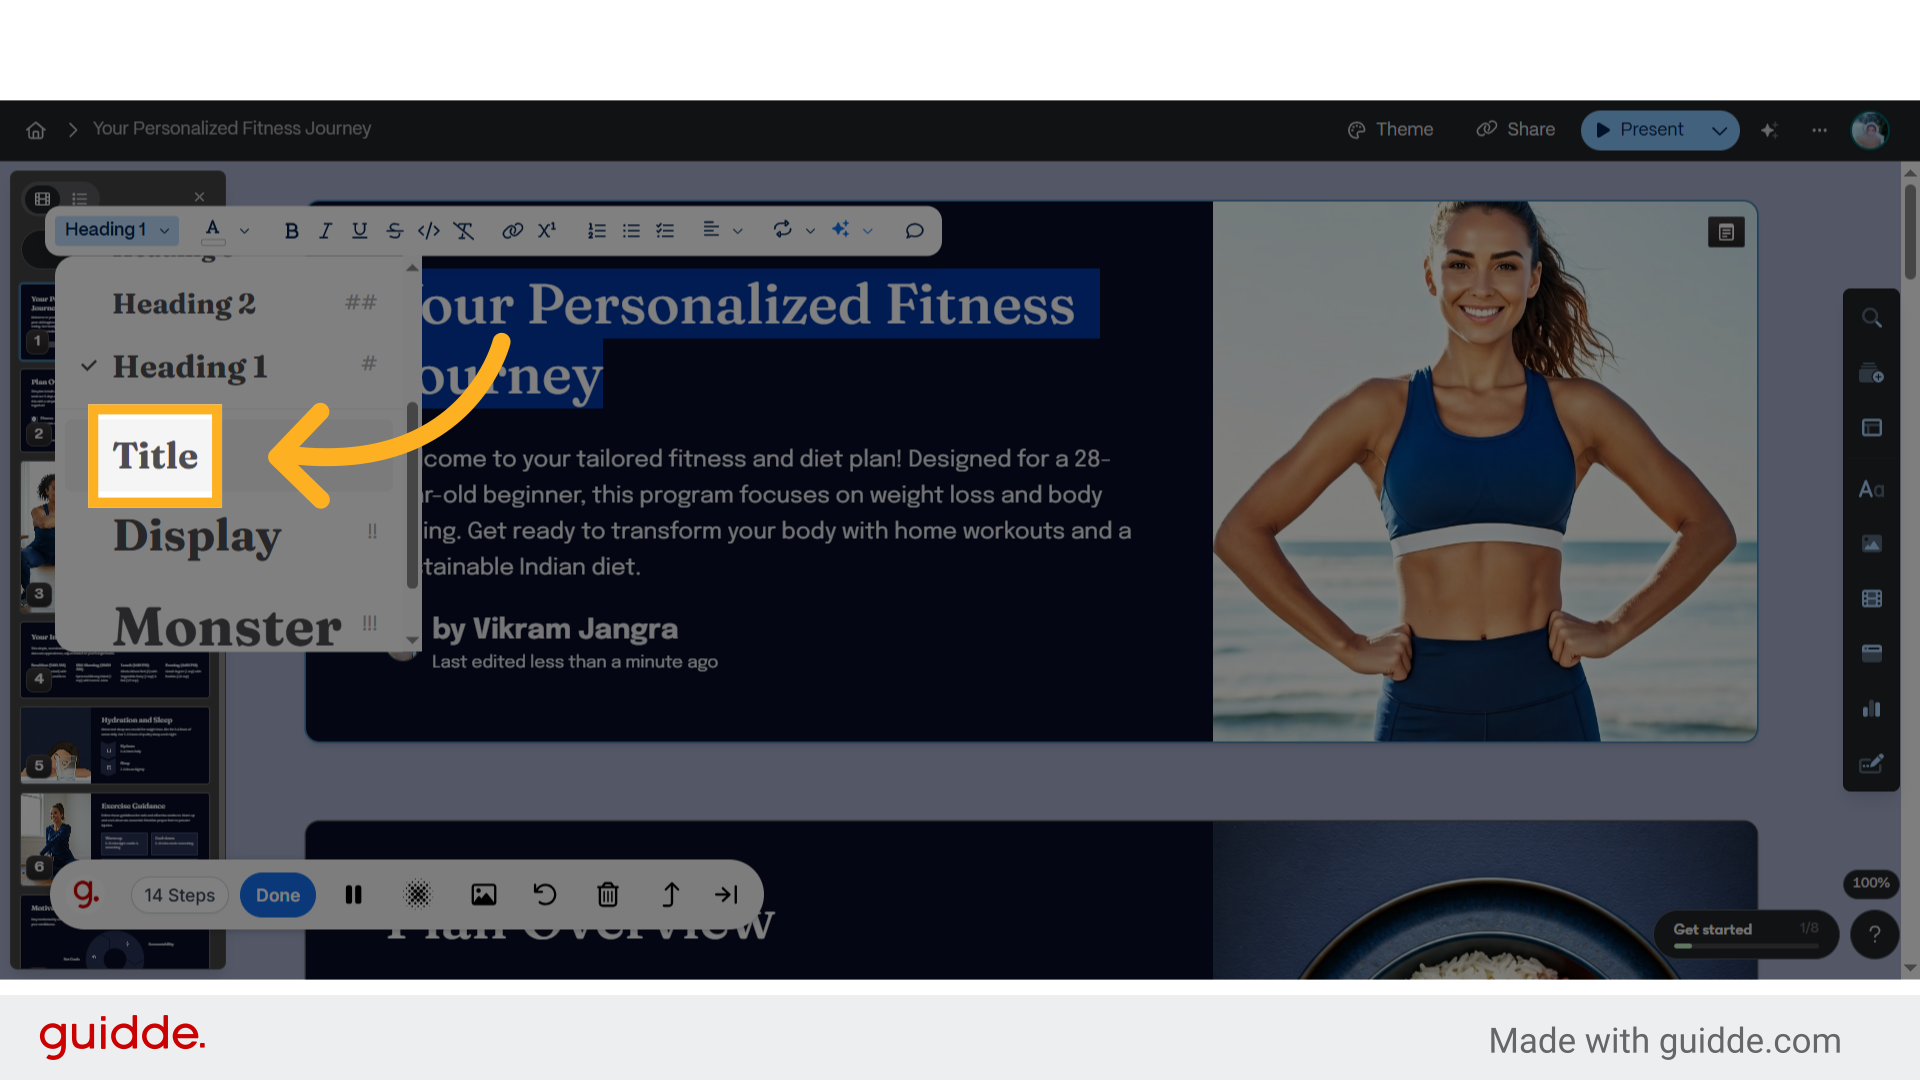
15. Click "Title"
Access the title section.
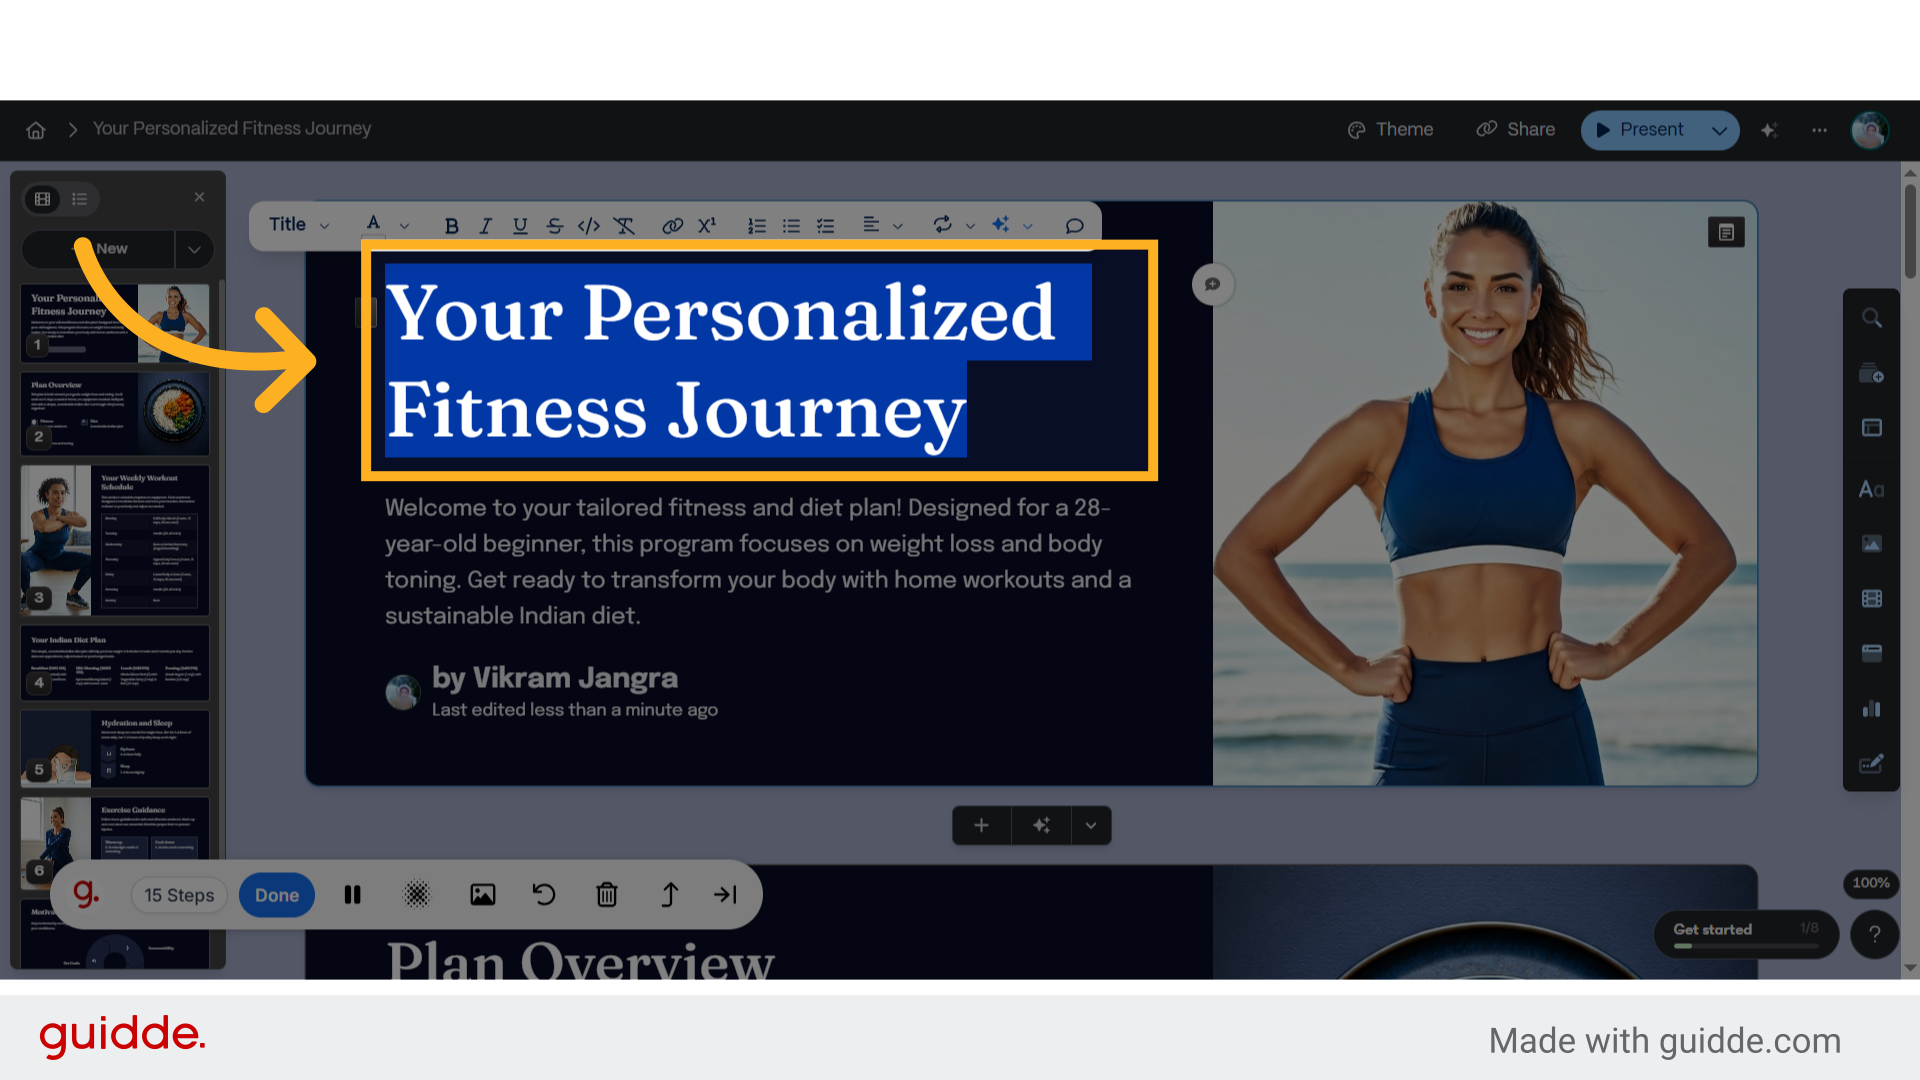
16. Click "Your Personalized Fitness Journey"
Select the personalized fitness journey.
17. Click "Your Personalized Fitness Journey"
Select the personalized fitness journey.
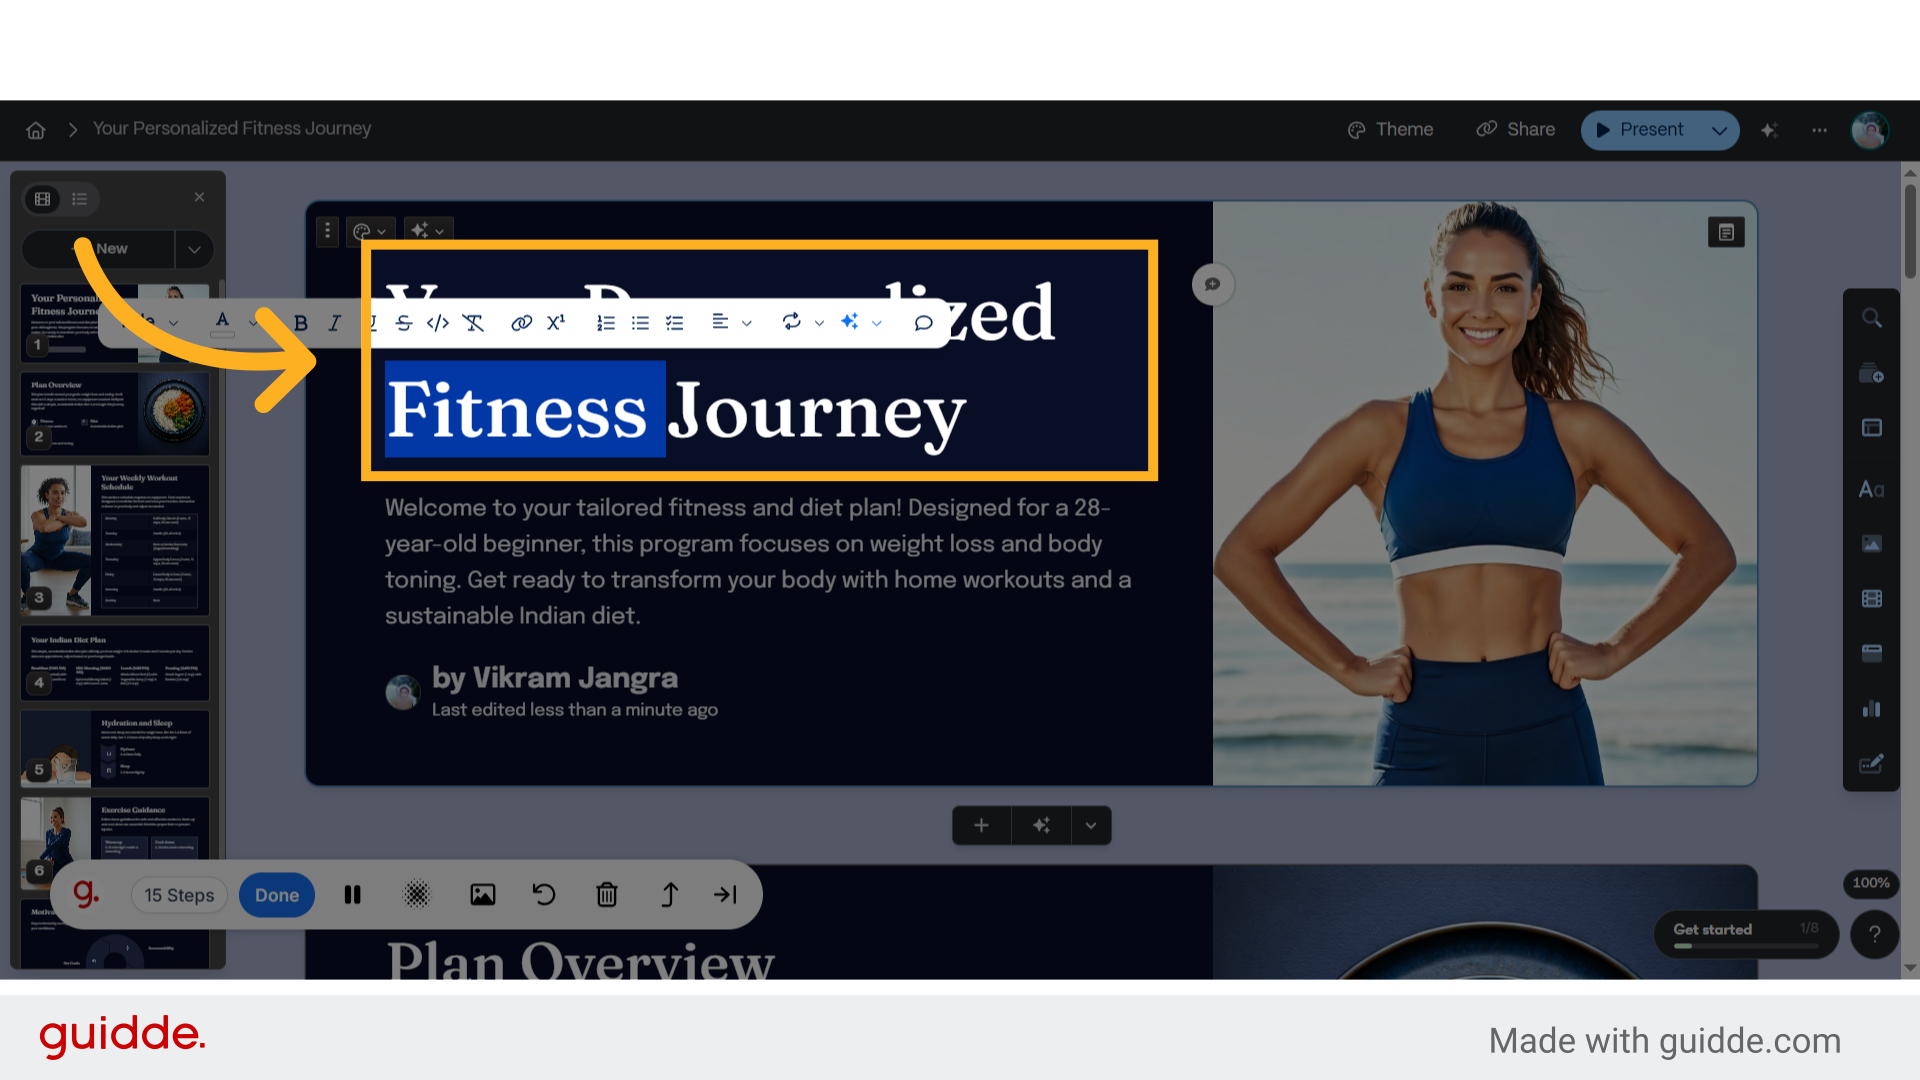
18. Click here
Navigate to the specified location.
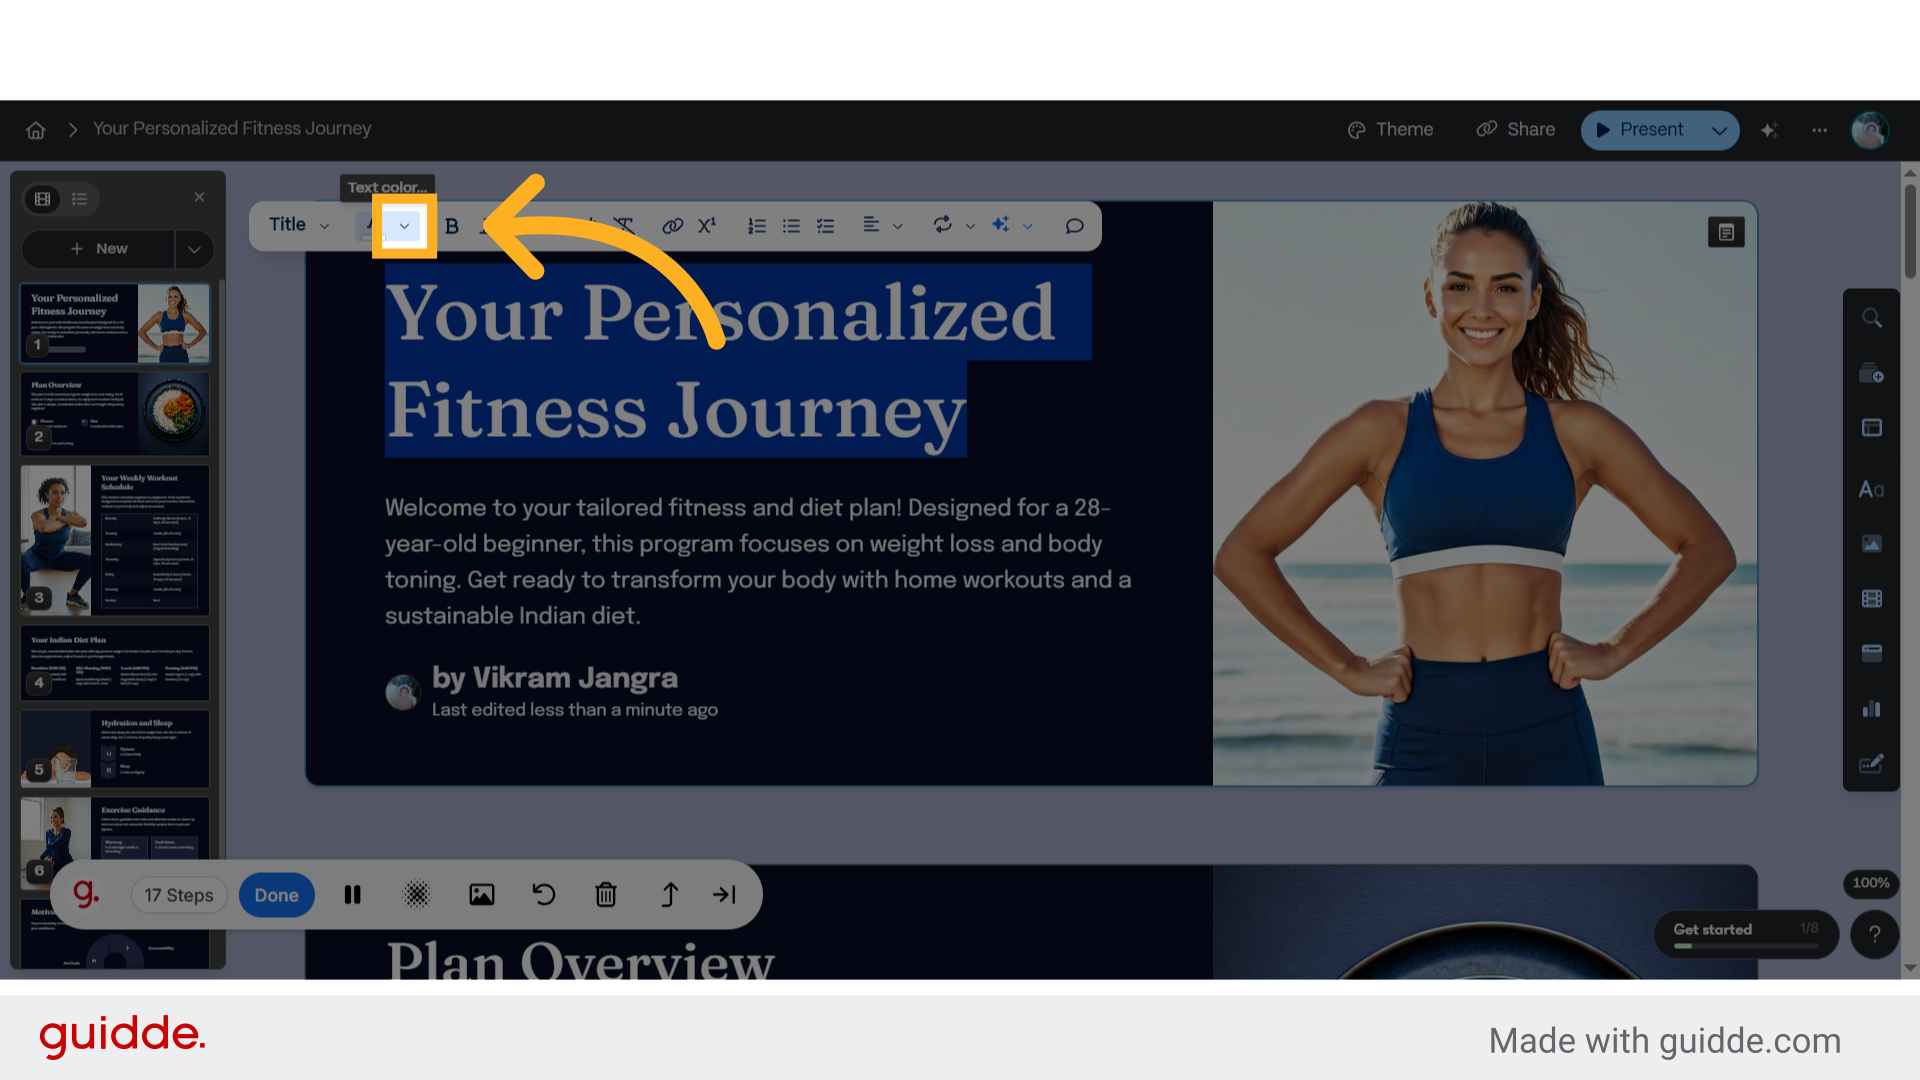
19. Click here
Navigate to the specified location.
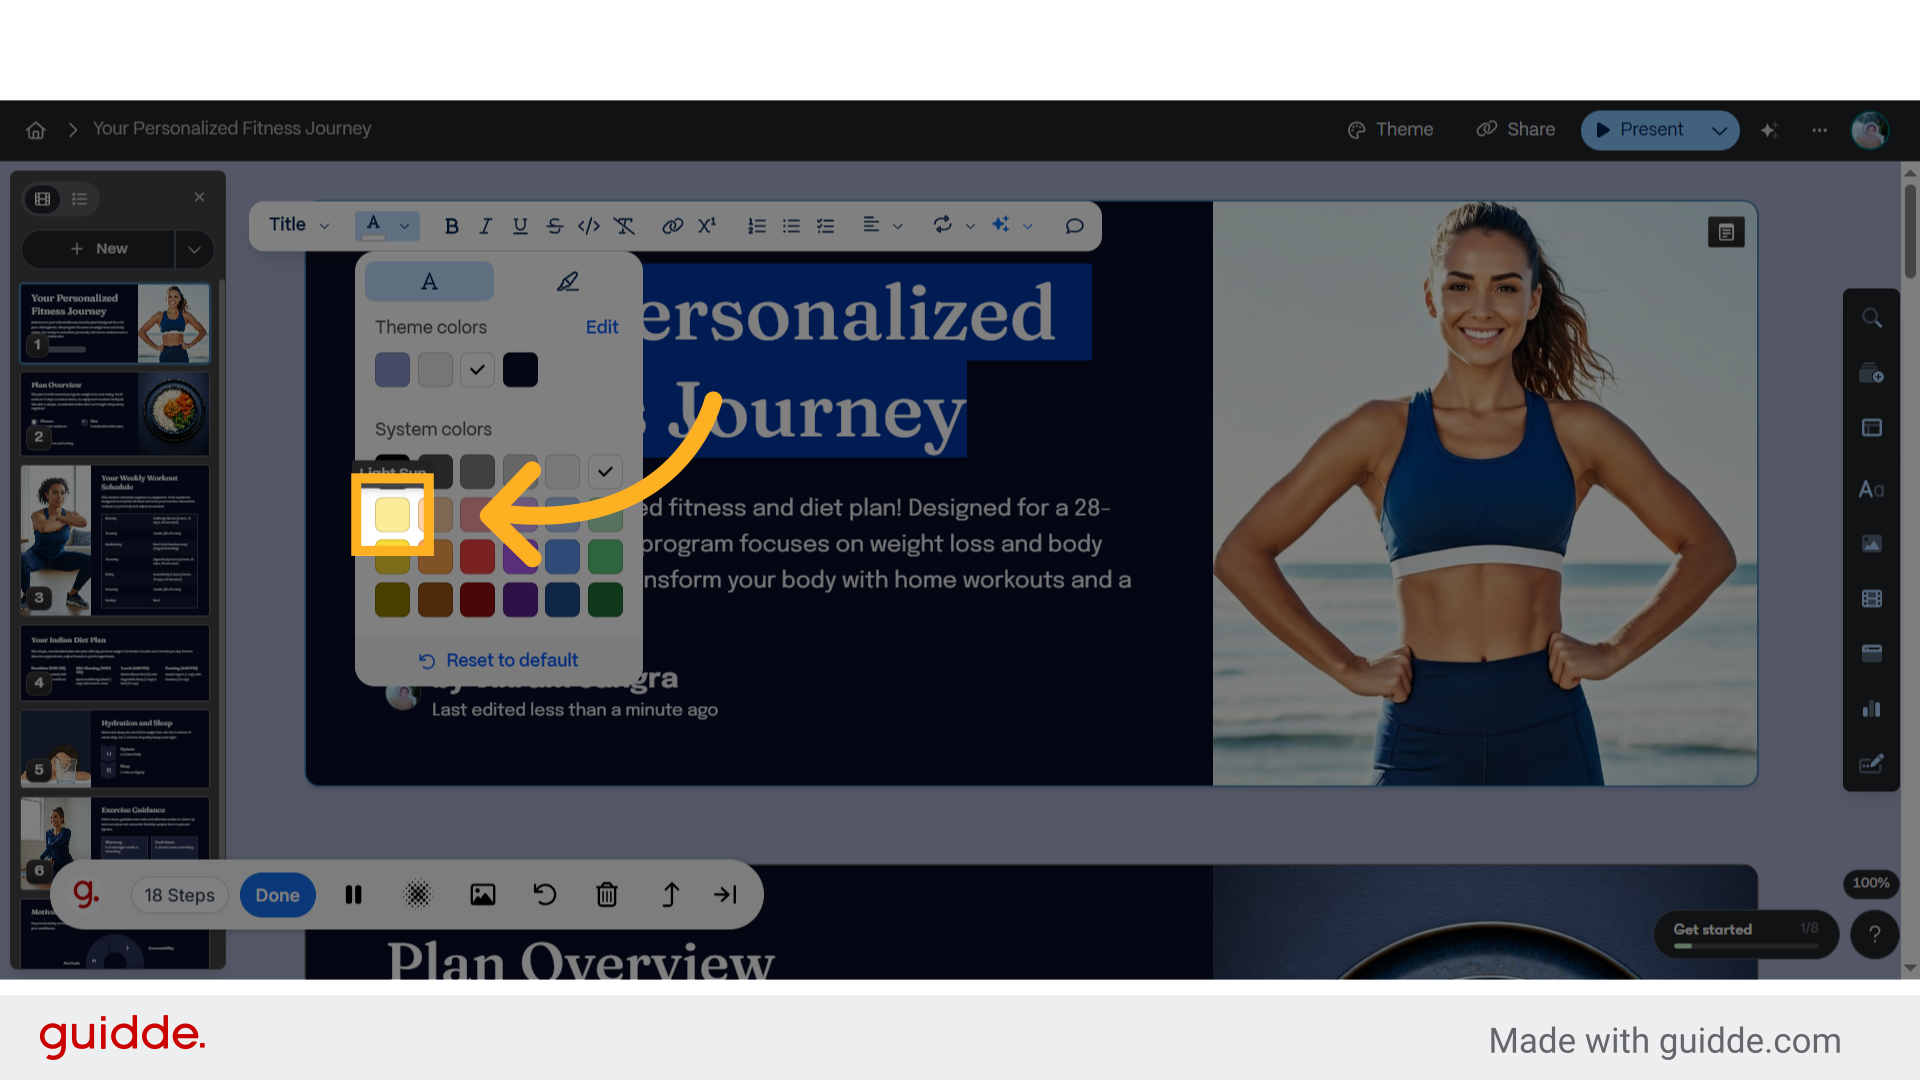
20. Click "Your Personalized Fitness Journey"
Access the personalized fitness journey section.
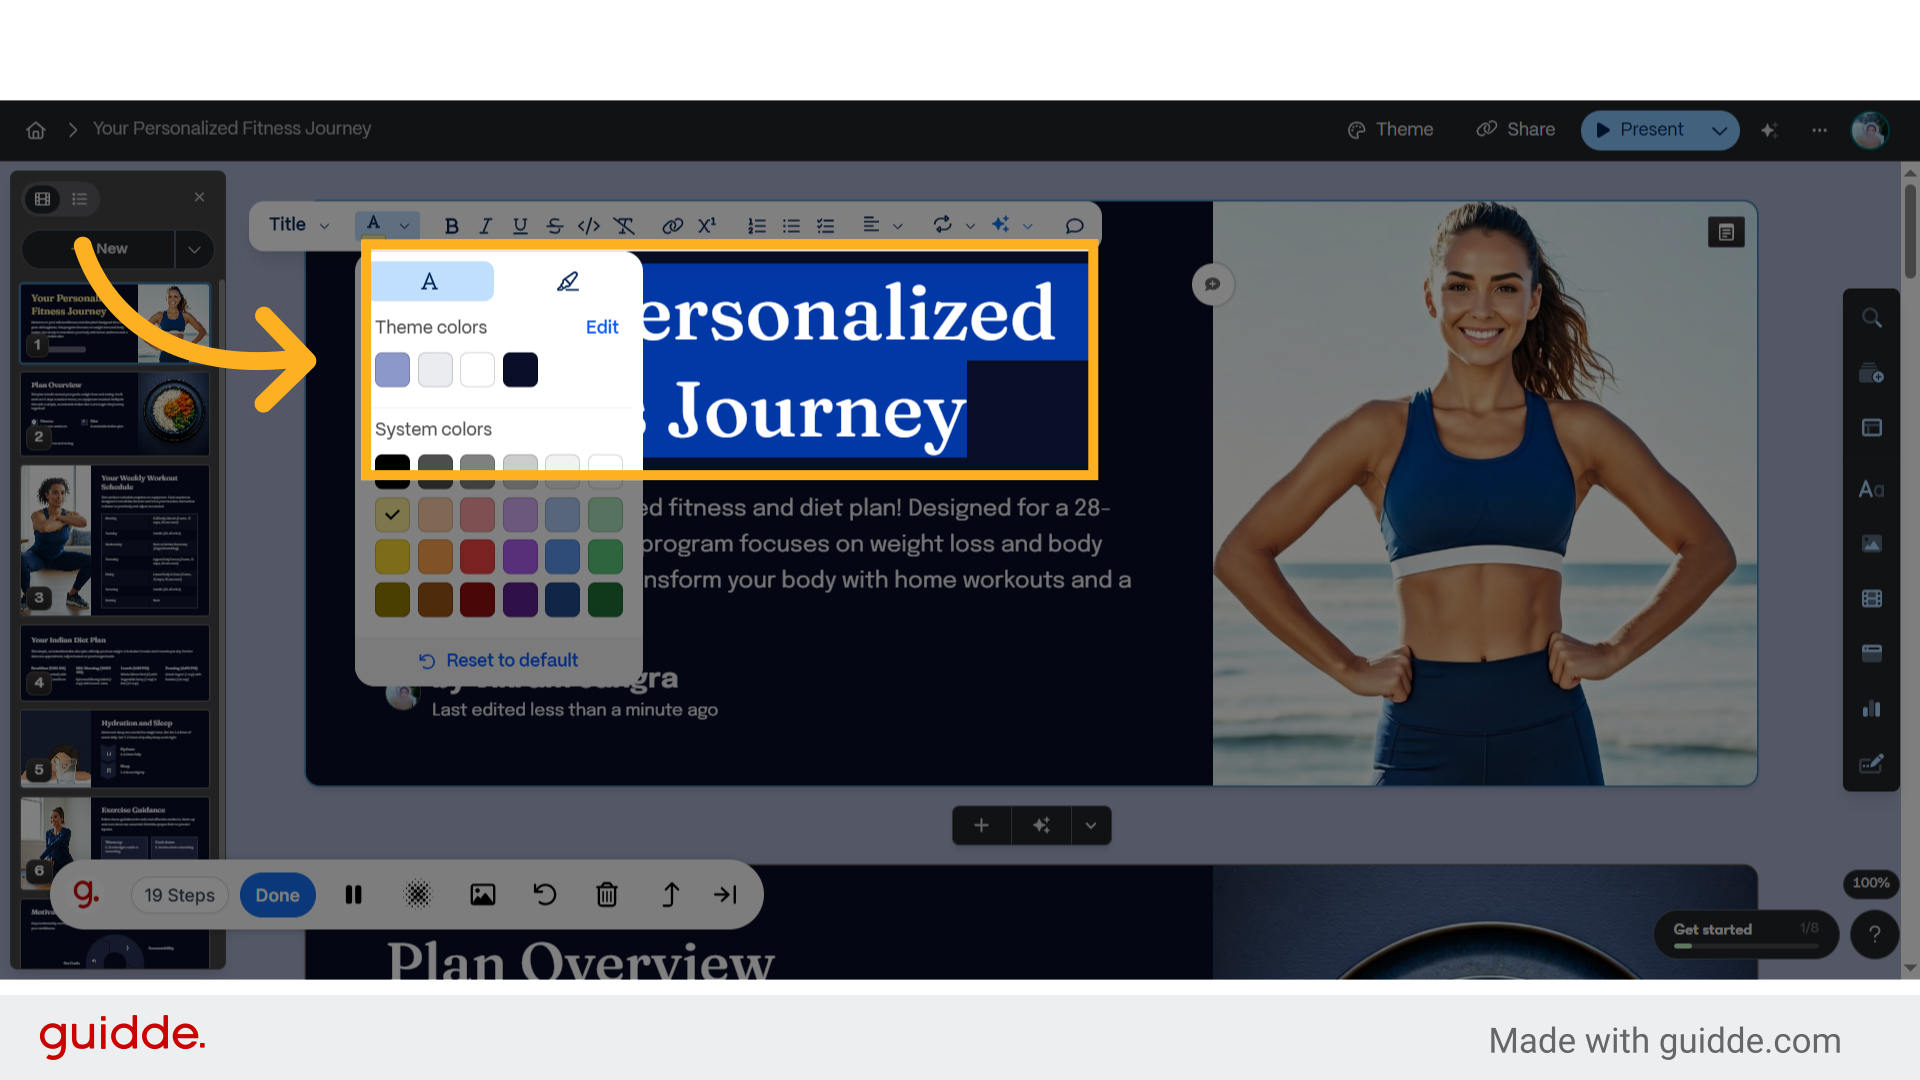
21. Click "Your Personalized Fitness Journey"
Access the personalized fitness journey section.
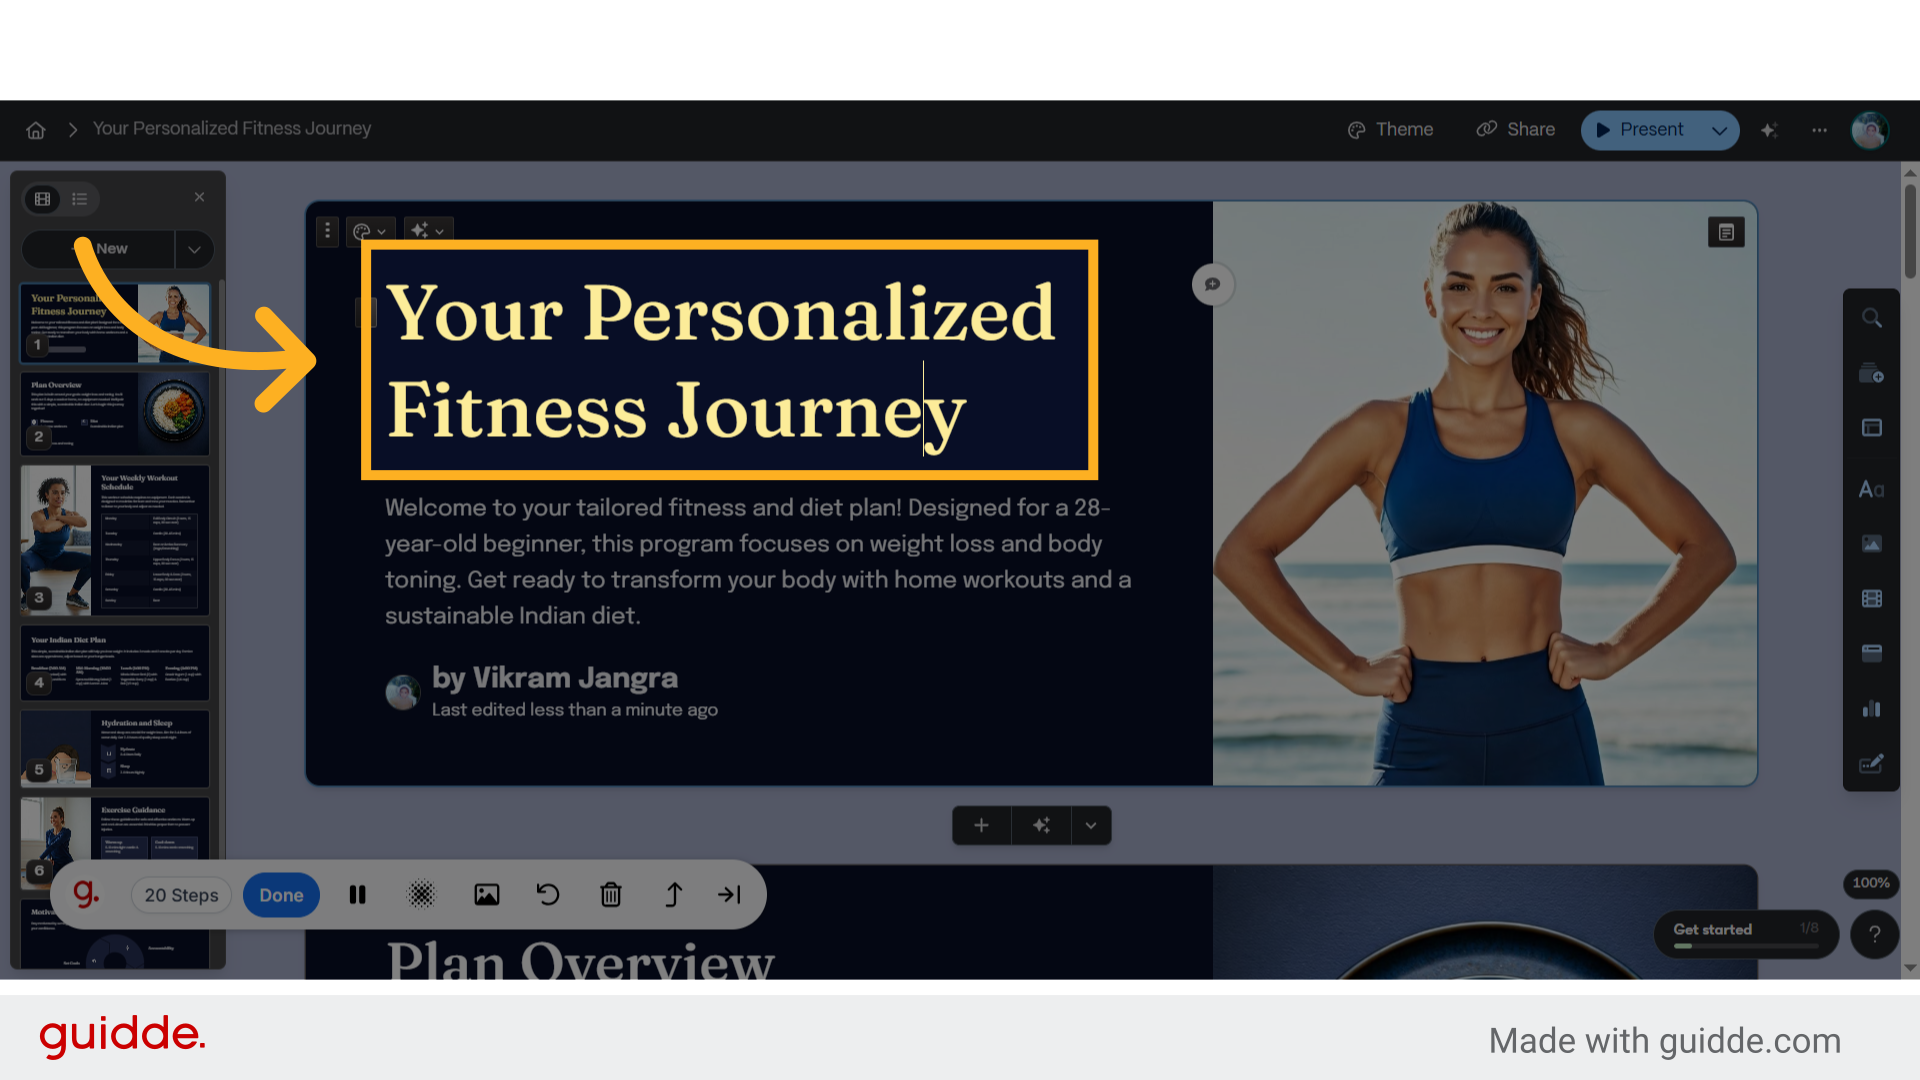
22. Click "Your Personalized Fitness Journey"
Access the personalized fitness journey section.
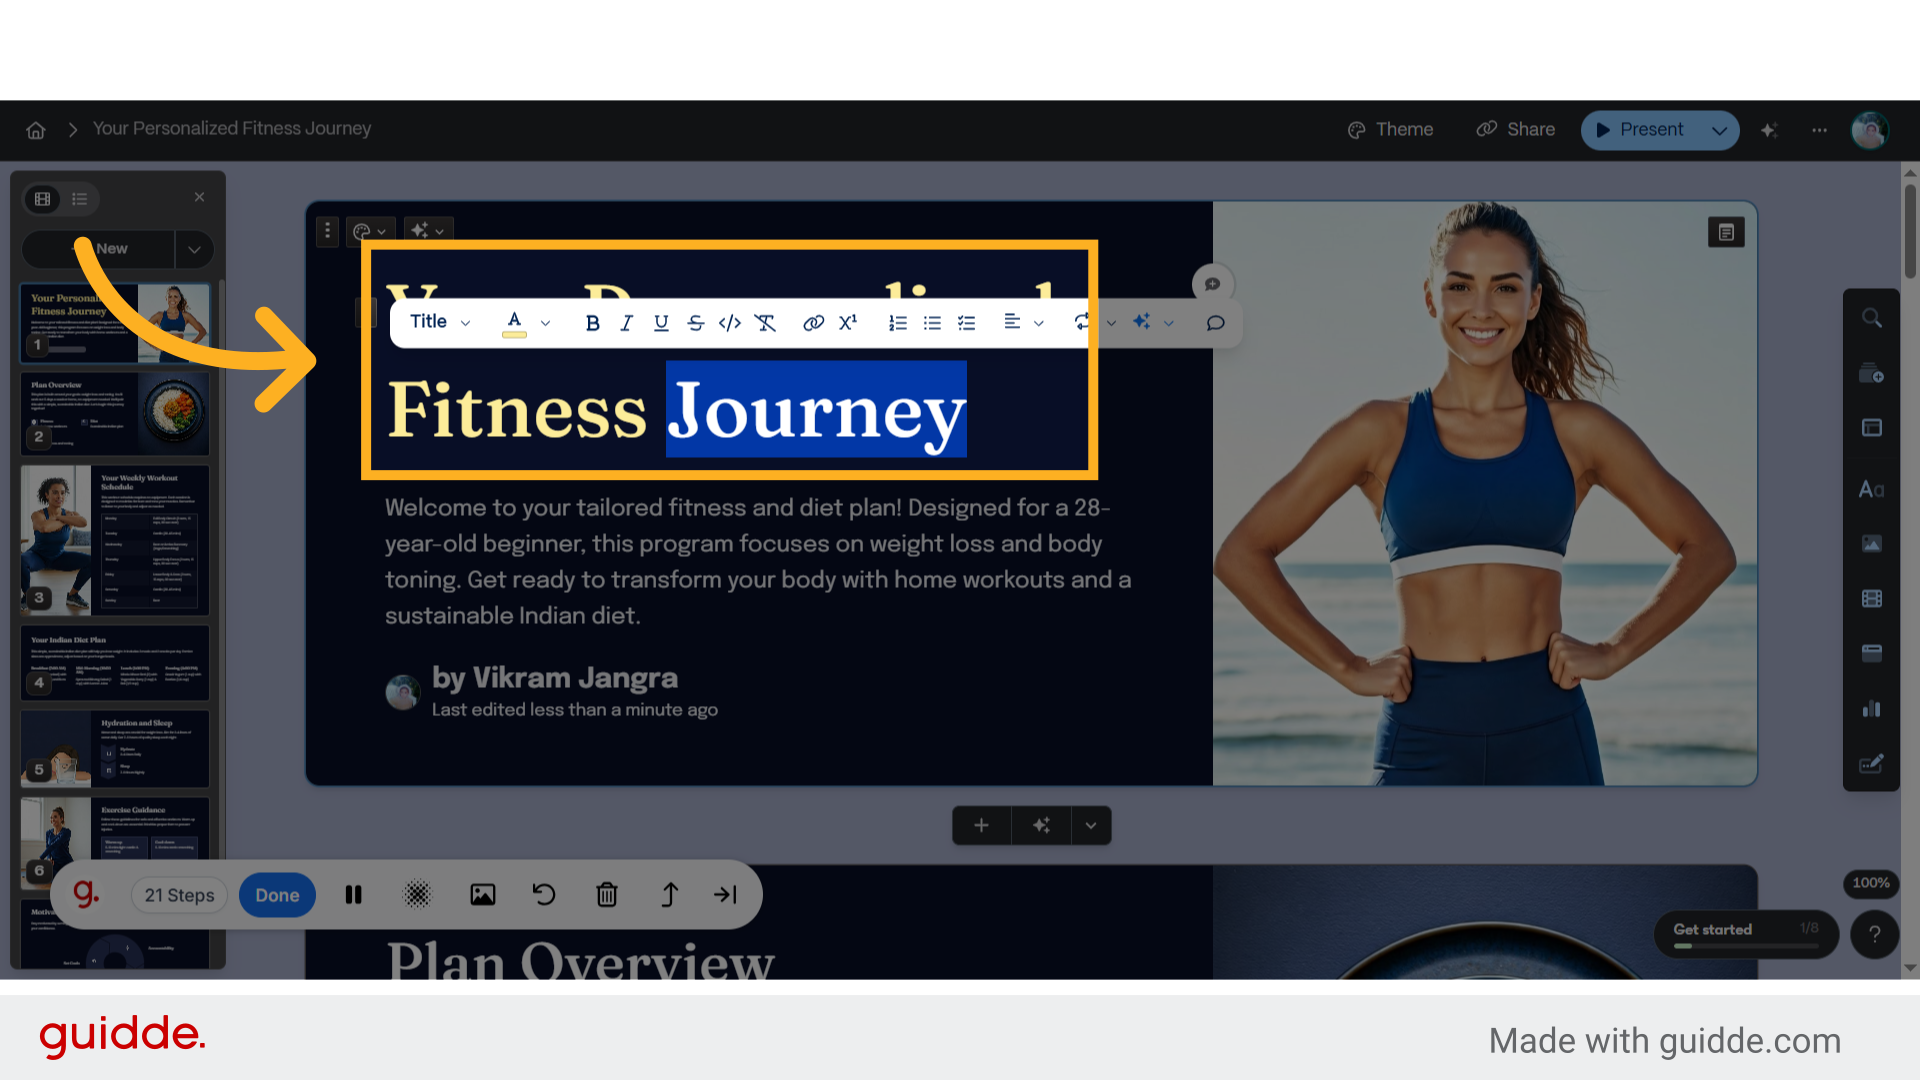
23. Click here
Navigate to the specified location.
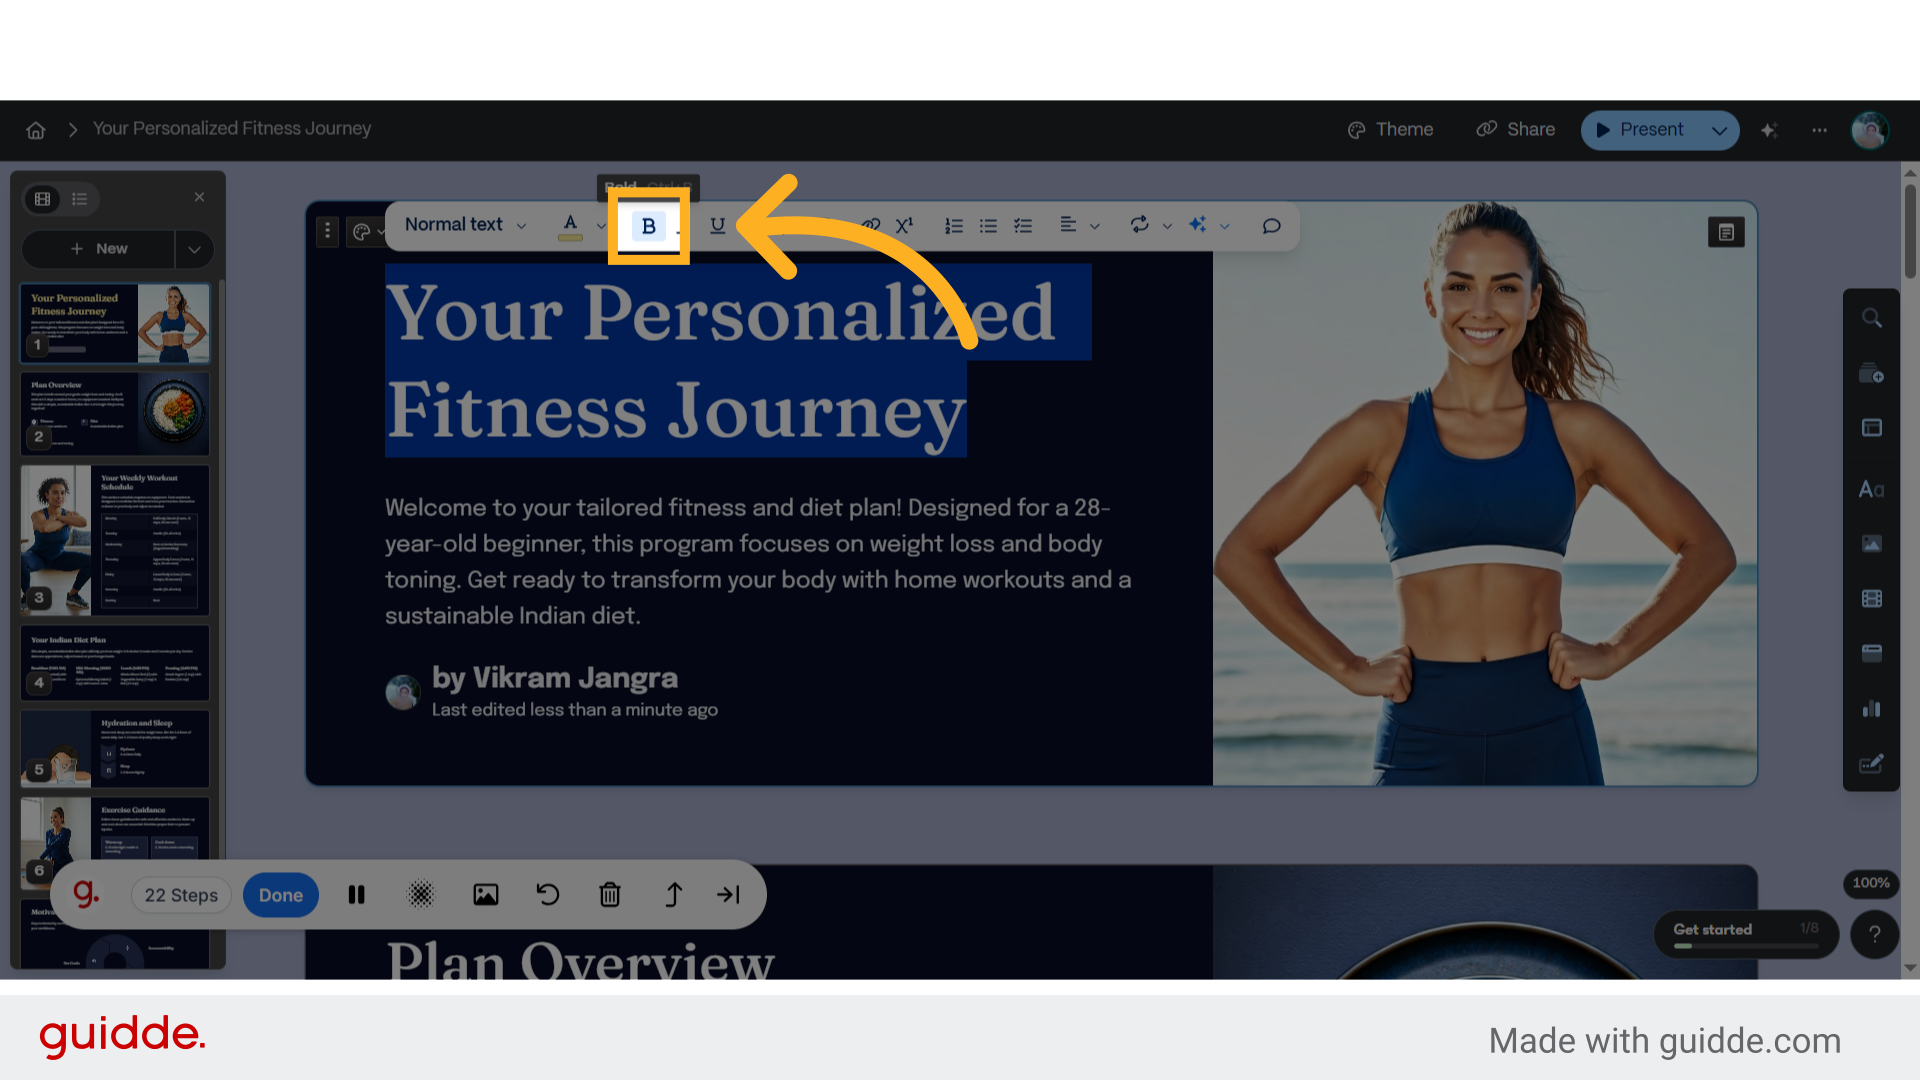
24. Click "Your Personalized Fitness Journey"
Access the personalized fitness journey section.
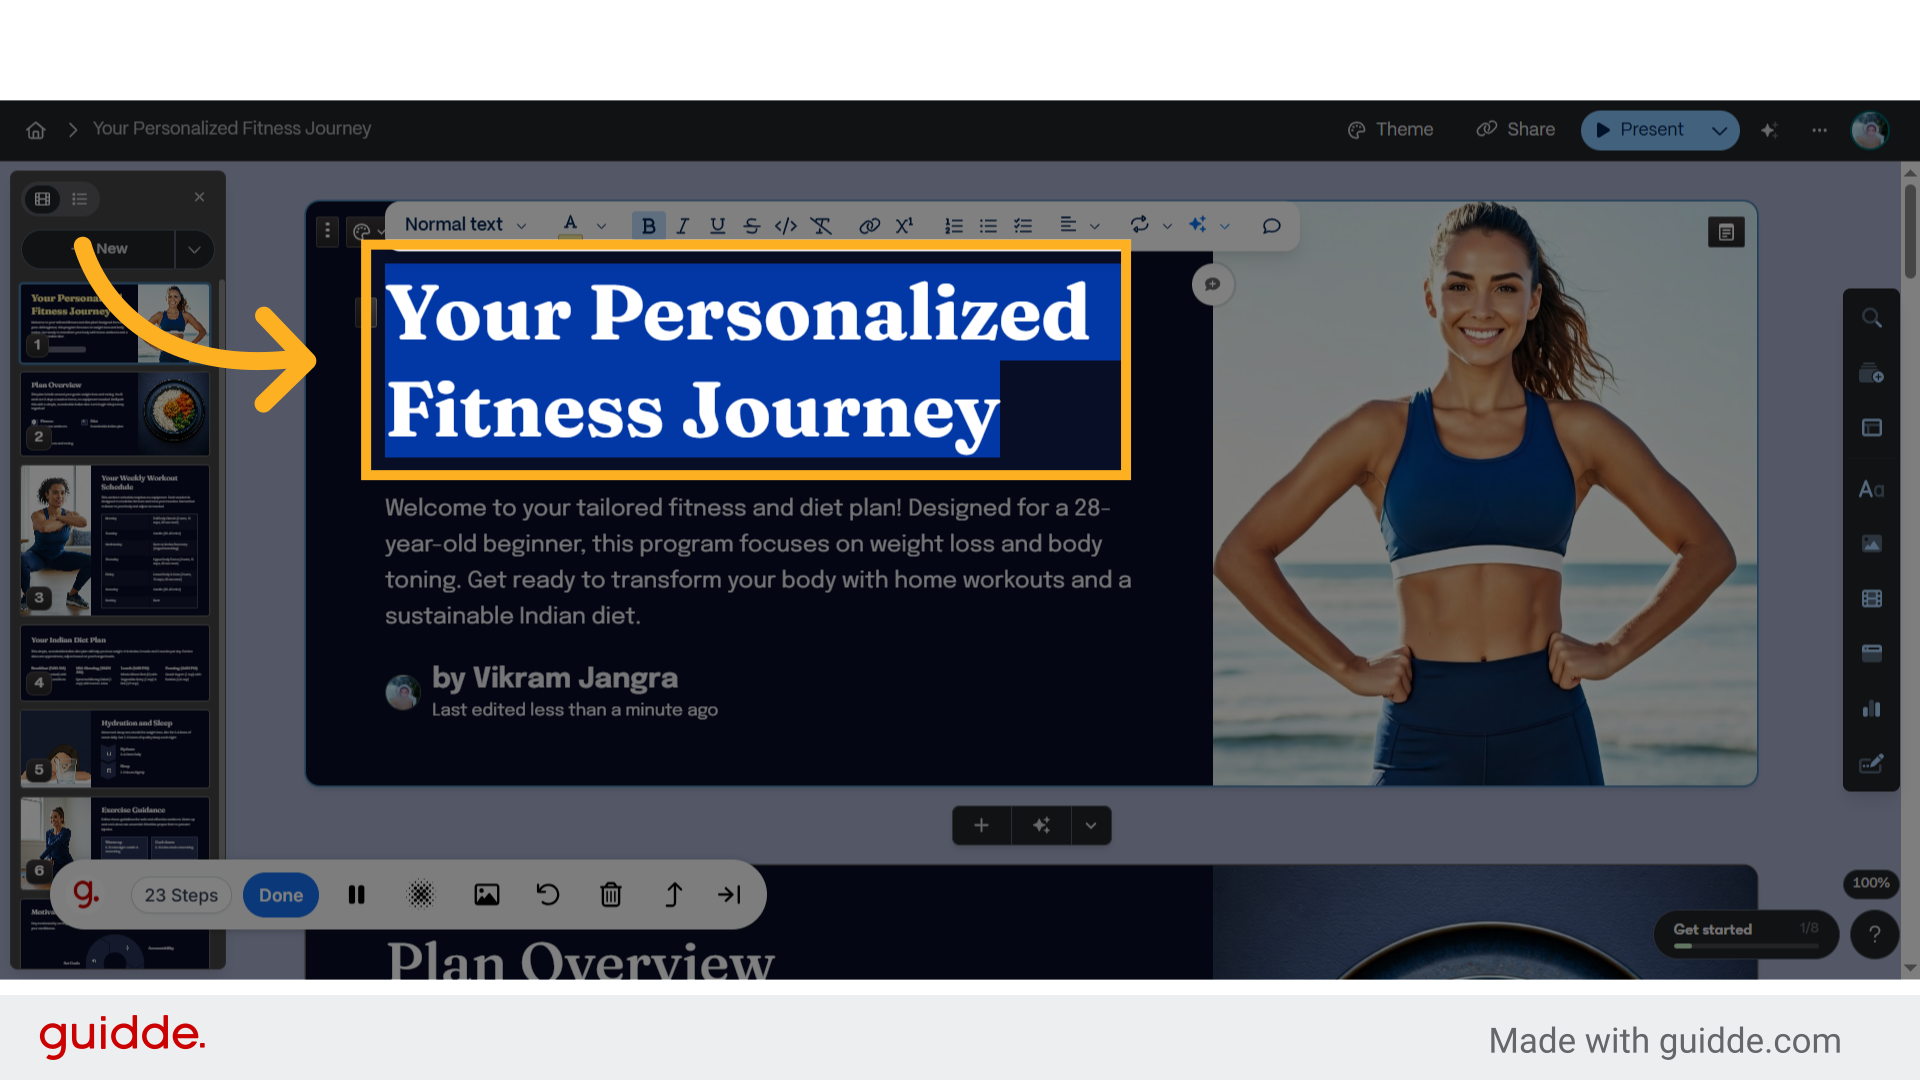
25. Click here
Navigate to the specified location.
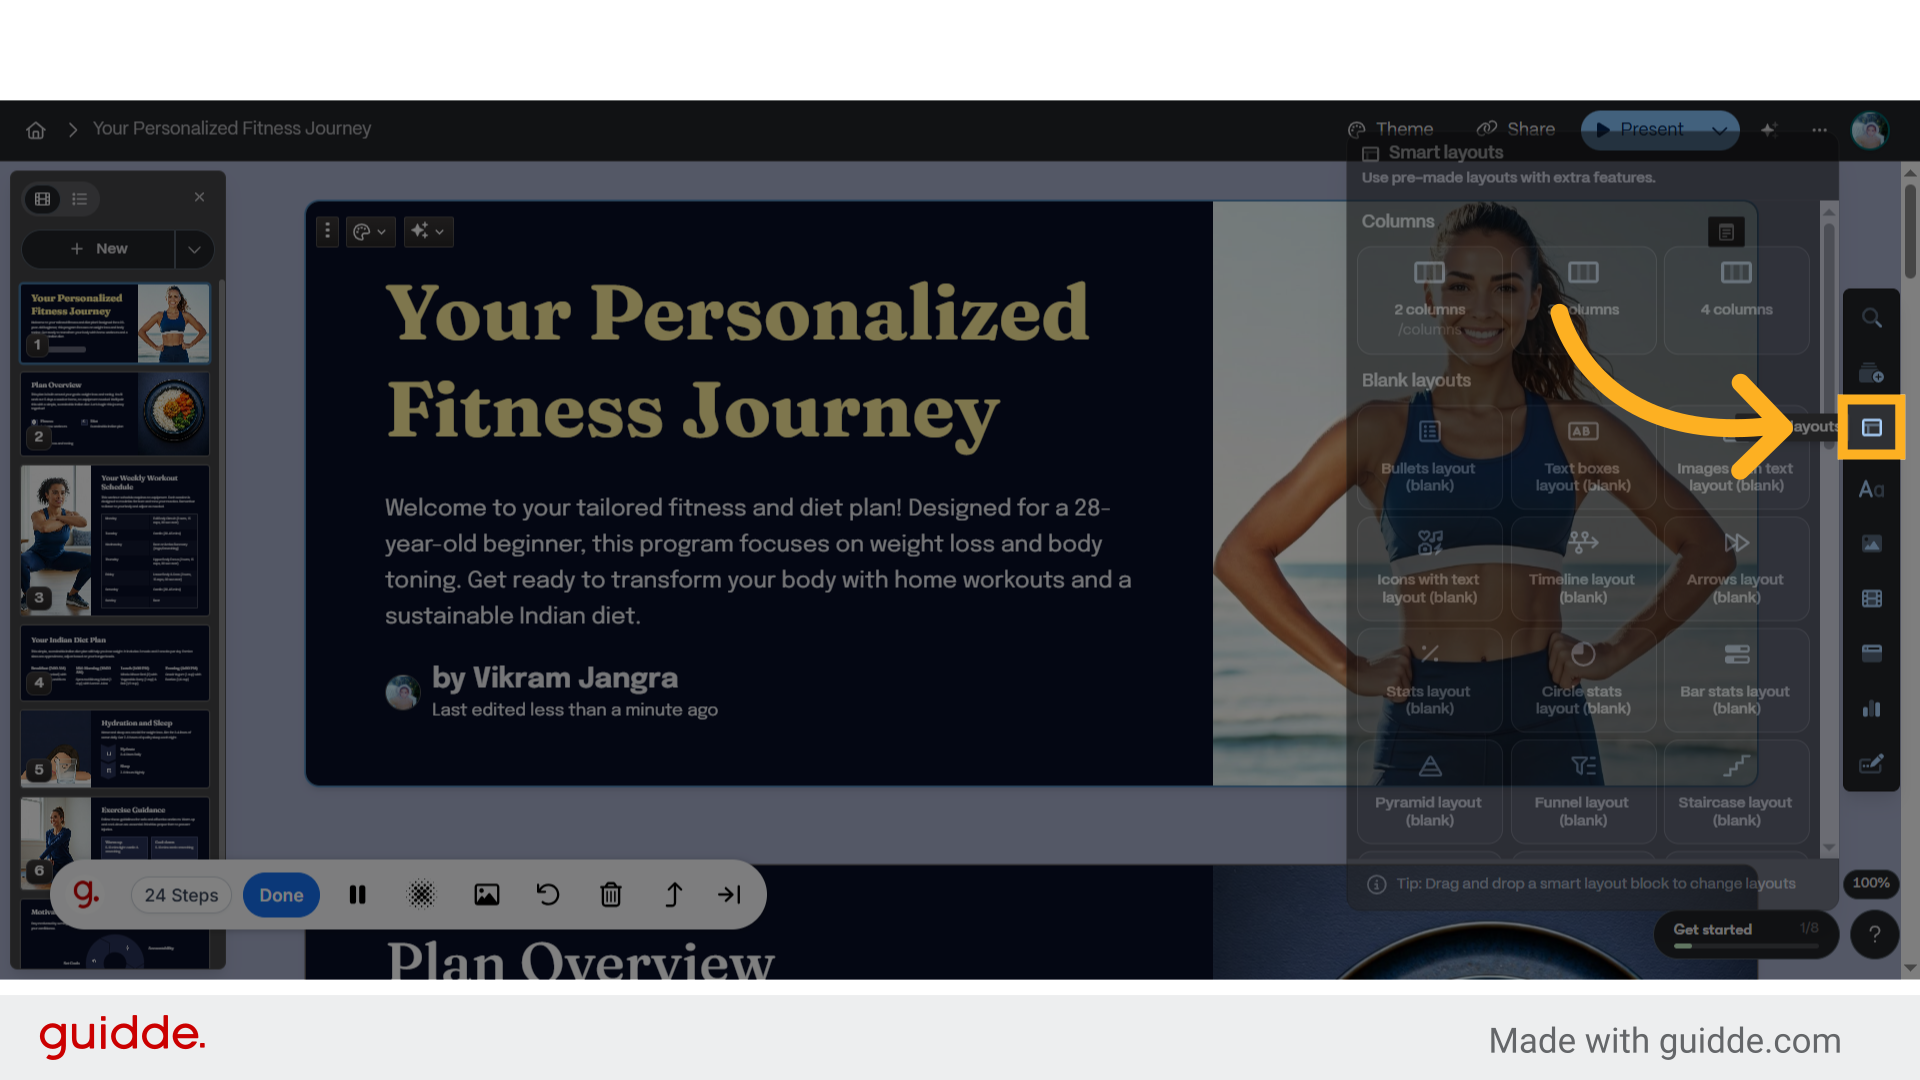
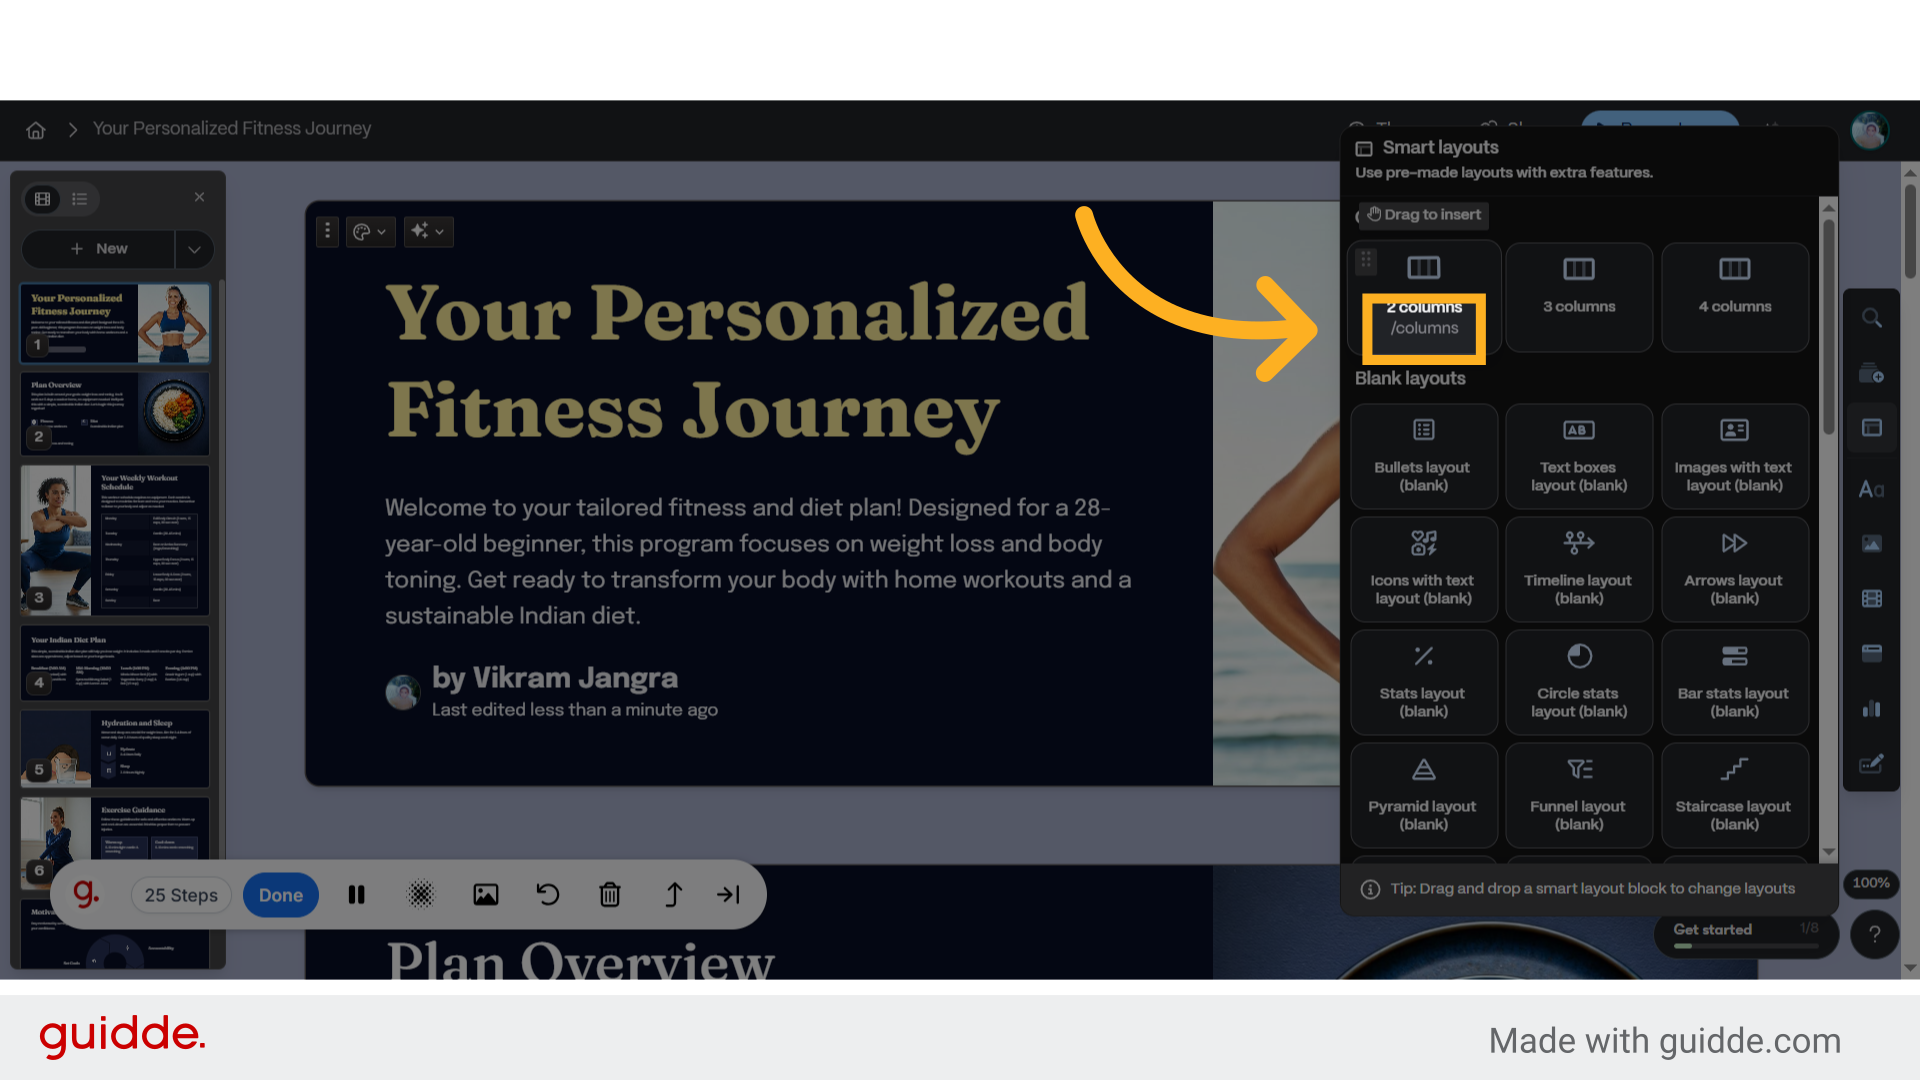
26. Click "/columns"
Access the columns section.
27. Click here
Navigate to the specified location.
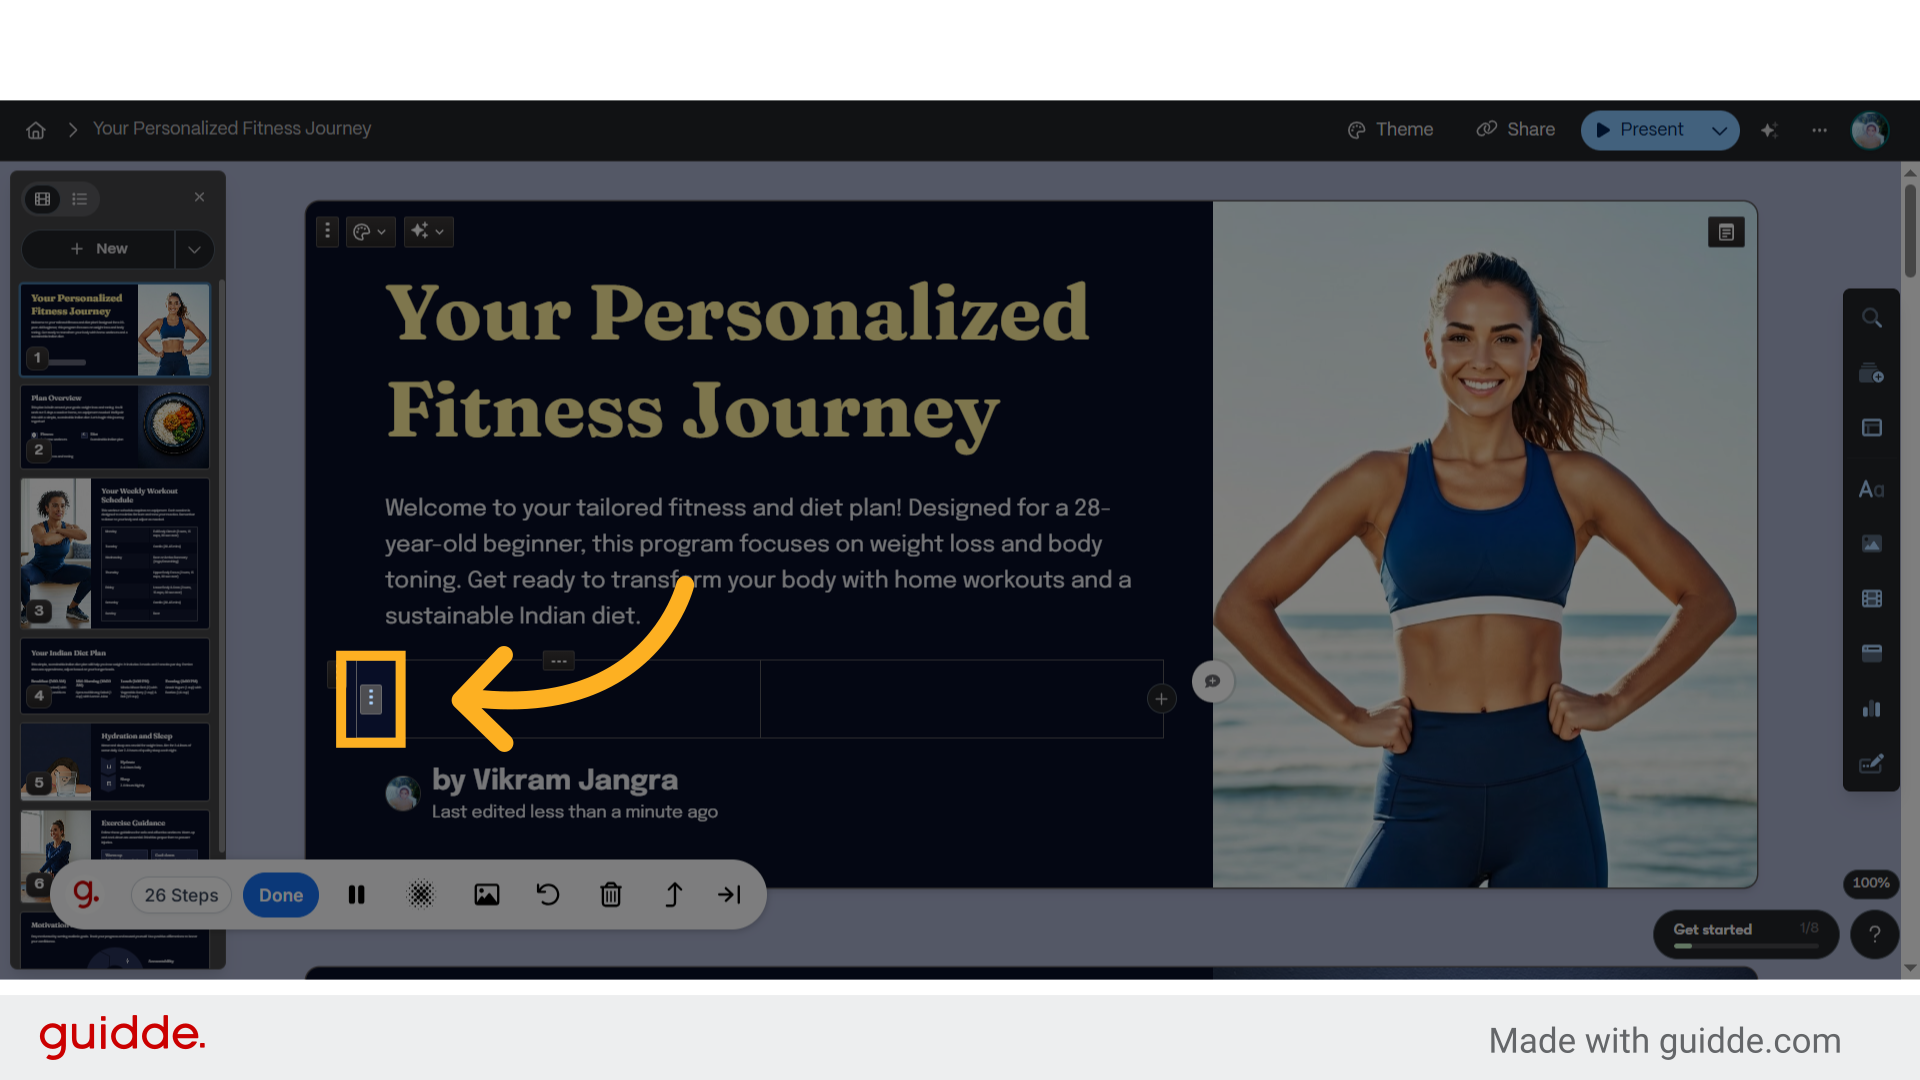
28. Click here
Navigate to the specified location.
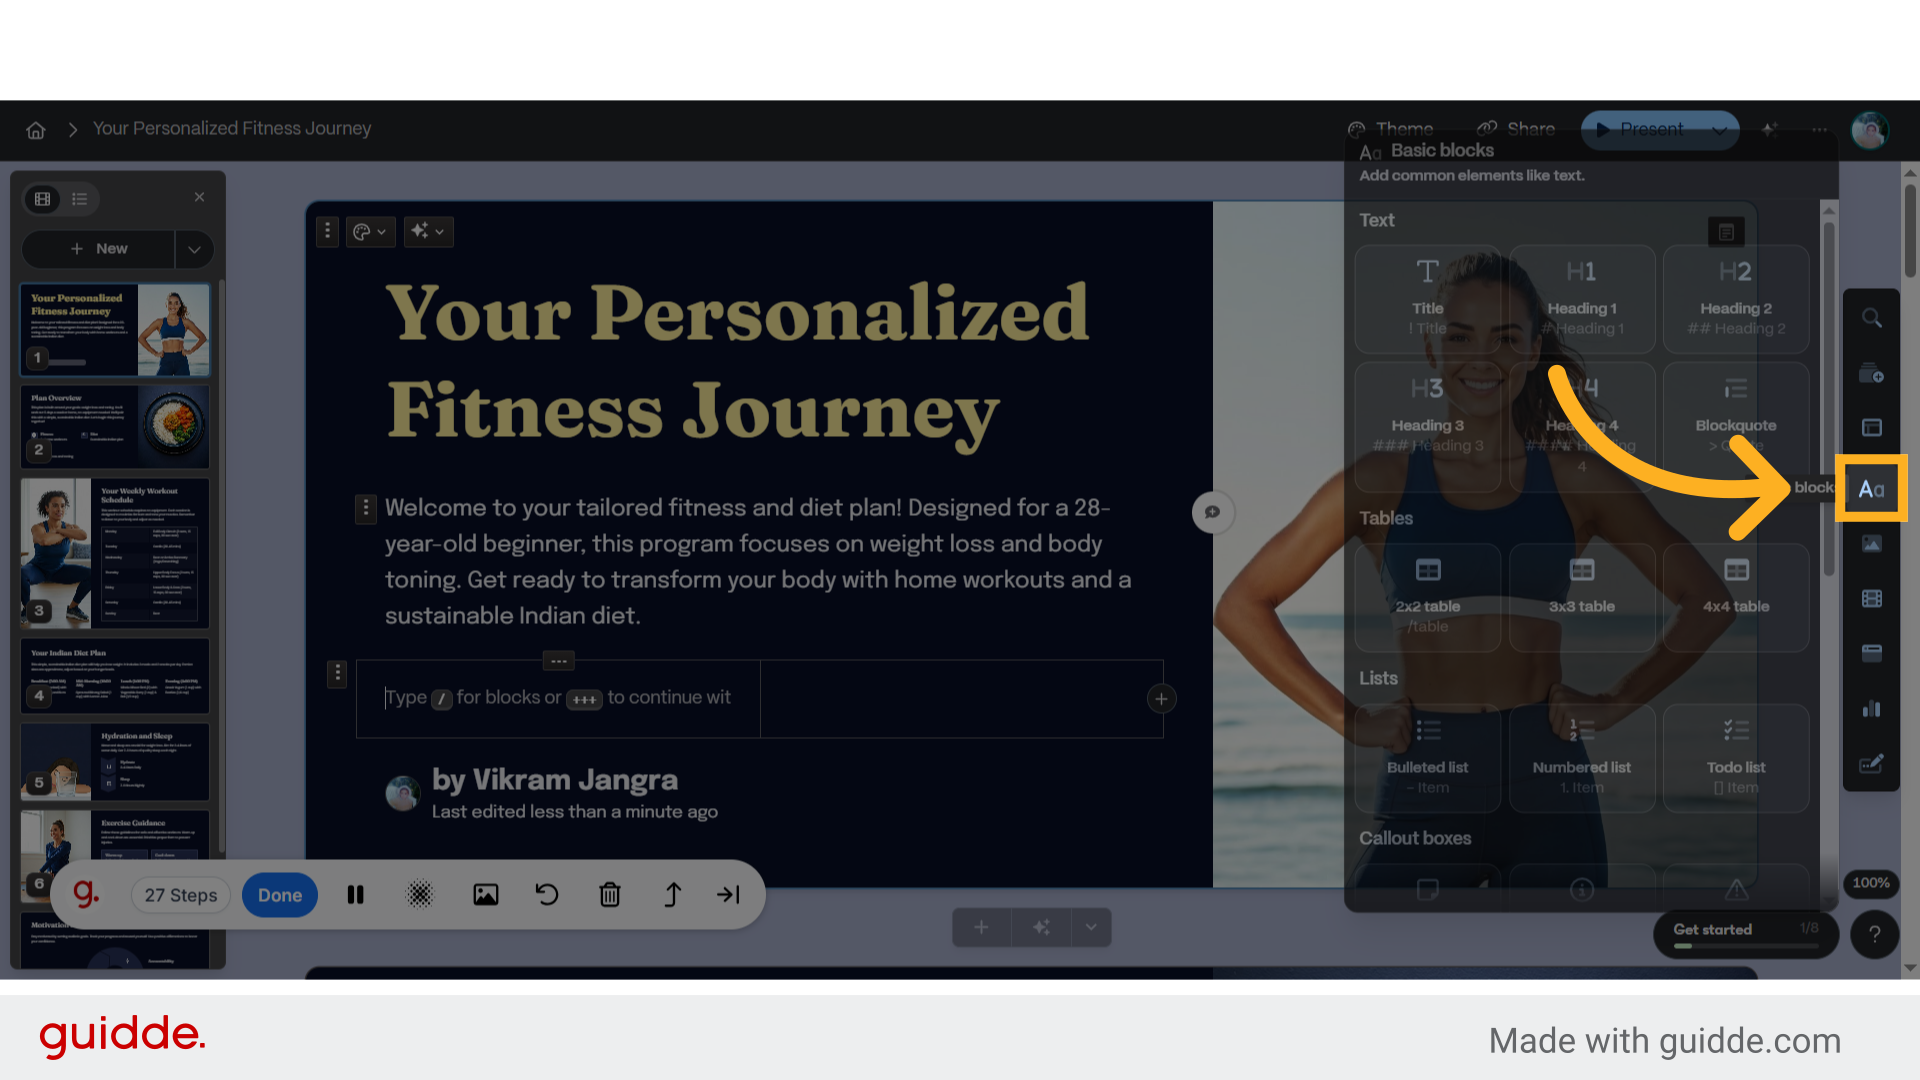
29. Click here
Navigate to the specified location.
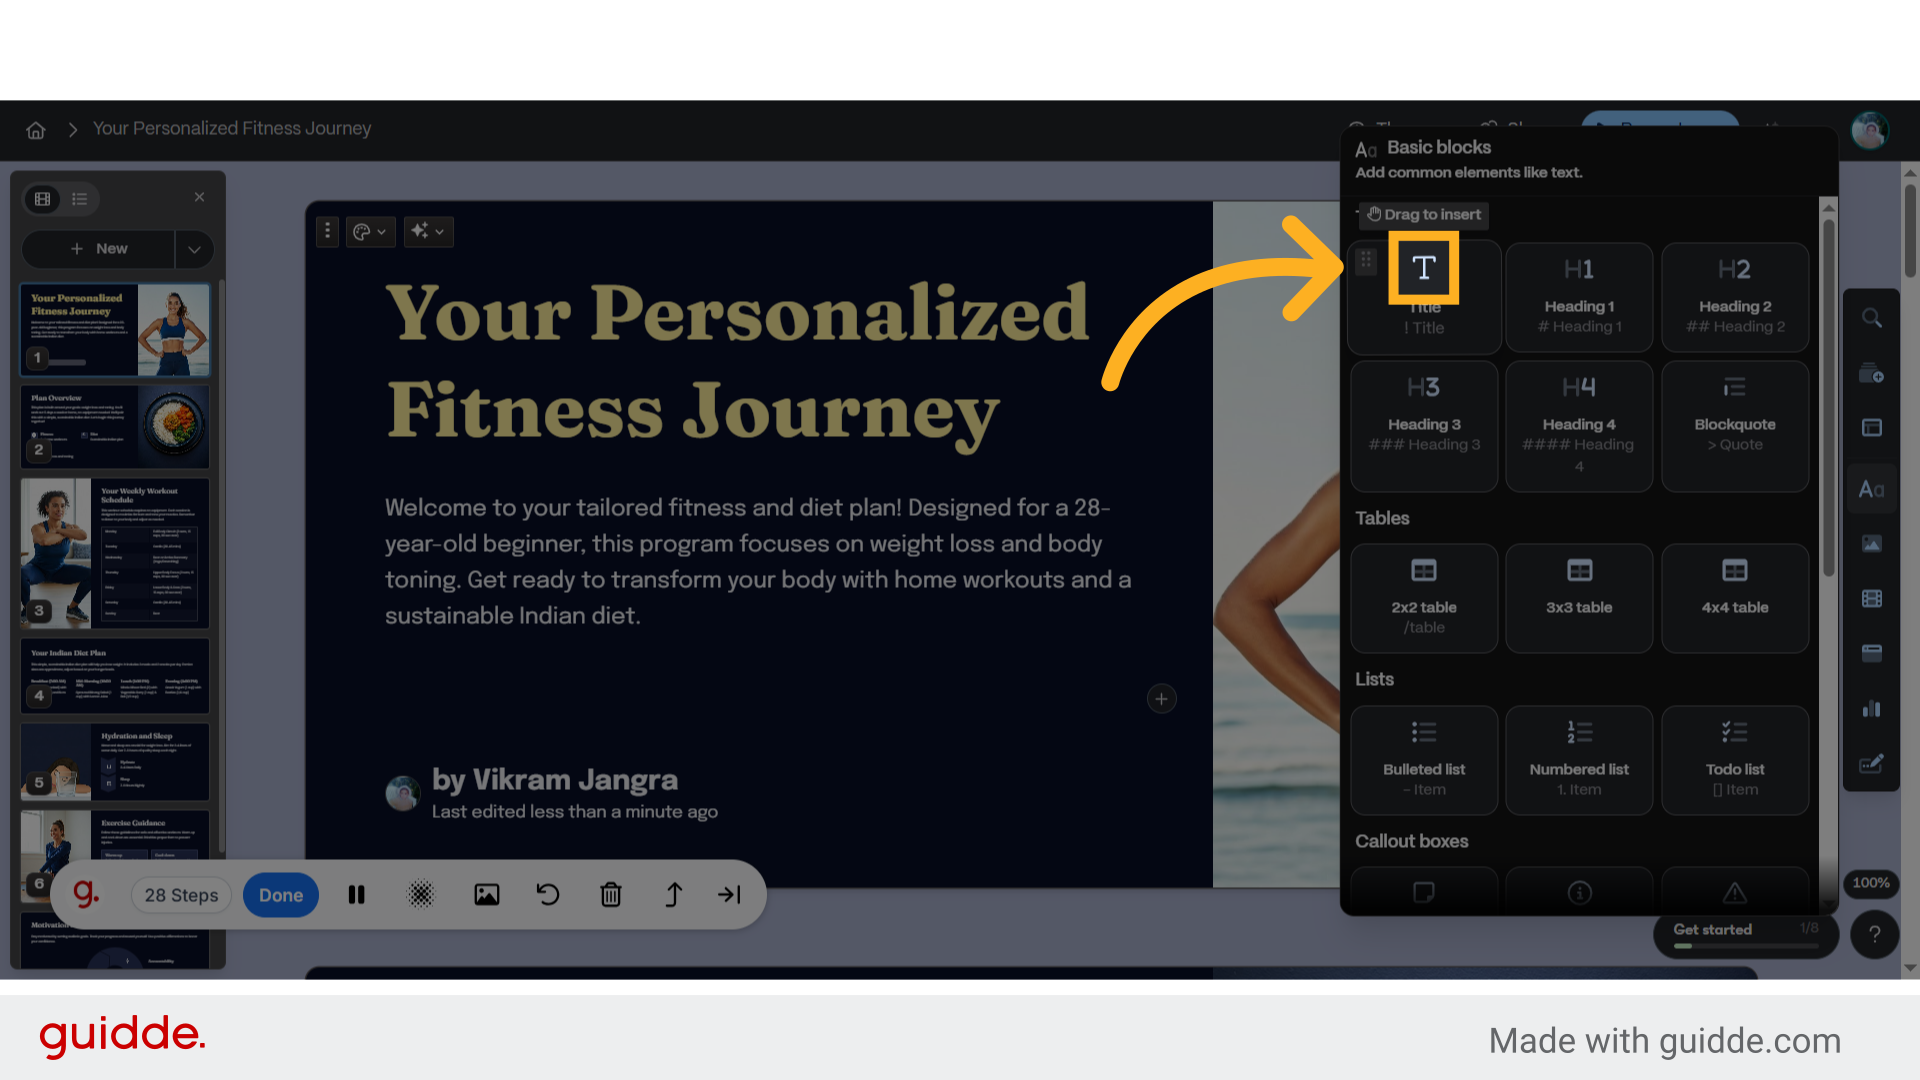
30. Click "⋯Type / for blocks or +++ to continue with AI"
Utilize blocks or continue with AI.
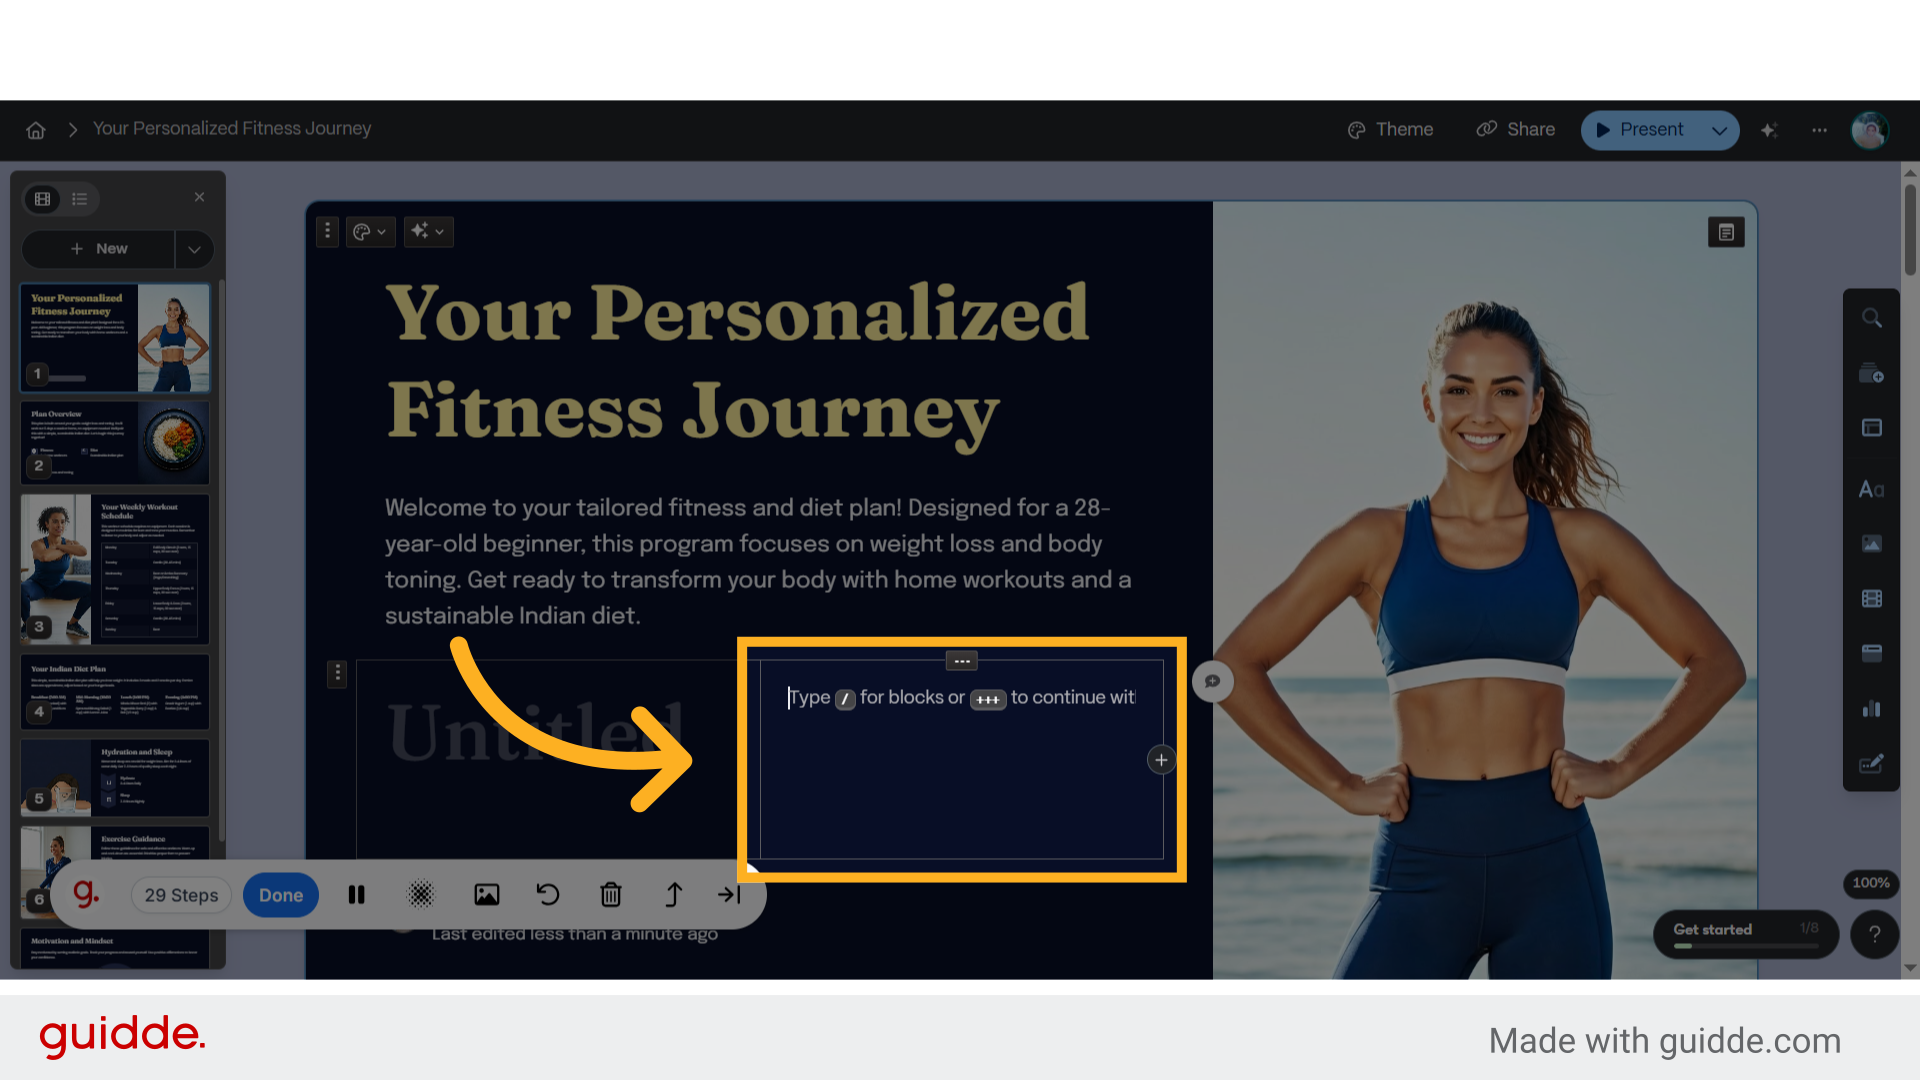
31. Click "Images"
Access the images section.
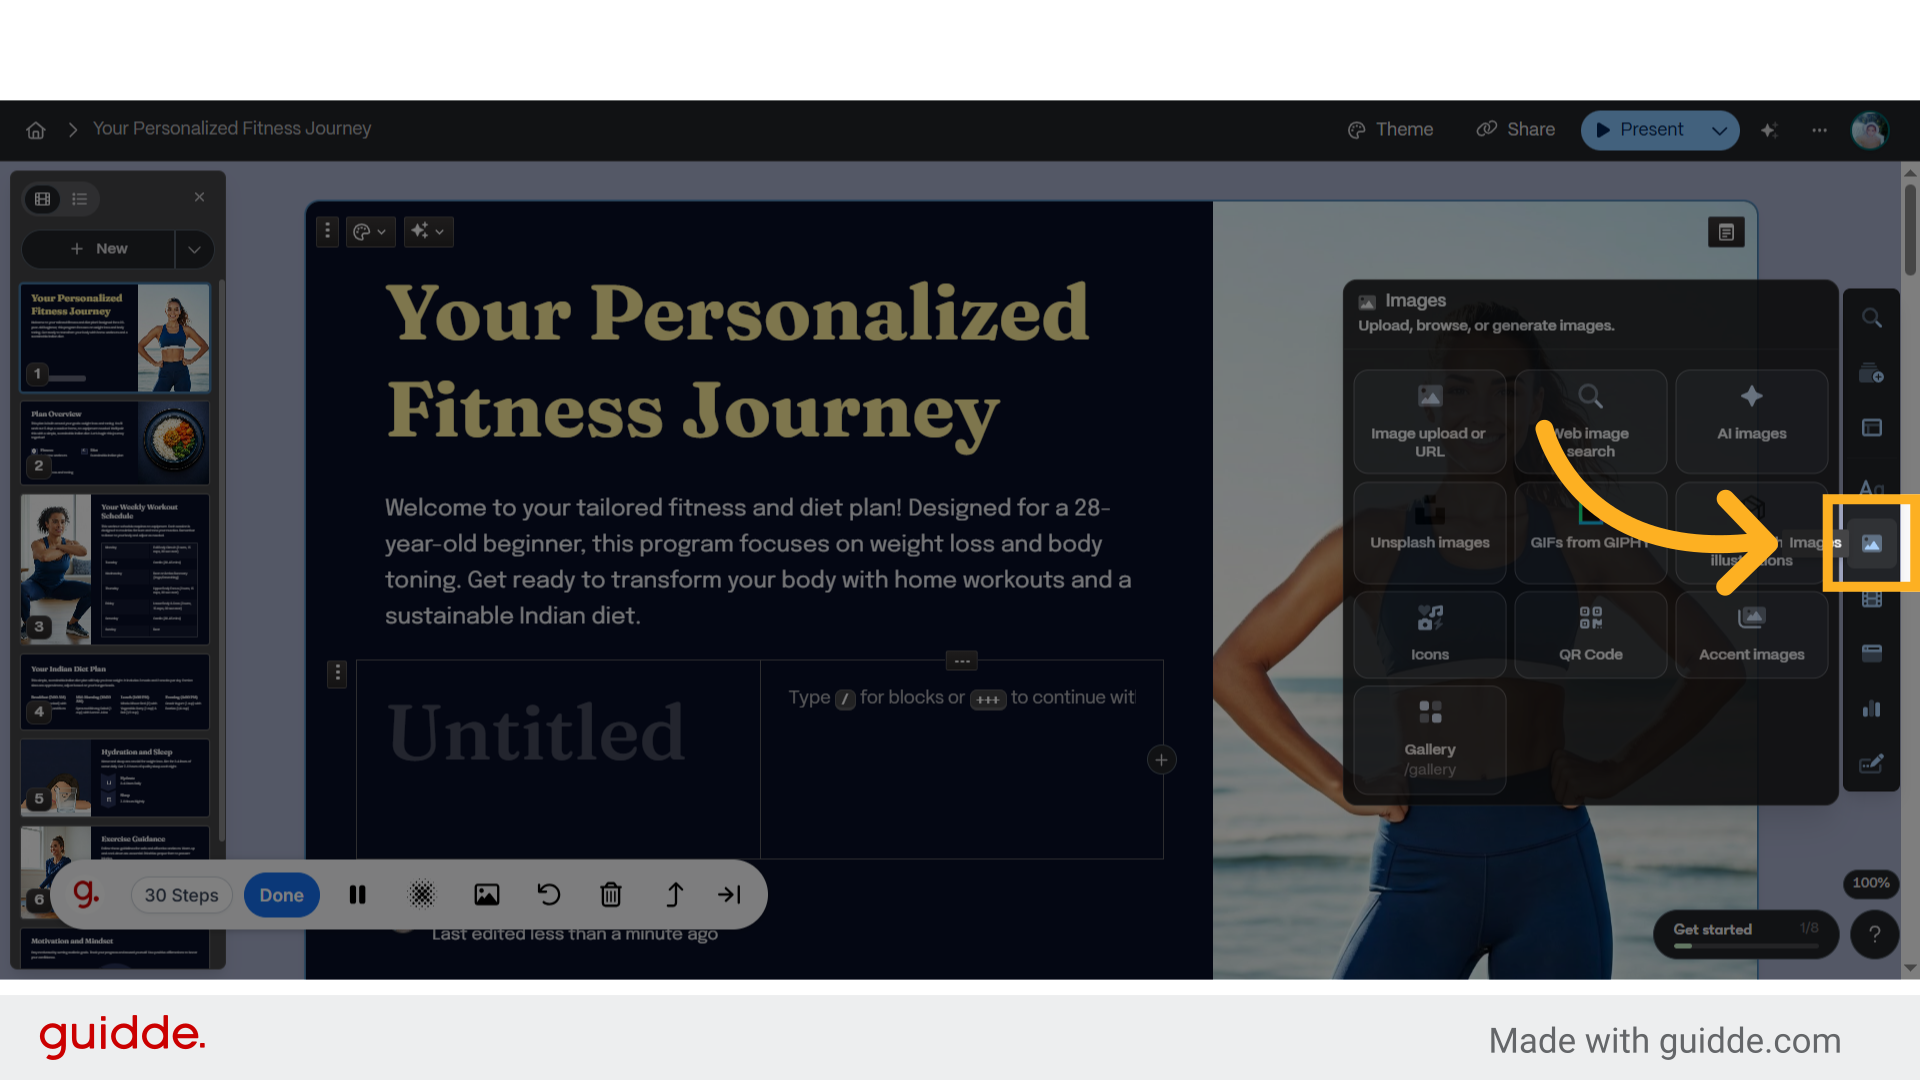
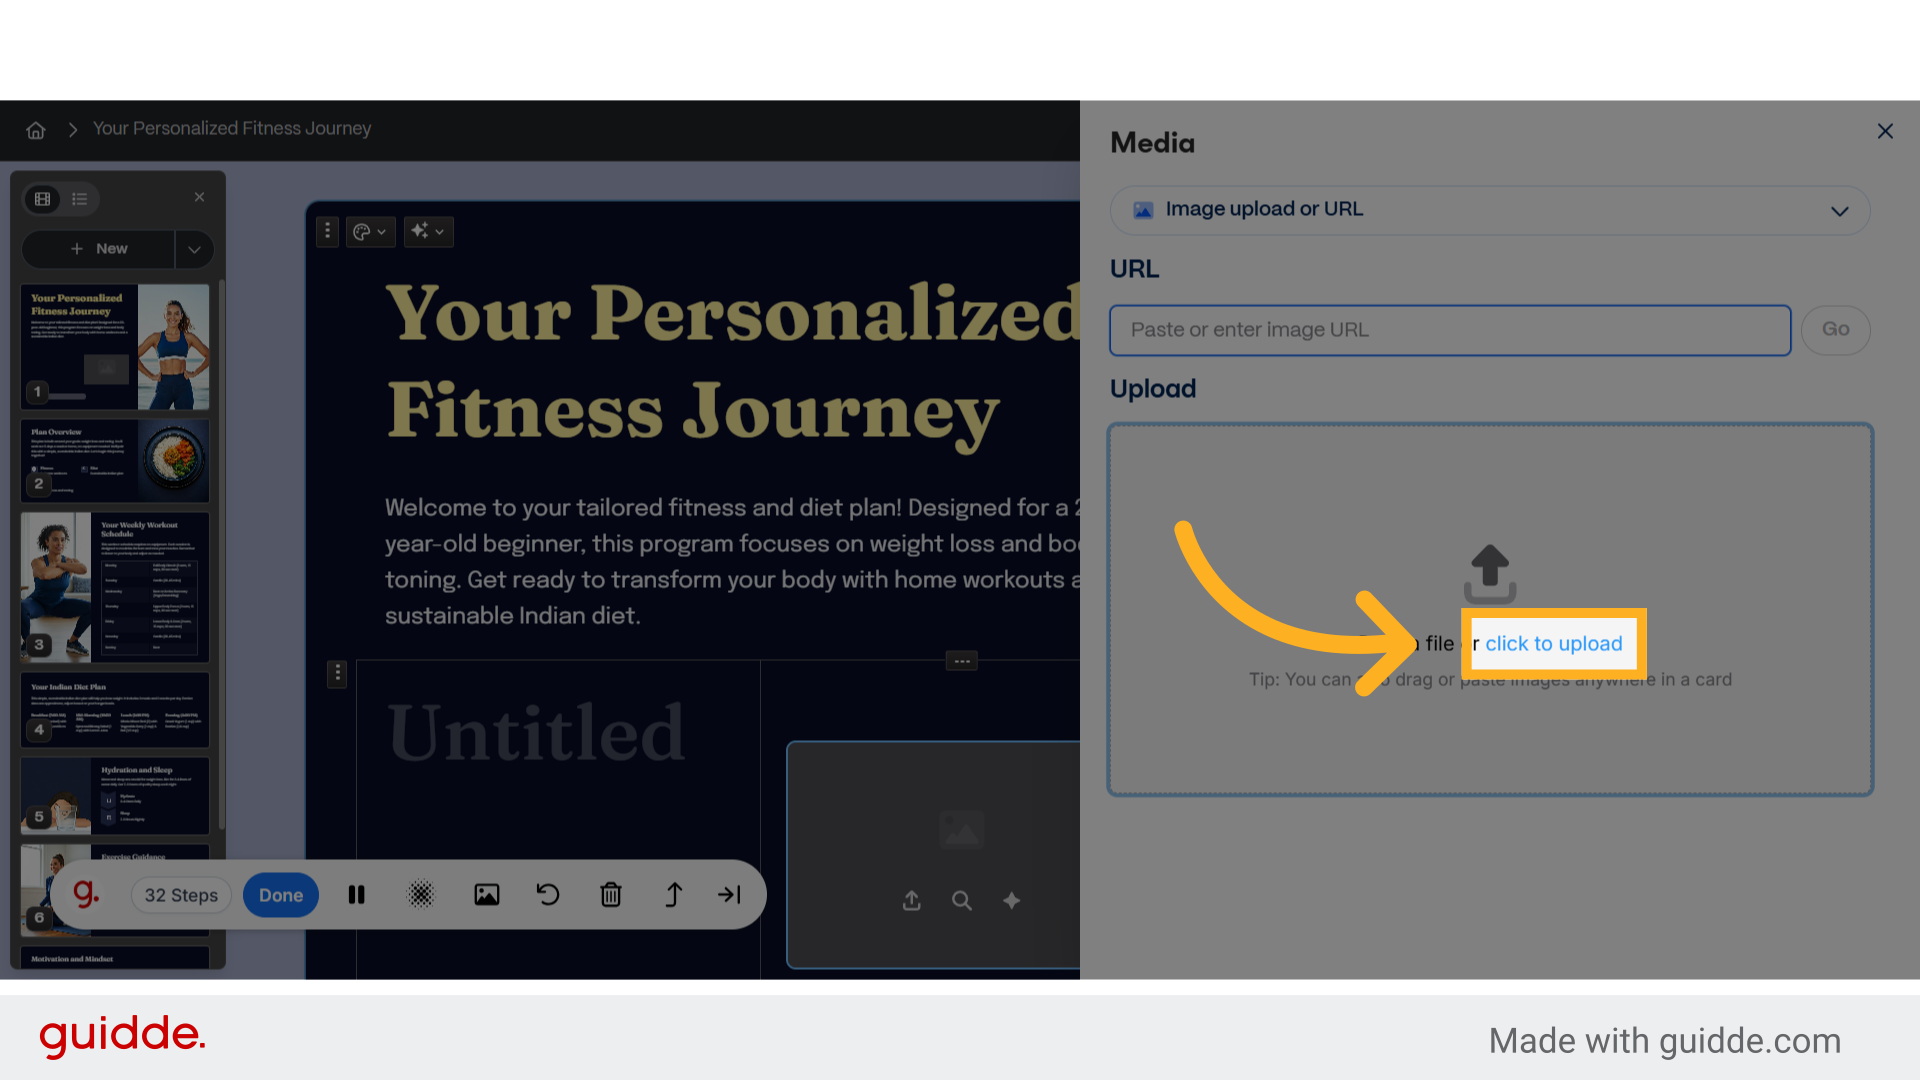
32. Click "Image upload or URL"
Choose to upload an image or provide a URL.
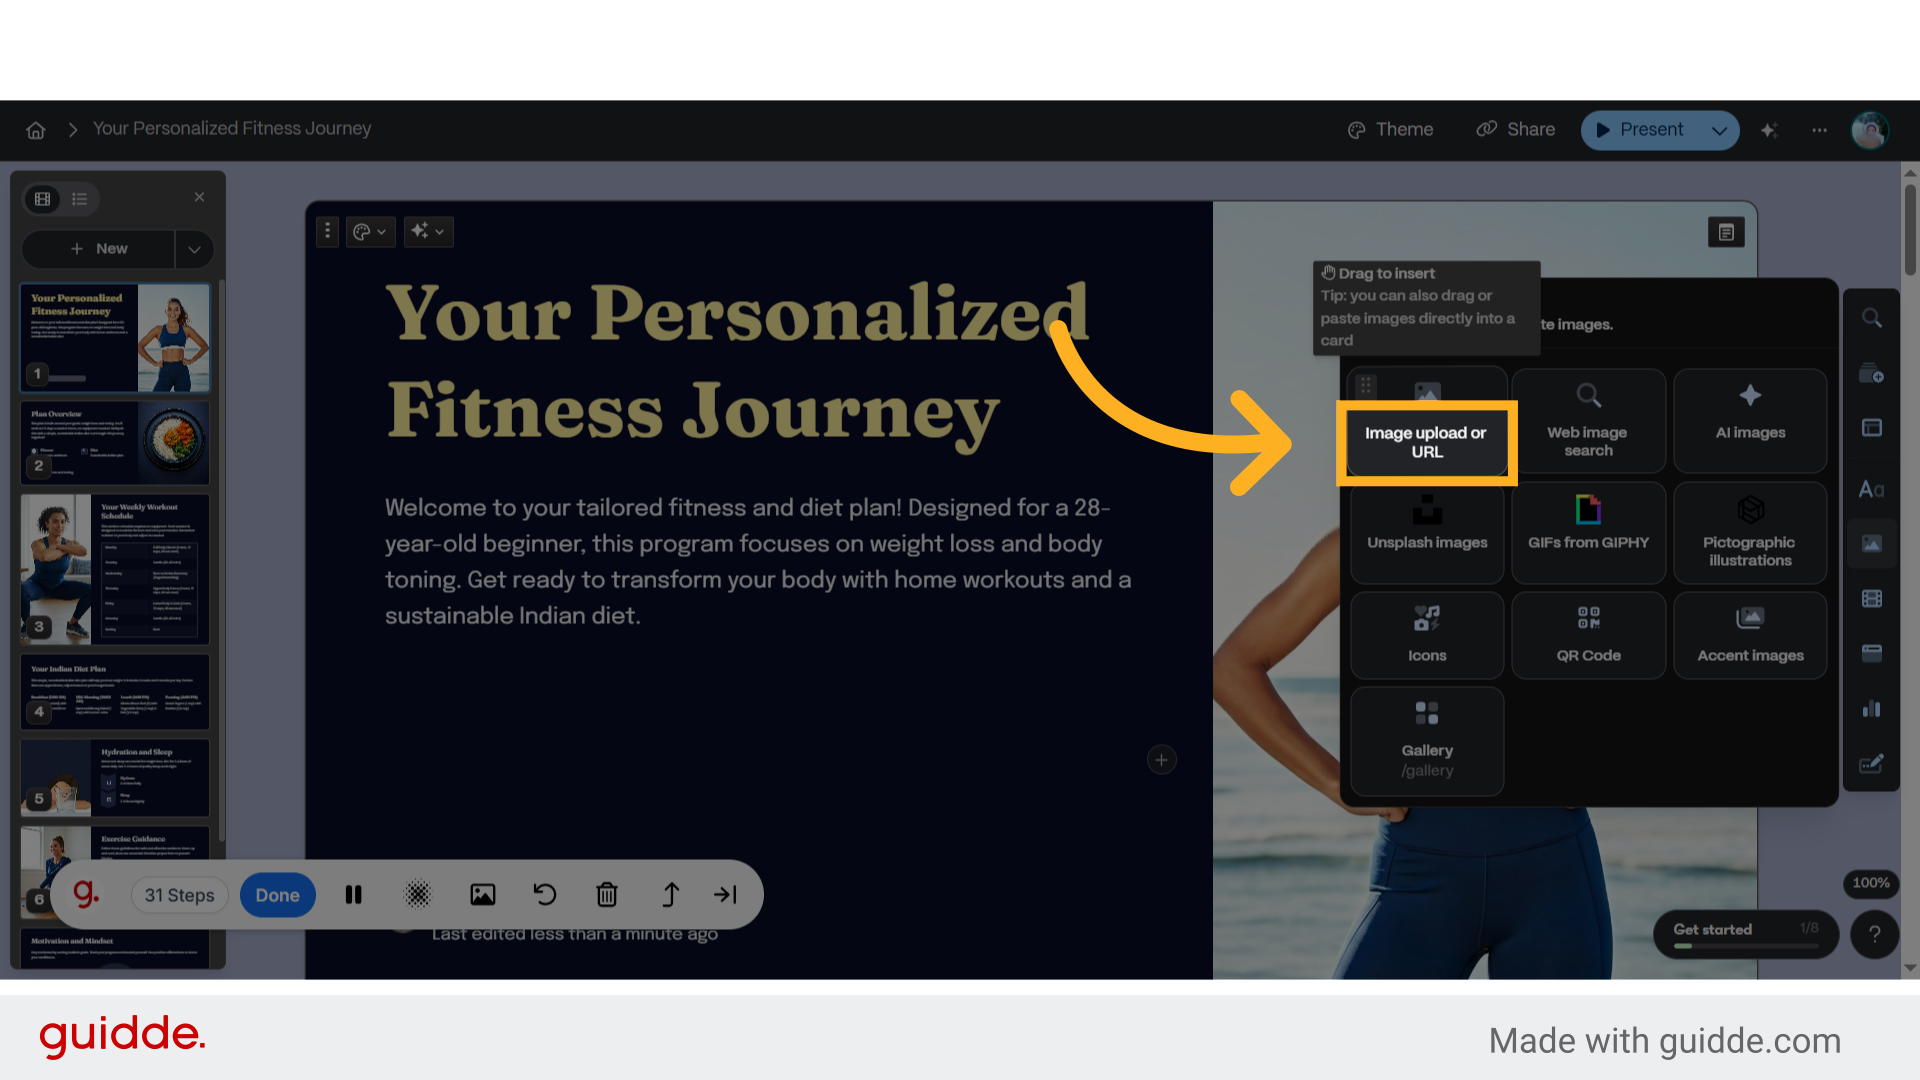
33. Click "click to upload"
Initiate the image upload process.
34. Fill here
Input the necessary information.
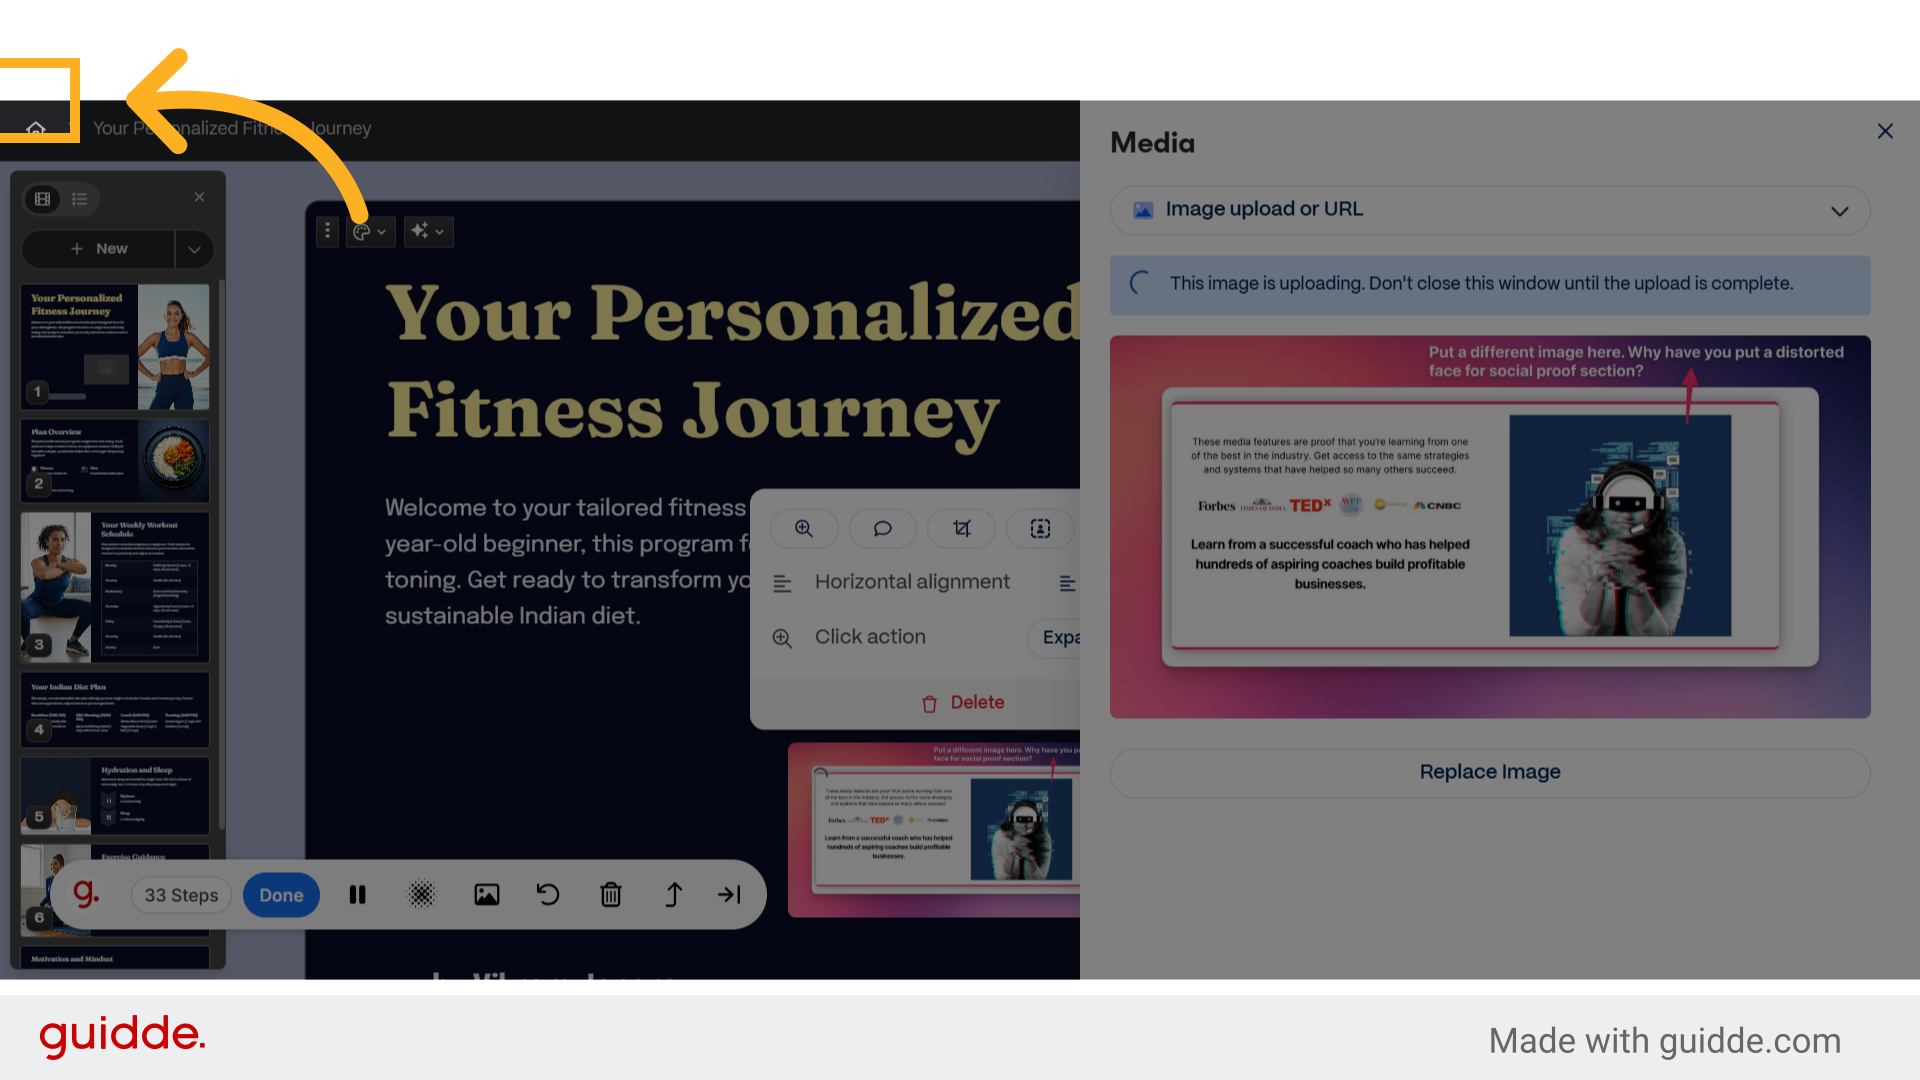
35. Click here
Navigate to the specified location.
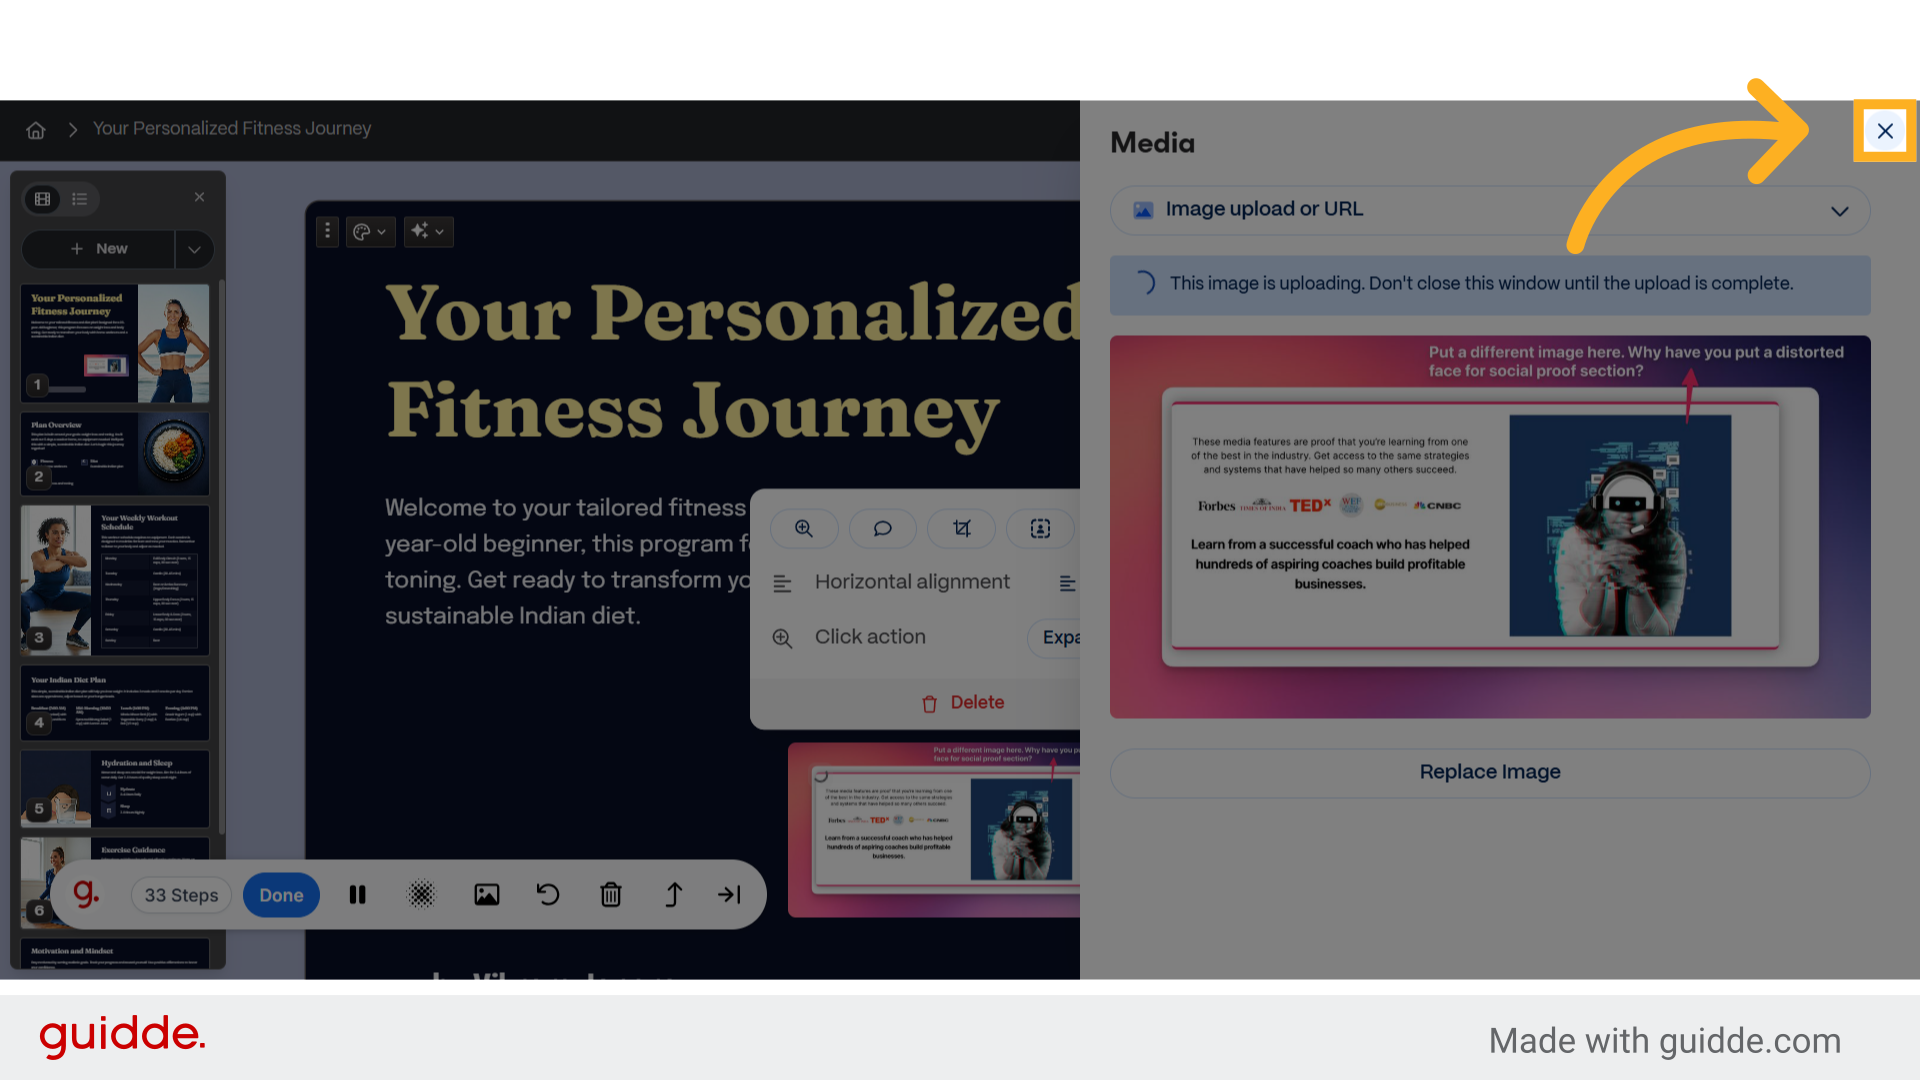
36. Click here
Navigate to the specified location.
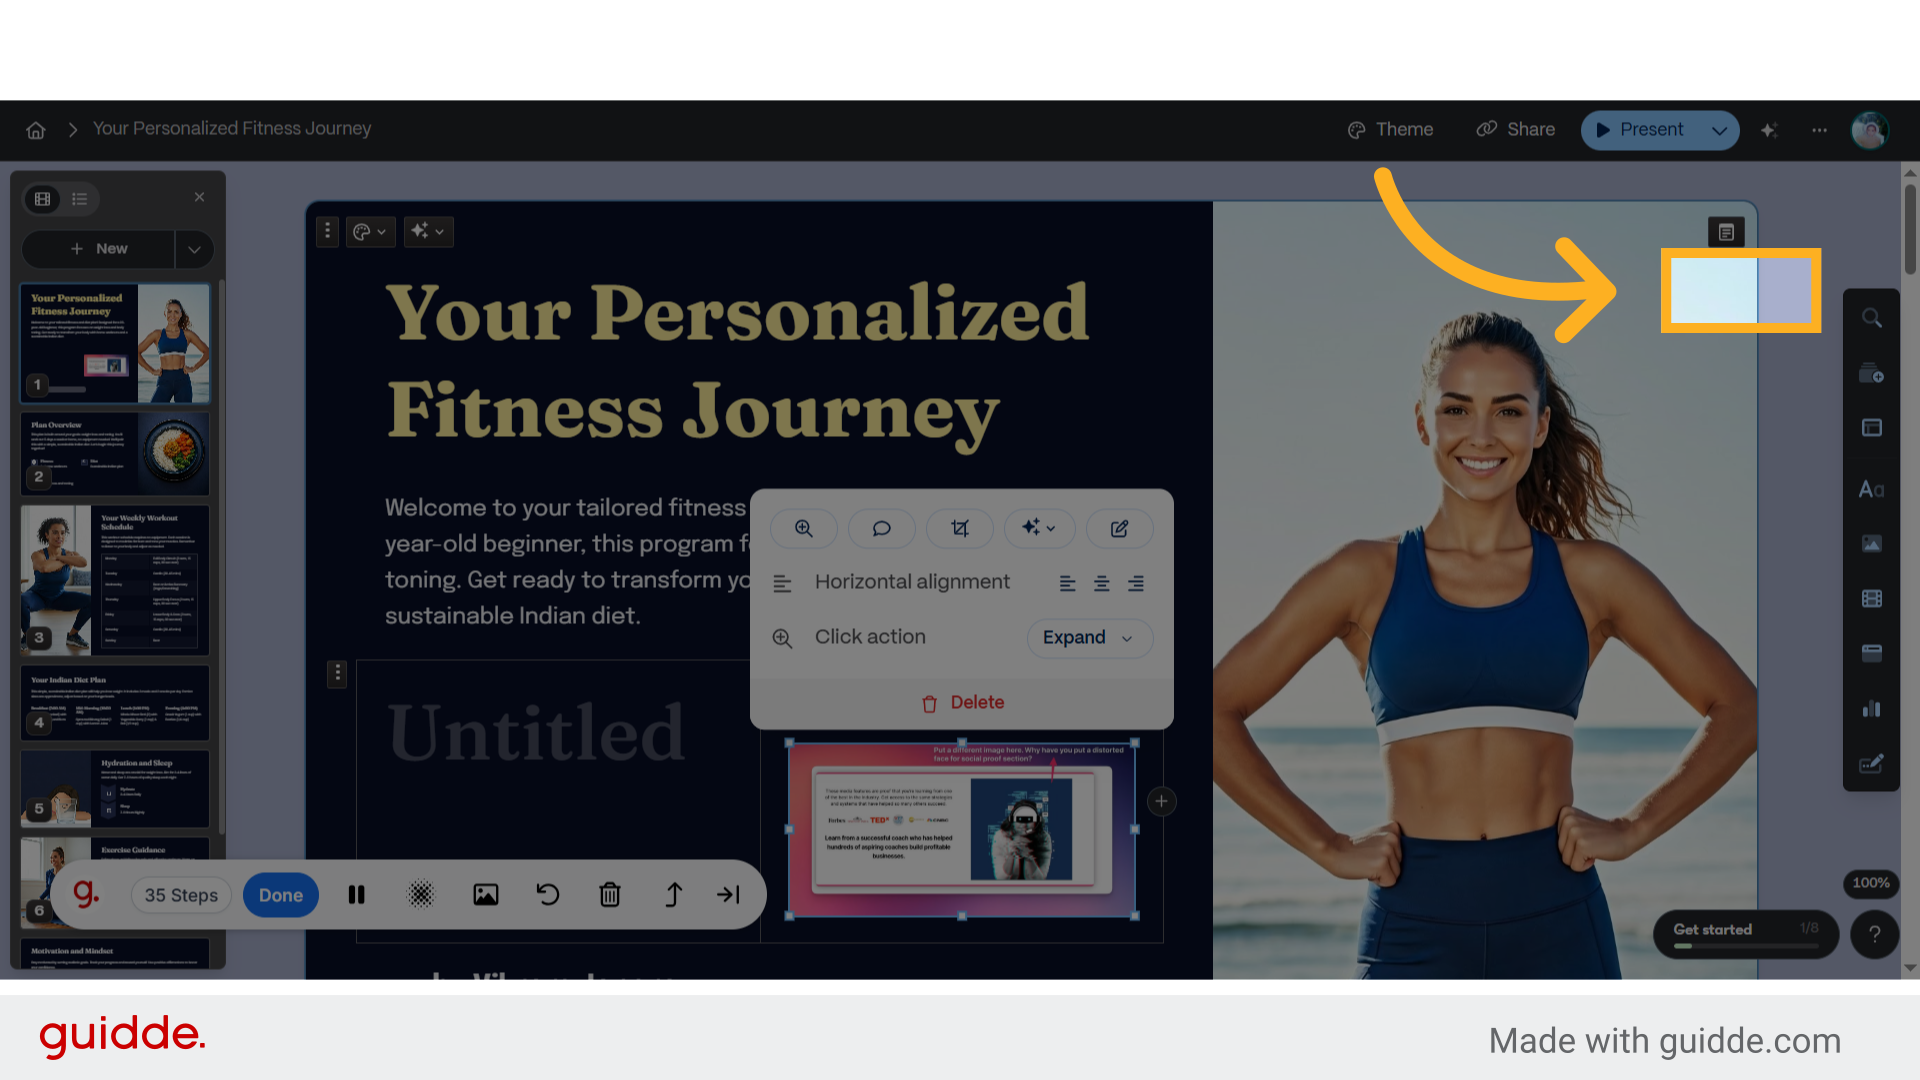
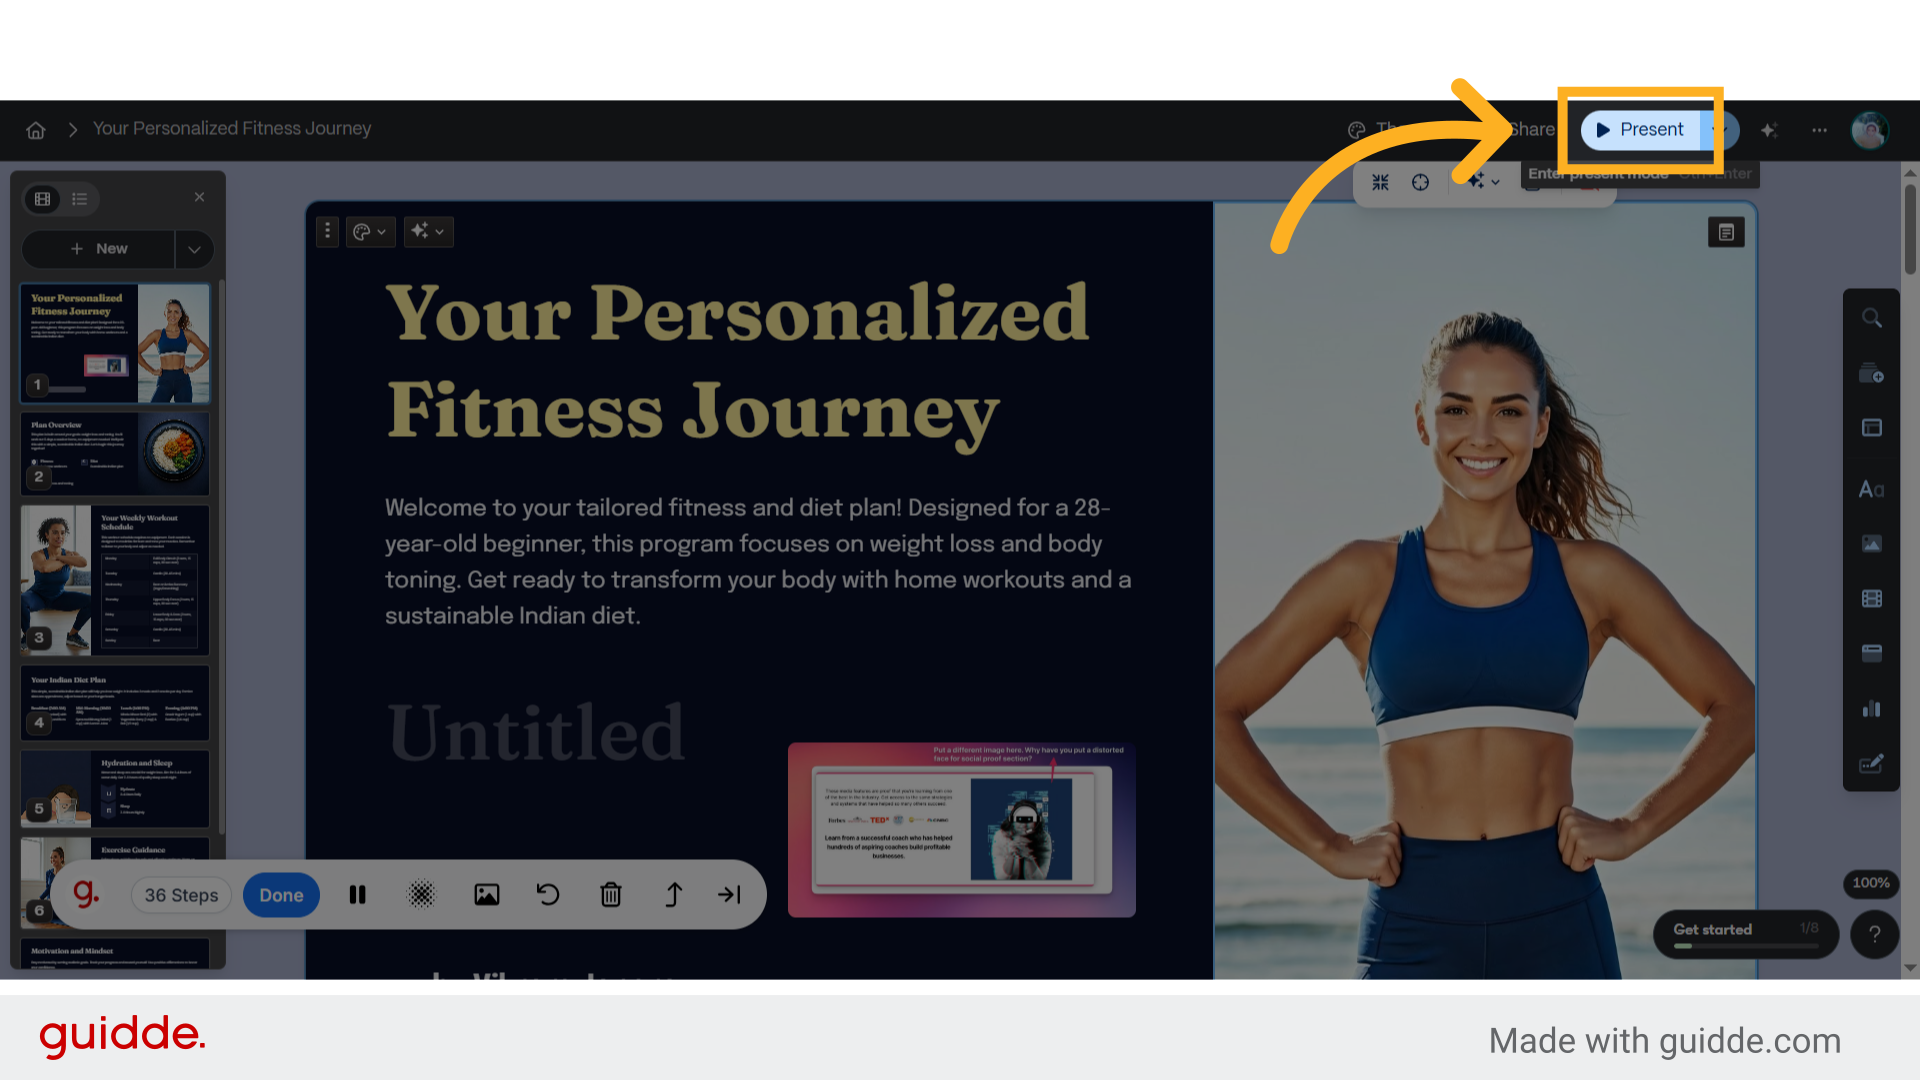
37. Click "Present"
Initiate the presentation of the project.
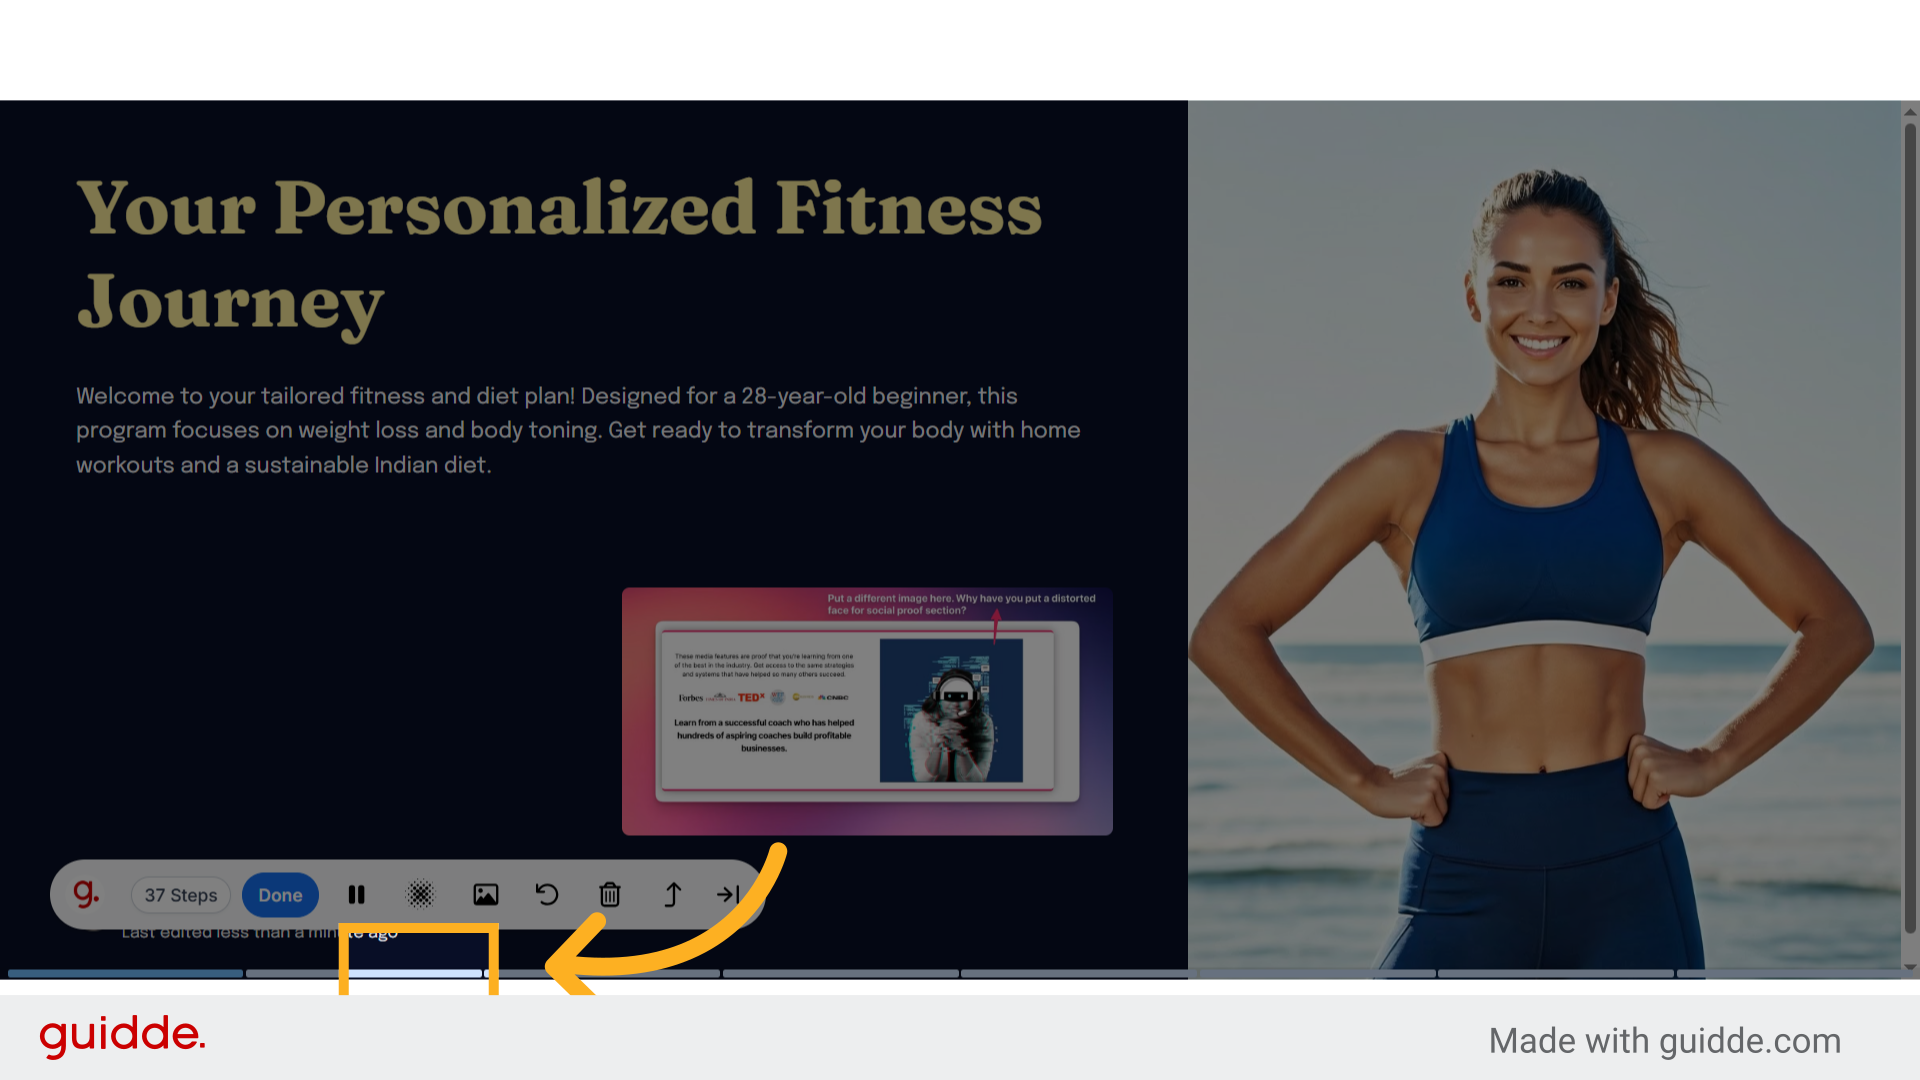
38. Click here
Navigate to the specified location.
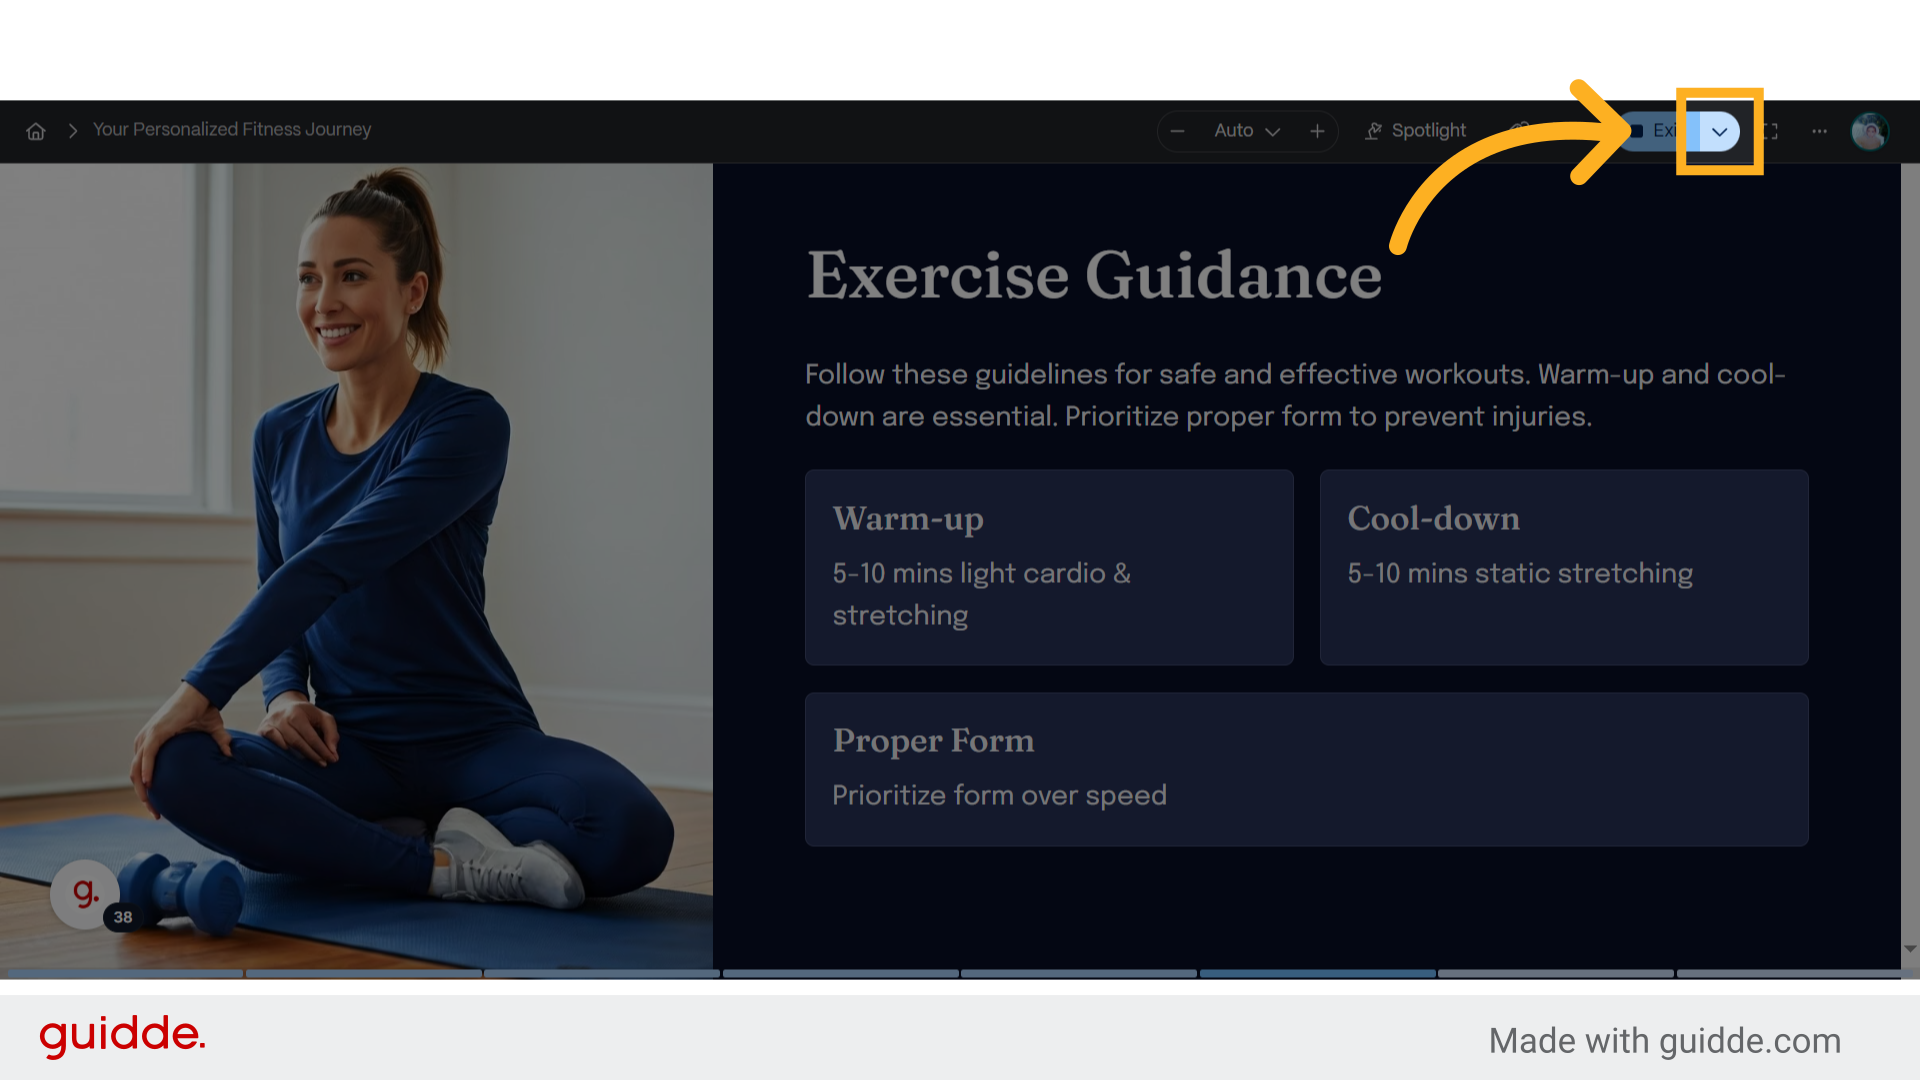
39. Click here
Navigate to the specified location.
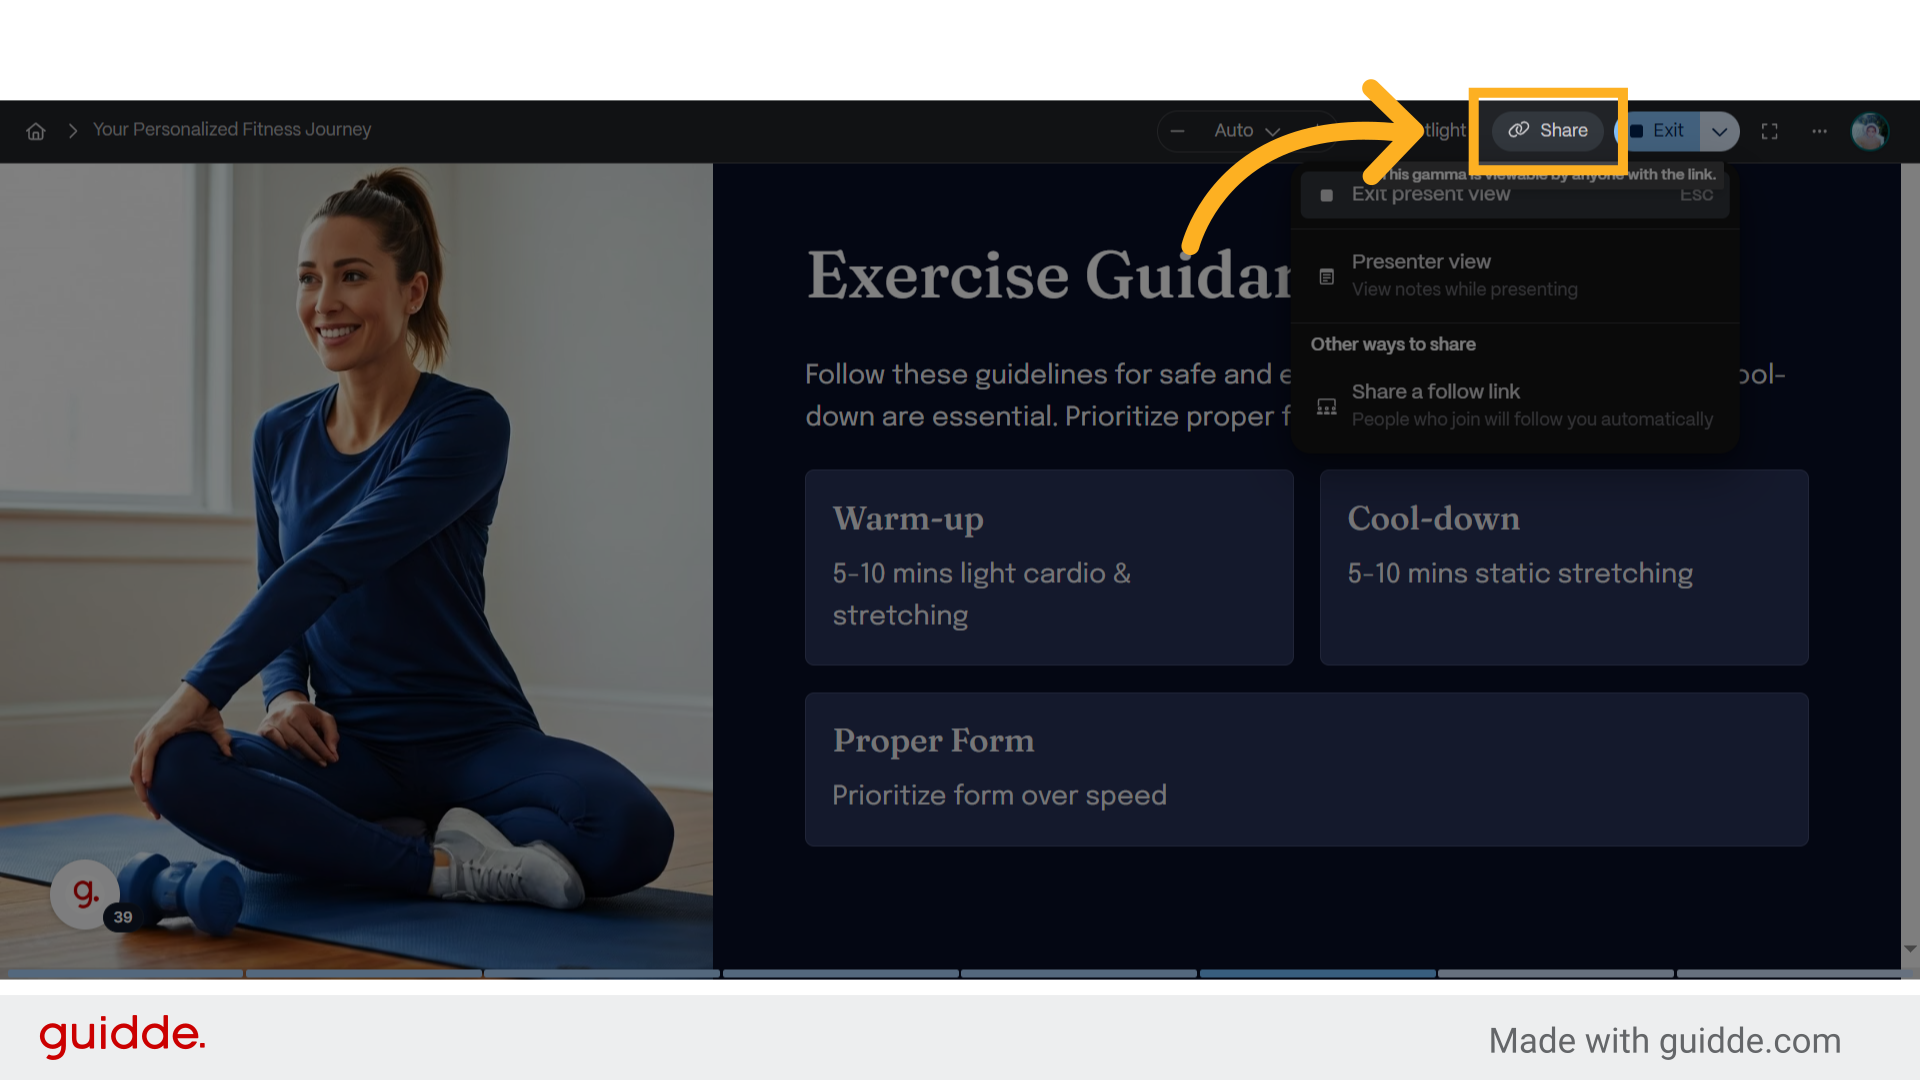
40. Click "Share"
Access the sharing options.
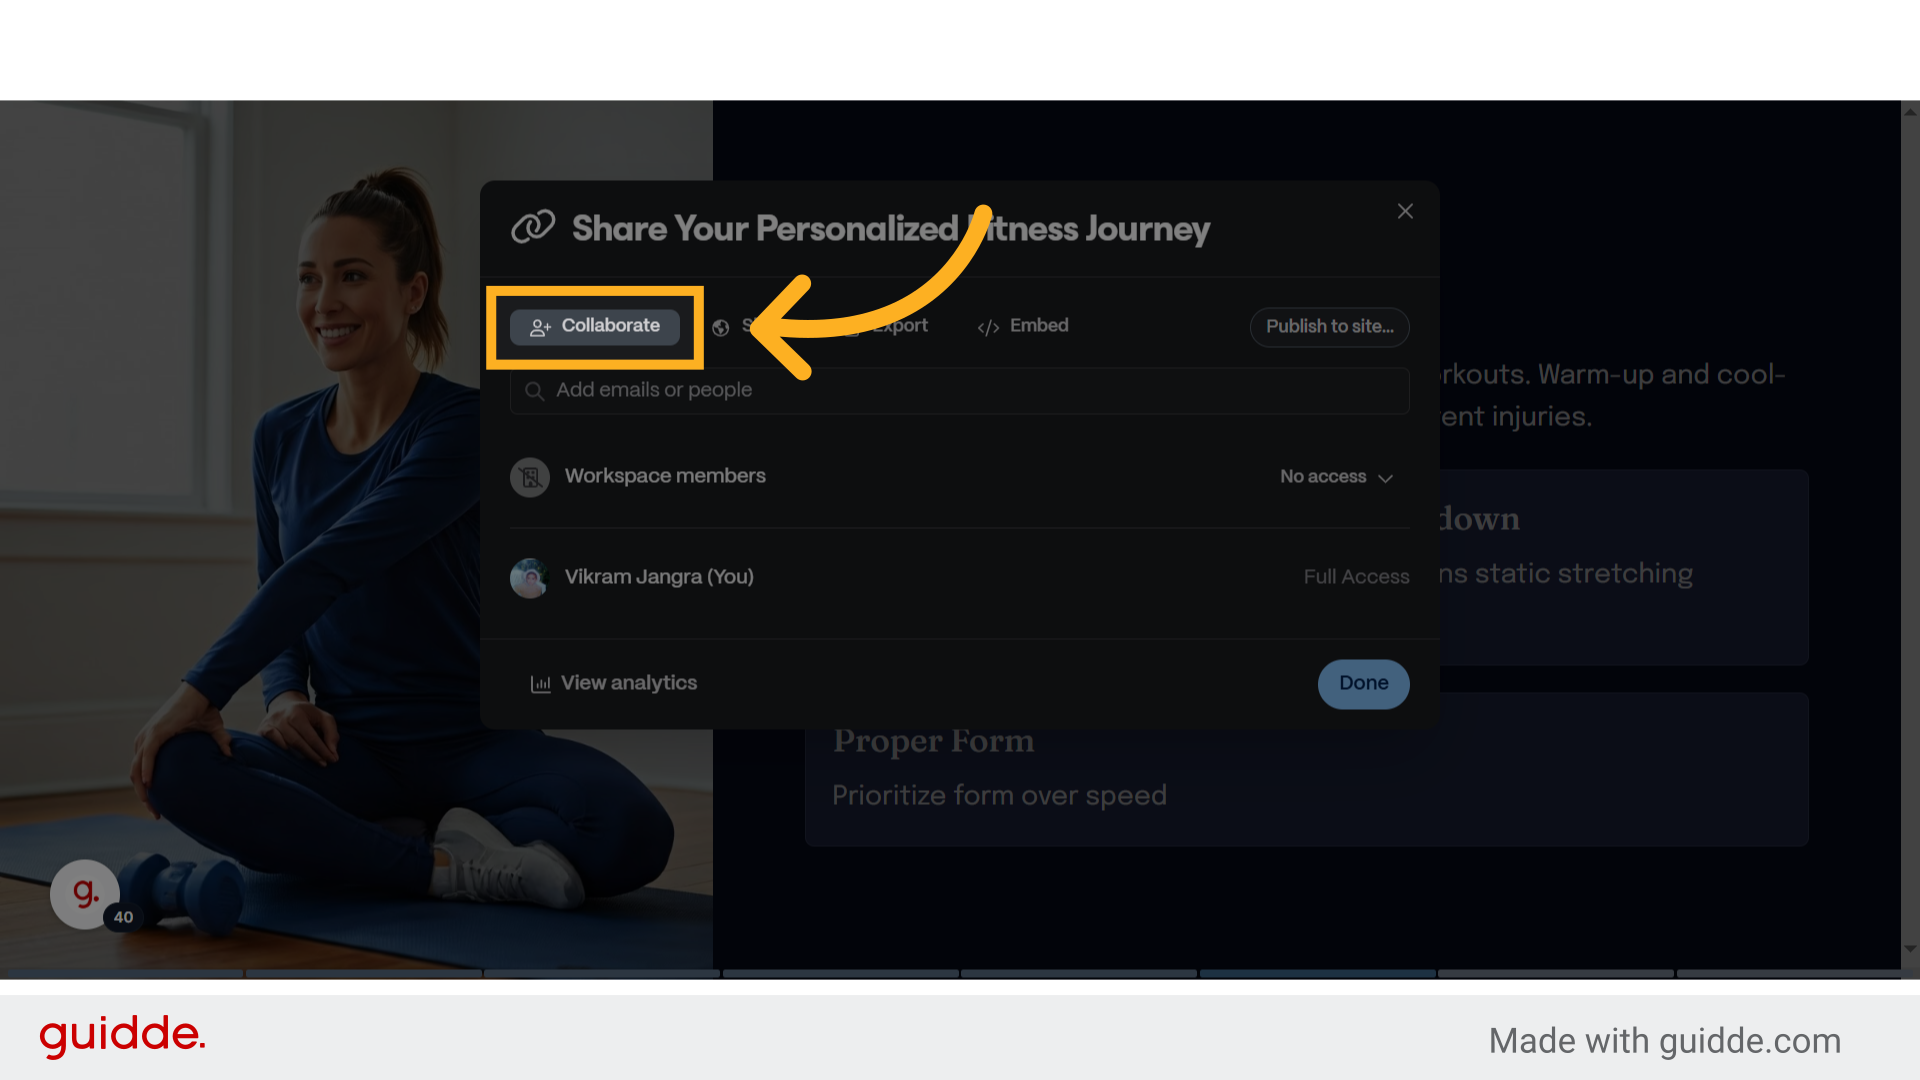
41. Click "Collaborate"
Initiate collaboration on the project.
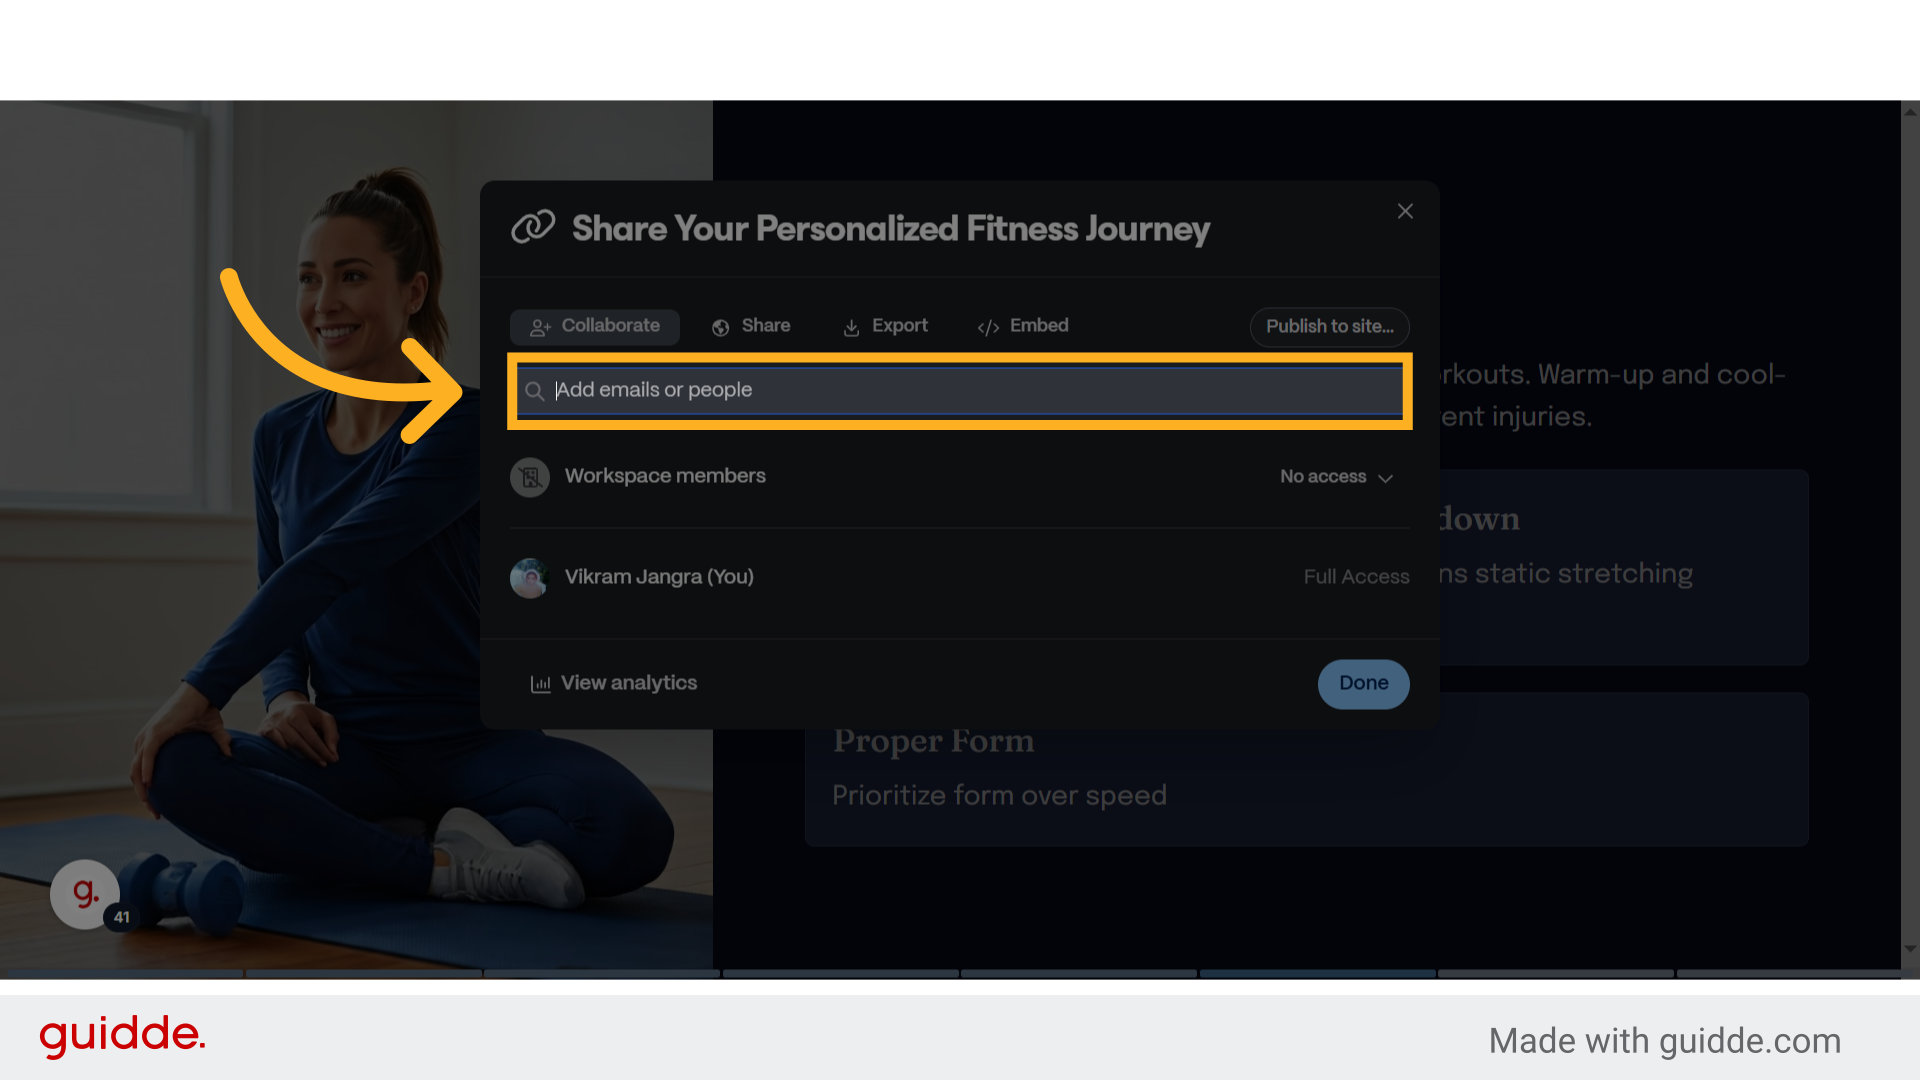
42. Click "Add emails or people"
Include emails or people for collaboration.
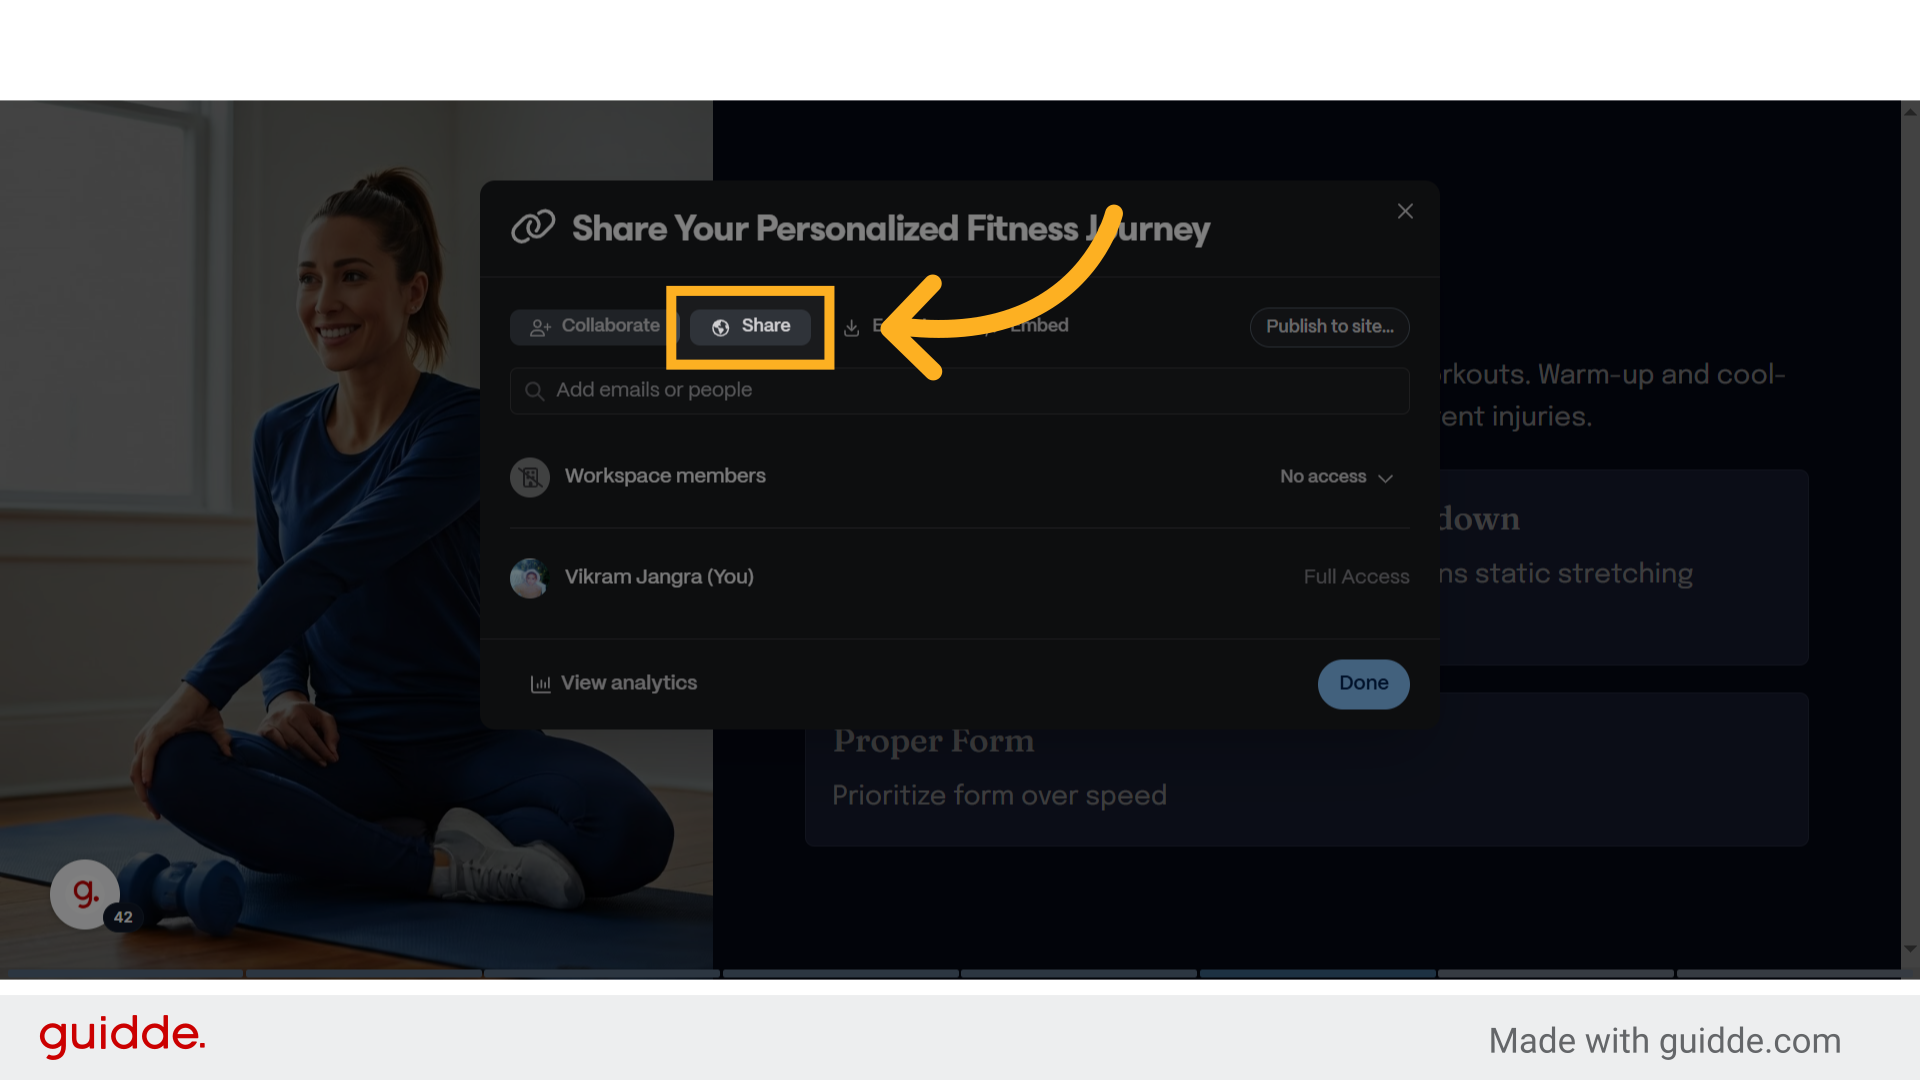
43. Click "Share"
Access the sharing options.
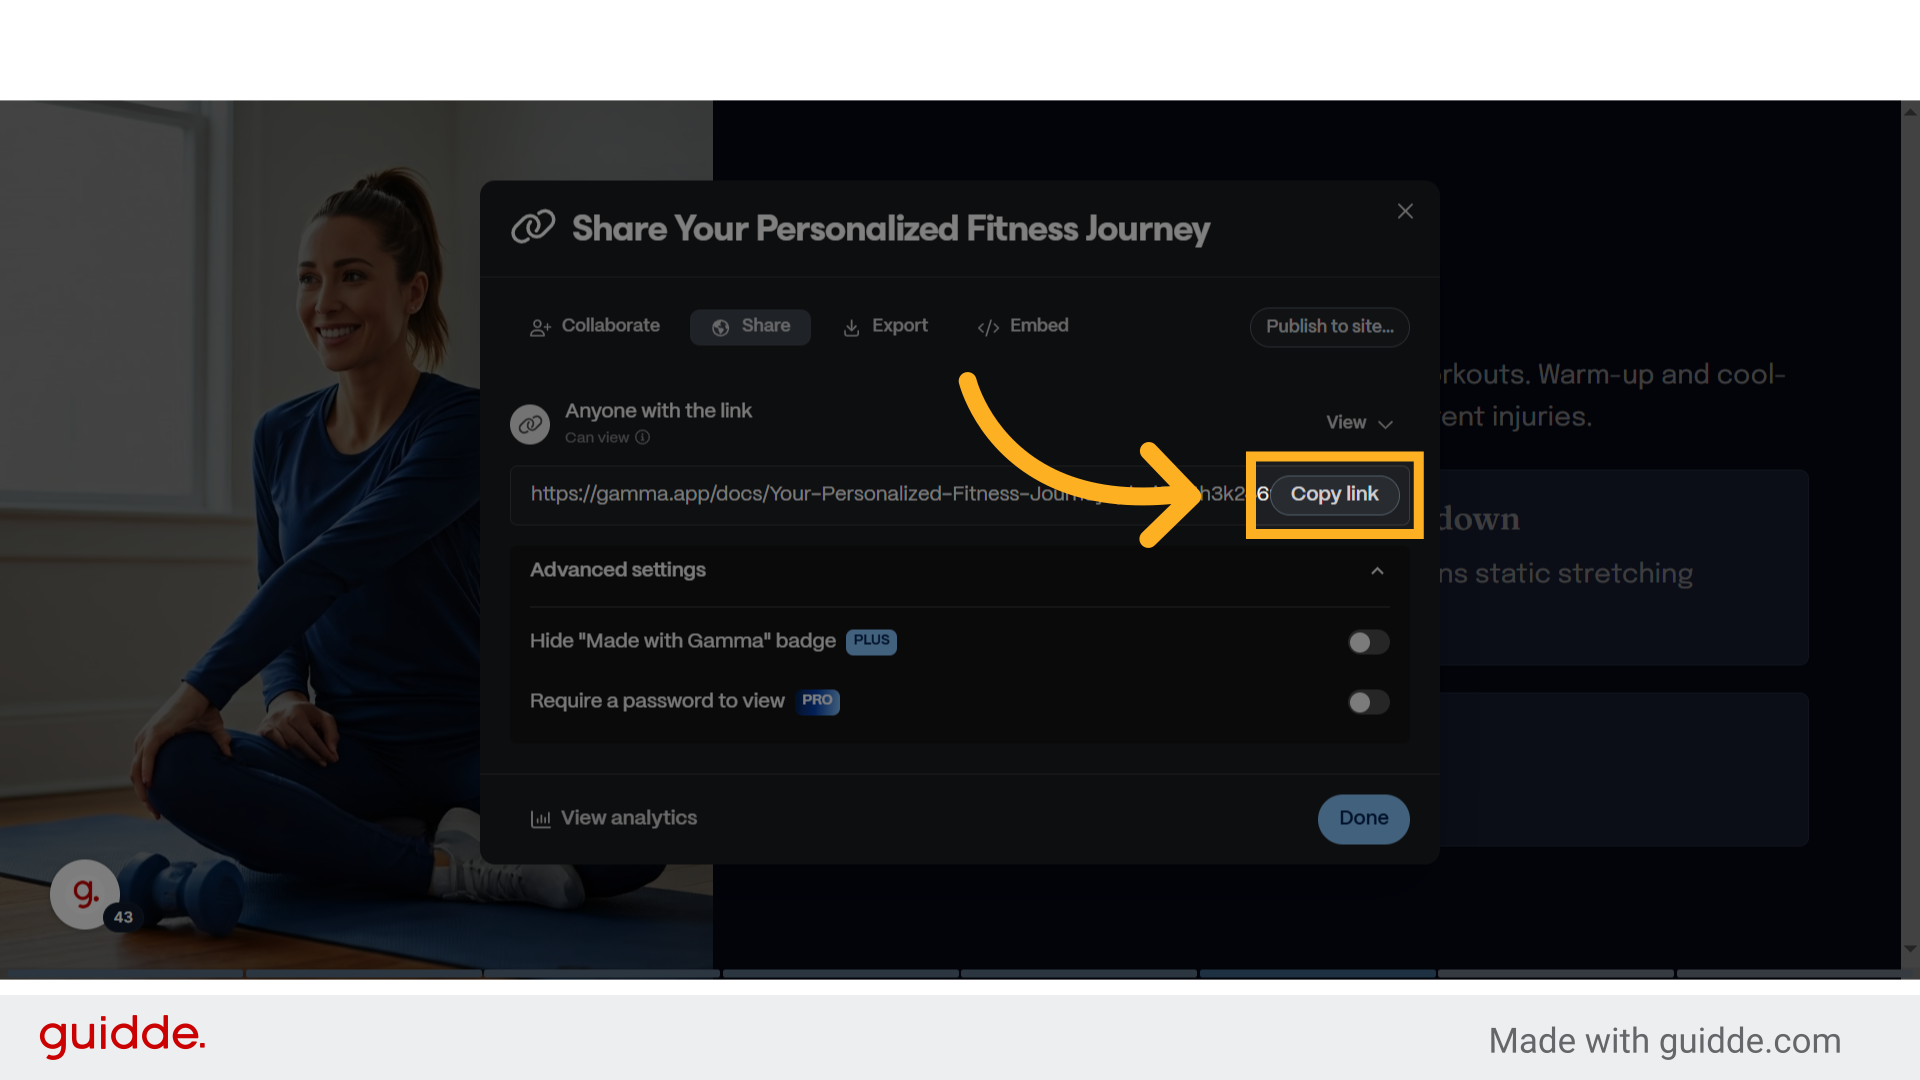
44. Click "Copy link"
Copy the project link.
45. Click "Export"
Export the project.
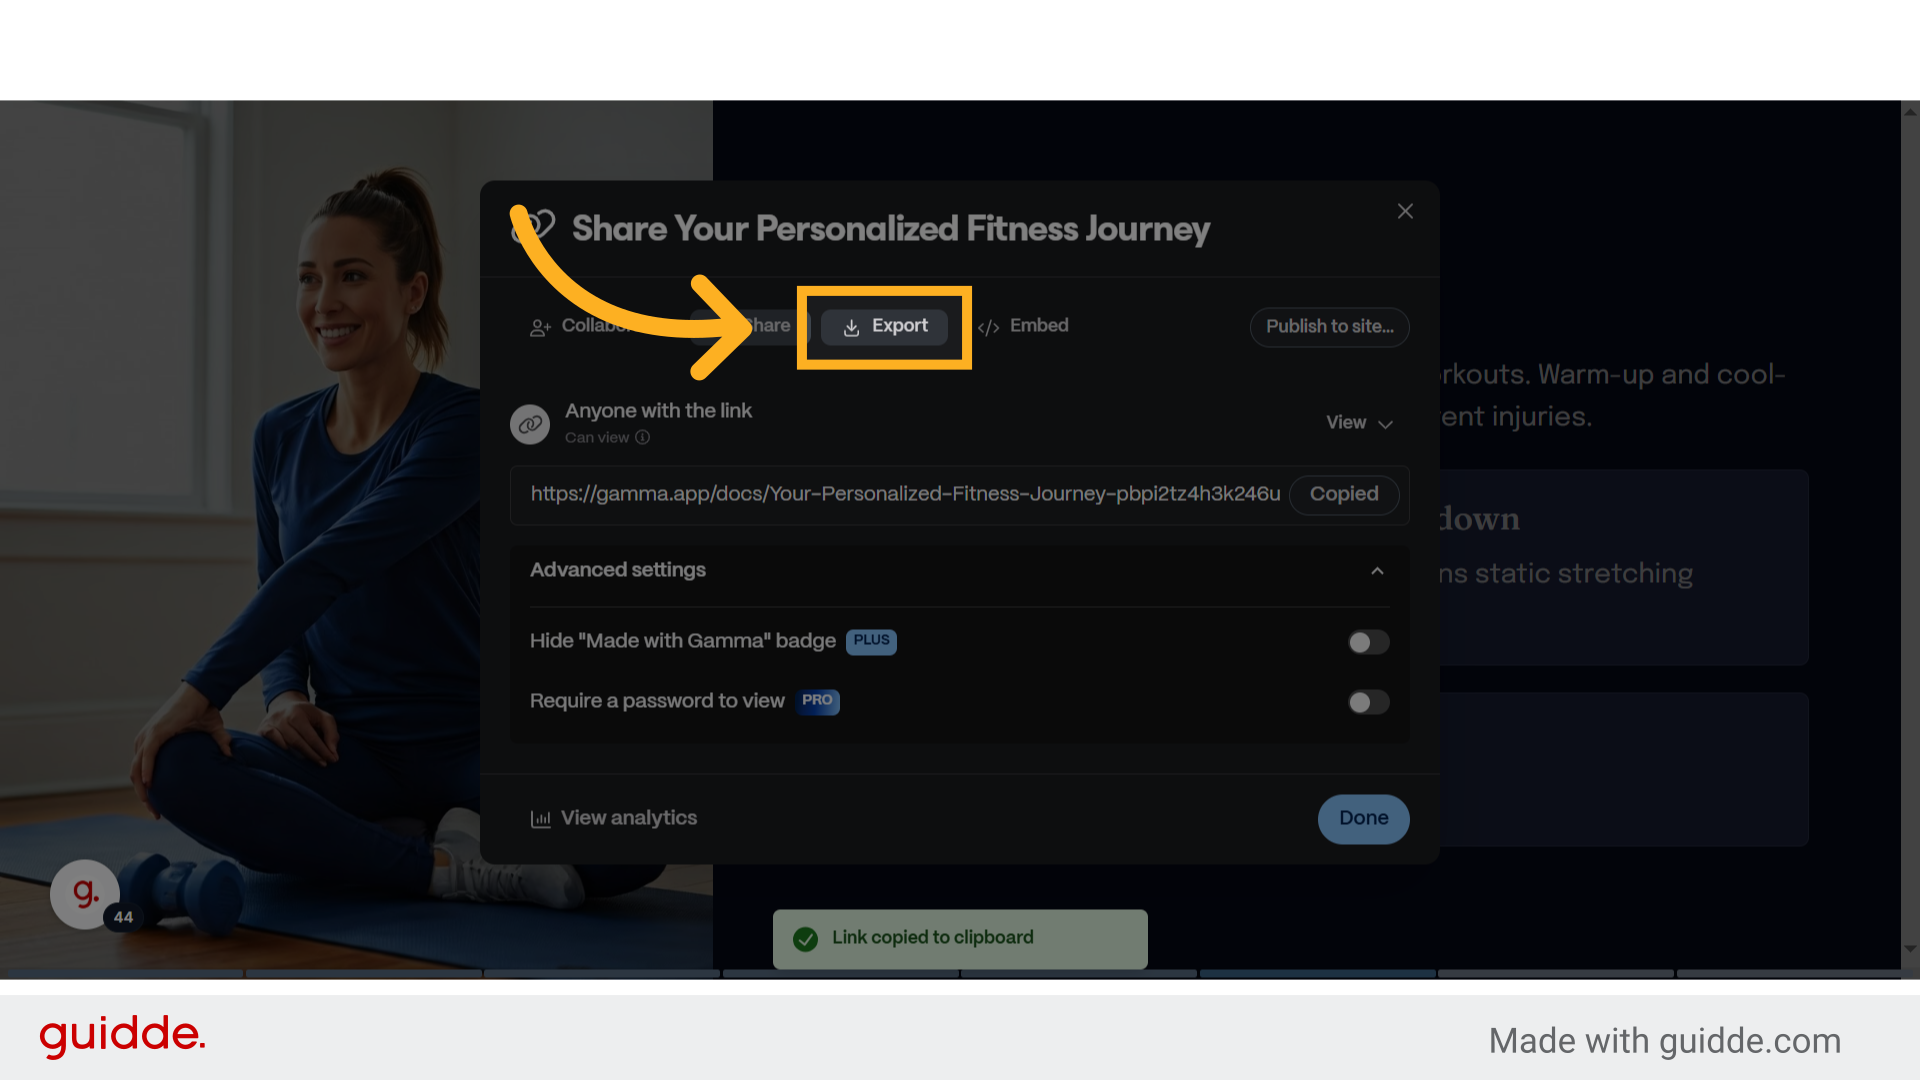
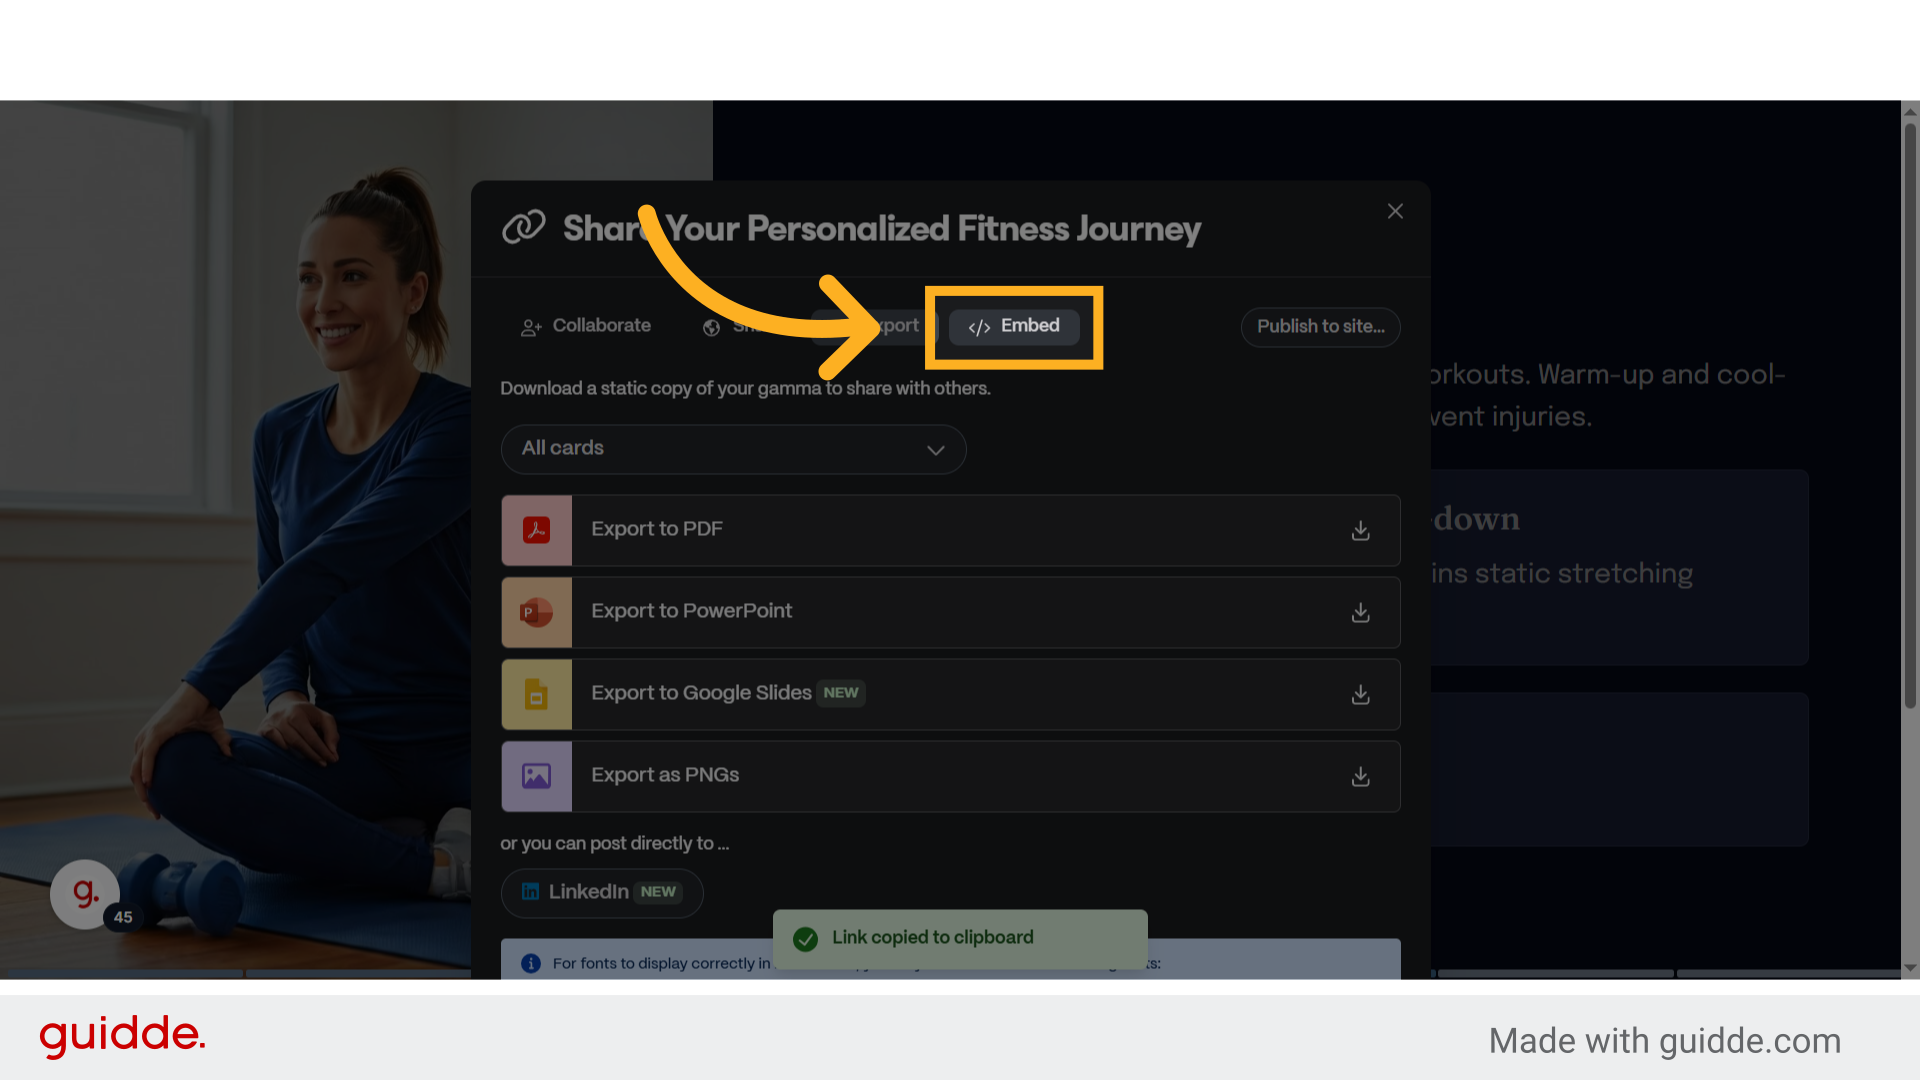
46. Click "Embed"
Access the embedding feature.
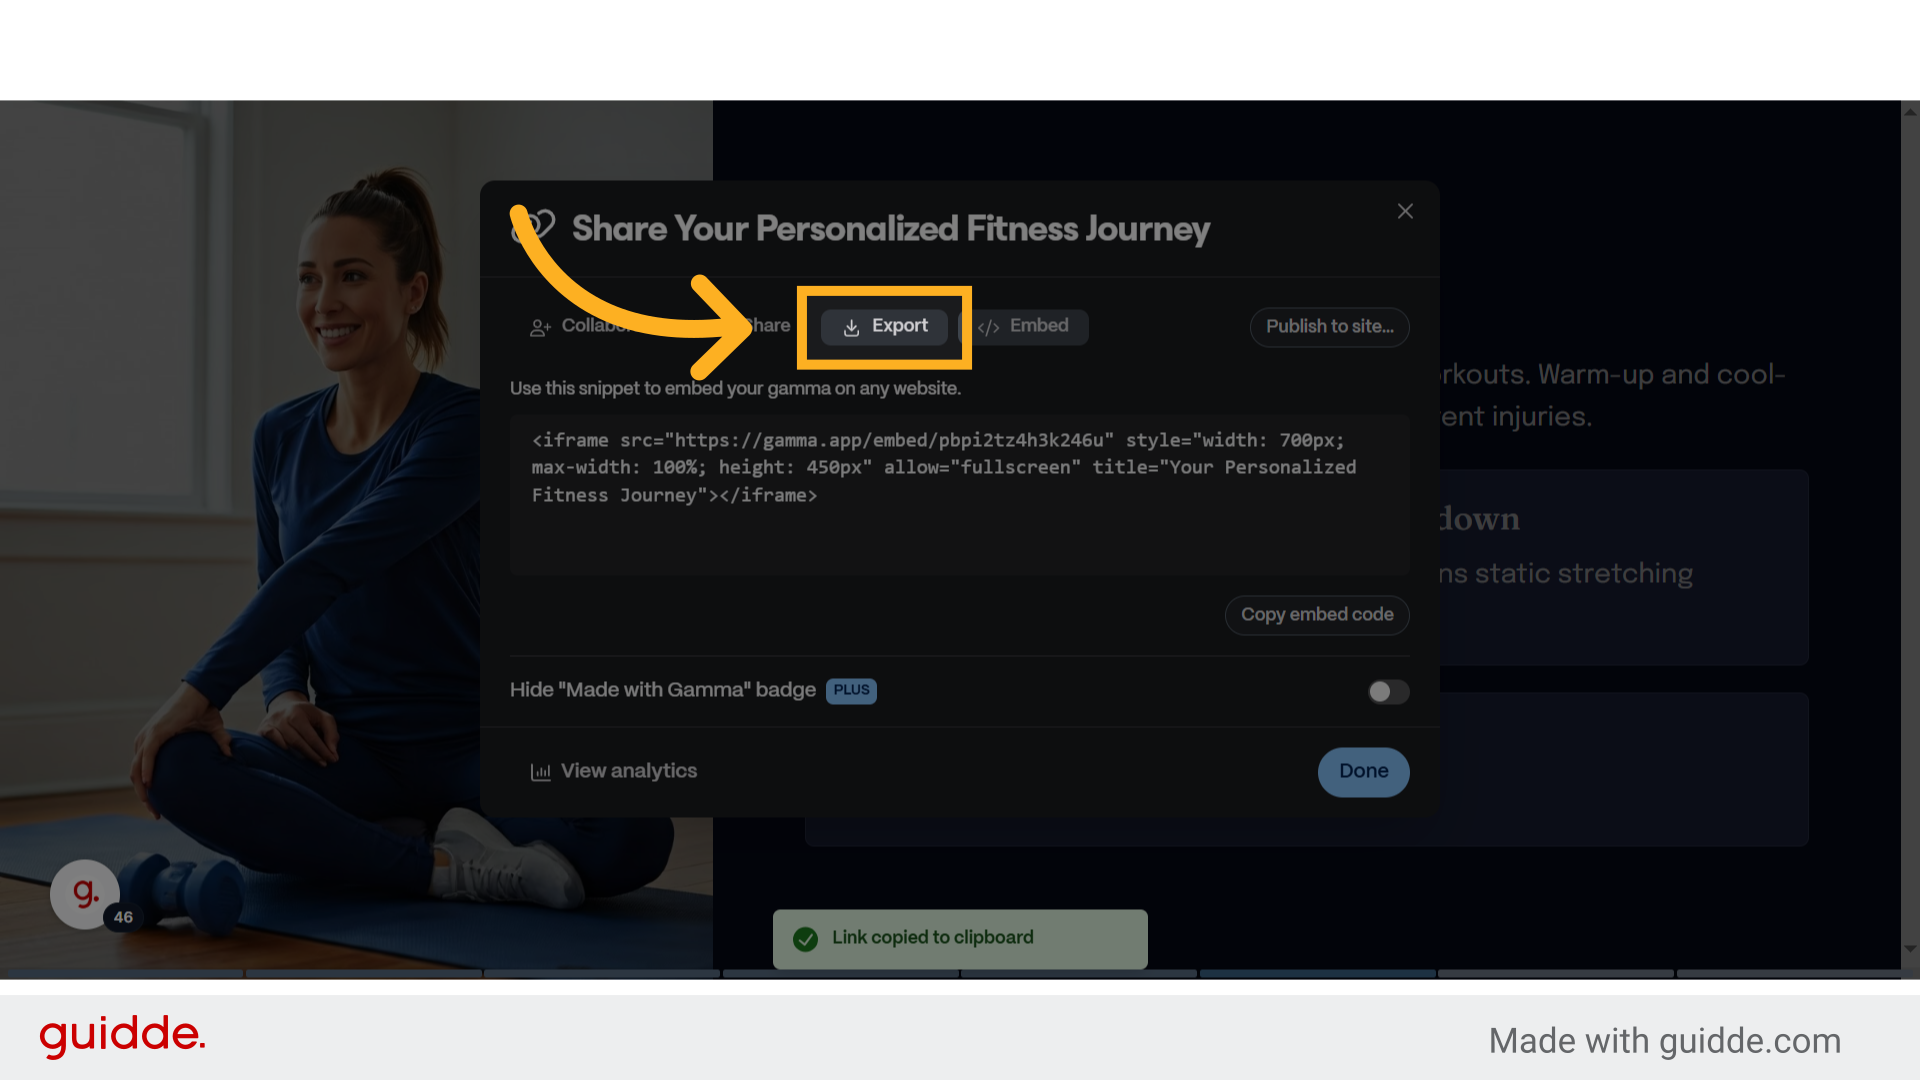
47. Click "Export"
Export the project.
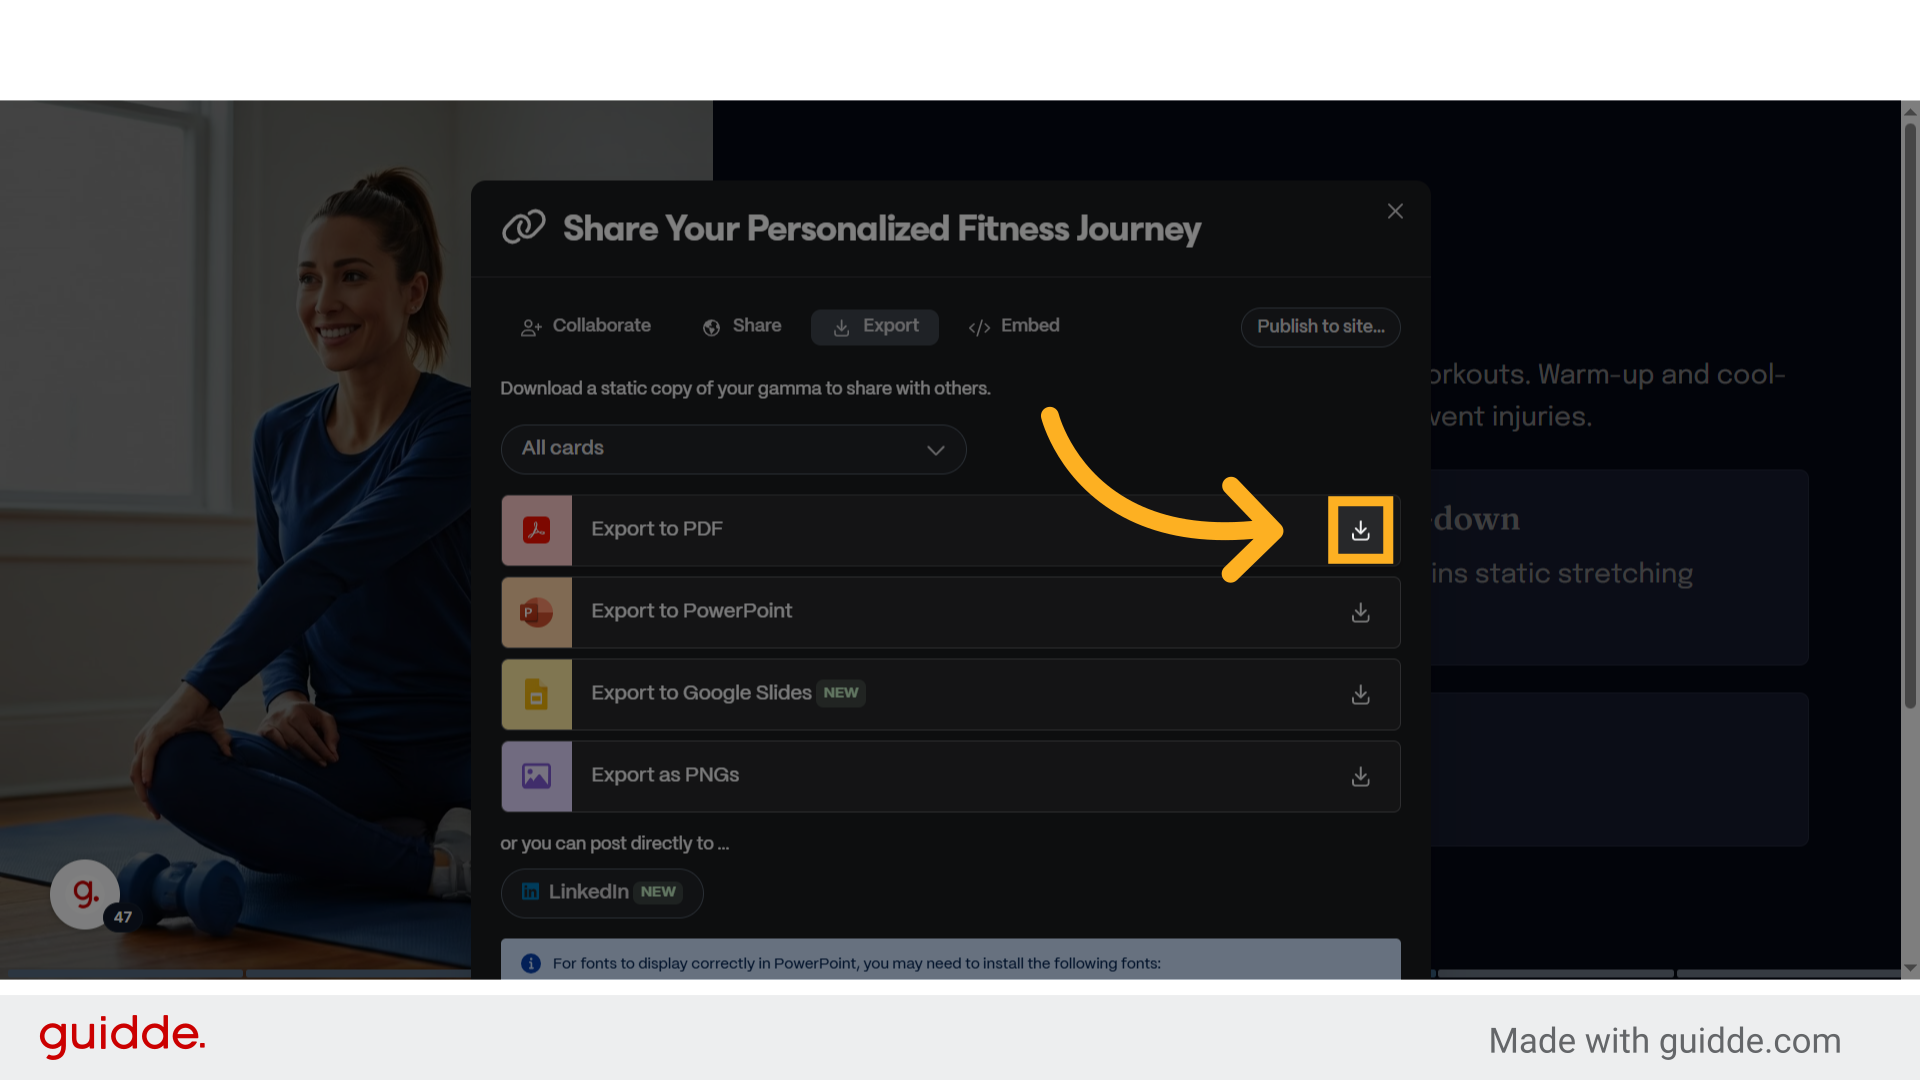
48. Click here
Navigate to the specified location.
This guide covered the process of creating a personalized fitness journey using Gamma, including generating content, outlining the plan, adding images, presenting, and sharing the project with clients.